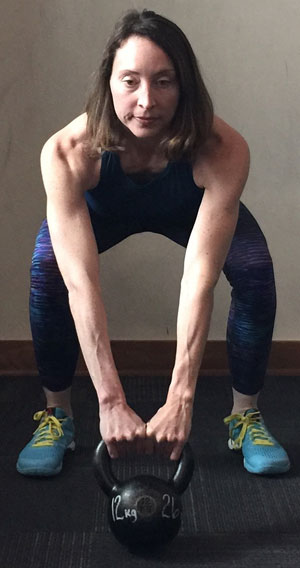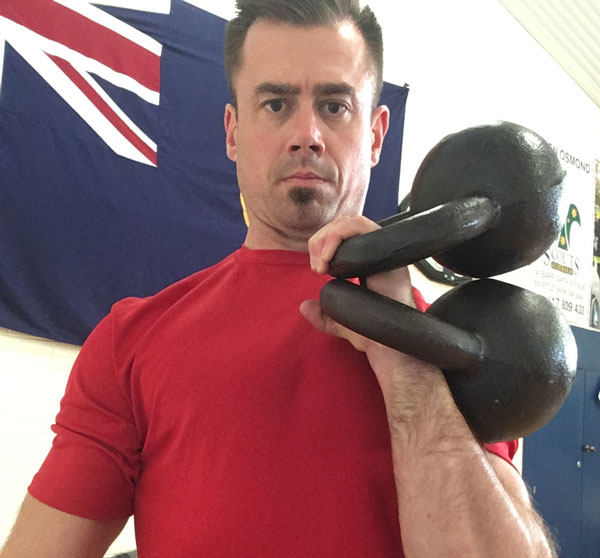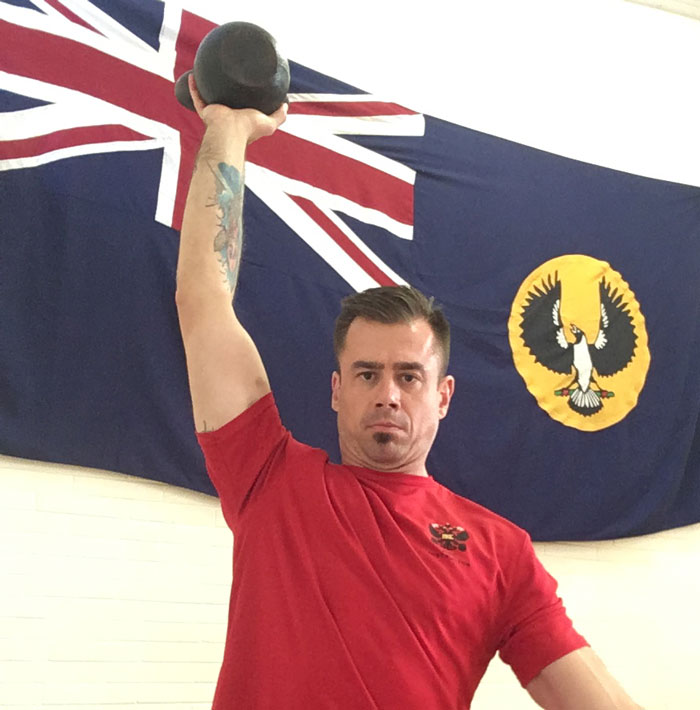
When I was introduced to kettlebells in 2006, how to start the kettlebell swing was not something that I was taught. Upon entering the world of RKC, I learned the importance of the beginning of the swing. I was amazed by the instant improvement in my technique from solely focusing on how I started my swing. After all, the start of the swing is where we generate all of our power. If we don’t learn how to begin the swing, then we only end up with terrible looking, inefficient swings. In this blog post, I want to specifically discuss the power swing, sometimes known as the dead start swing. The power swing is a drill that I love to use in my own training and with my clients. Unfortunately, and even after a workshop, it’s easy to forget this humble but effective drill. So, we should revisit and use it that much more in our training.
What is a Power Swing?
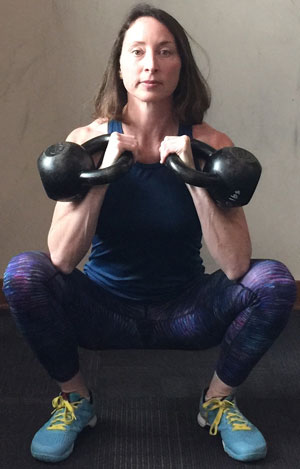
In short, it is the “hike to stand” and “back to the start” portions of the swing, repeated for reps.
The power swing is super effective for teaching solid swings because it:
- Teaches and reinforces the “hinge” and “back swing”.
- Teaches us to create “pulling” power from the lats.
- Strengthens the hike to stand portion of the swing—which is where all the power for the rest of our swings in the set comes from.
- Increases strength in the hamstring & glutes—much like deadlifts and power cleans.
- Correct posture issues in the start position, or will very quickly reveal weaknesses that need to be addressed ASAP to avoid potential injury.
- Crosses over to stronger lifts, specifically the barbell deadlift.
- Carries over into stronger plyometric movements such as jumping and sprinting, making it essential for athletes.
- Teaches a strong start of the swing leading to stronger cleans and snatches.
The power swing can be taught to and used with clients when they are just learning or even struggling with their technique. I like to use “fast and loose” intervals for active recovery when teaching the power swing. It keeps my clients moving, but allows extra recovery time for the hips, hamstrings, and glutes.
If you have clients who especially need to work on their mobility, try super sets of power swings with a mobility drill. They’ll be able to address the mobility issues revealed during their practice sets.
Here are some examples of mobility drills to super set with power swings:
- If the client has a rounded back, use the wall hinge drill or thoracic bridge.
- If the client doesn’t finish through with their hips at top of the swing, superset with the RKC hip flexor stretch, bridge, or frog stretch.
- If the client pulls the kettlebell up with their shoulders instead of snapping their hips, superset the power swings with the towel drill.
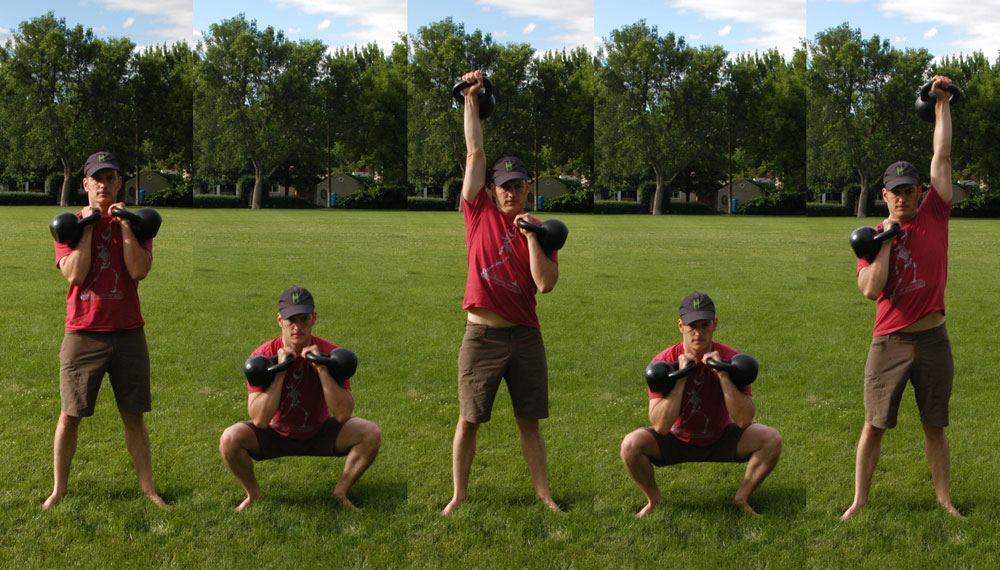
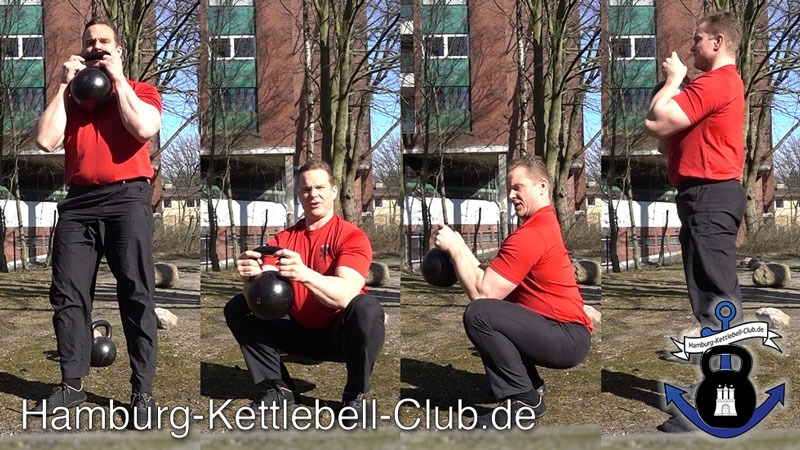
How to Teach the Power Swing
- Set hike position
- Swing once and return to start
Repeat up to 10 rounds depending on the client’s fitness level and technique issues. Add in mobility and/or corrective drills between rounds as necessary.
For high performing clients, you can turn power swings into a grueling strength workout by increasing rounds and/or number of reps per round. Be sure to design the workout with the safety and skill level of the client or group in mind.
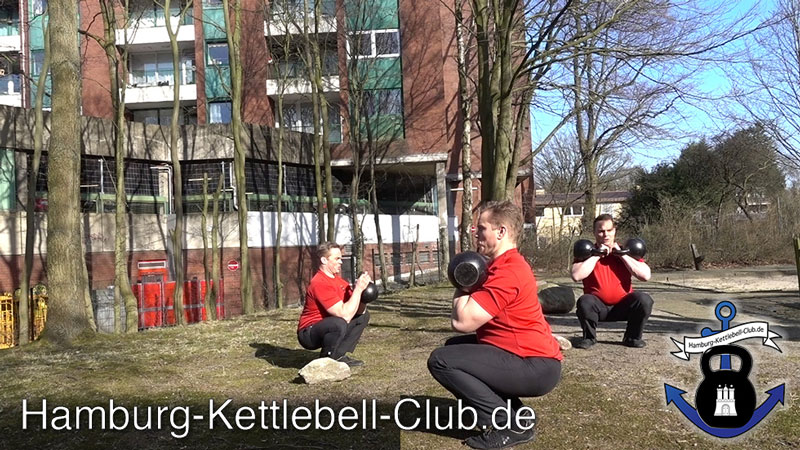
In the video below, I purposefully selected a wide range of clients to show how a power swing routine can work for a group with a variety of fitness levels—which most trainers will see any given day. The clients in the video range in age from 18 to 62. Both men and women are following the routine. The group also includes a breast cancer survivor, a client who had hip labrum surgery, a few HKC certified instructors, and a few beginners who learned to swing kettlebells only a week before this video. The finisher in the video is also suitable for a mixed group. Obviously, I can make it much harder for my advanced clients, but for the sake of this video I kept it simple. We focused on the power swings with a few short breaks.
For more specialized groups—martial artists, youth athletes, advanced adults, pair higher rep (or heavier kettlebell) power swings with tougher movements such as burpees, full bridges, advanced push-up variations, renegade rows, heavy kettlebell floor presses, fast & loose drills, and/or sport specific drills.
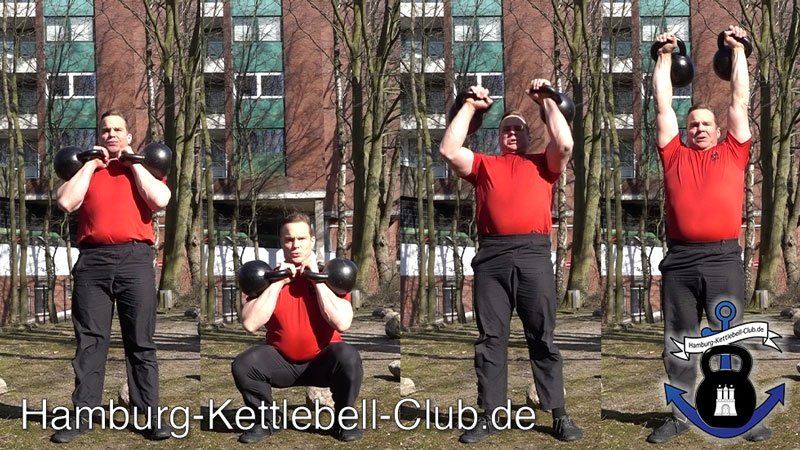
Below is a short clip of my husband and I demonstrating a ladder routine with power swings and push-ups. Before you begin the routine, line up three kettlebells from light to heavy. Perform three swings with the light kettlebell, two swings with the middle kettlebell, one swing with the heavier kettlebell, and finally one push-up. Each round, increase the push-up reps each round. Set a timer for ten minutes and see how many rounds you can do well. It’s simple, but effective.
Our swings are only as good as the power we are able to create from the ground up. Just like with any sport, teaching and drilling the fundamentals are how star athletes are born. When we forget the fundamentals, we lose our edge. The power swing is a fundamental element many of us are missing in our Hardstyle kettlebell training. It’s time to go back to the fundamentals that made us the solid RKC instructors we are today. It’s time to practice the power swing!
***
RKC Team Leader Kristy Agan is also a PCC Instructor, American Council of Exercise (ACE) and TRX qualified personal trainer. She owns and operates KA Athletics in Rome, Georgia. Kristy also maintains an online training business kristyagan.com. Follow Kristy on Instagram @kristyagan and Twitter @kristyagan or on Facebook at https://www.facebook.com/Kristy.Agan.Trainer
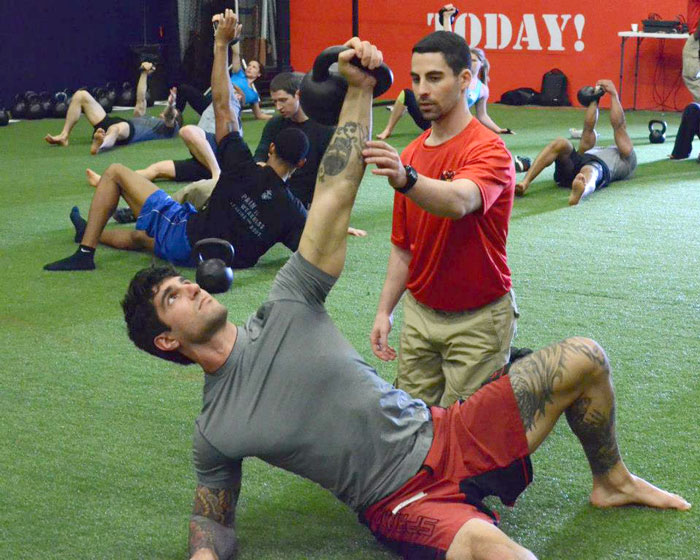
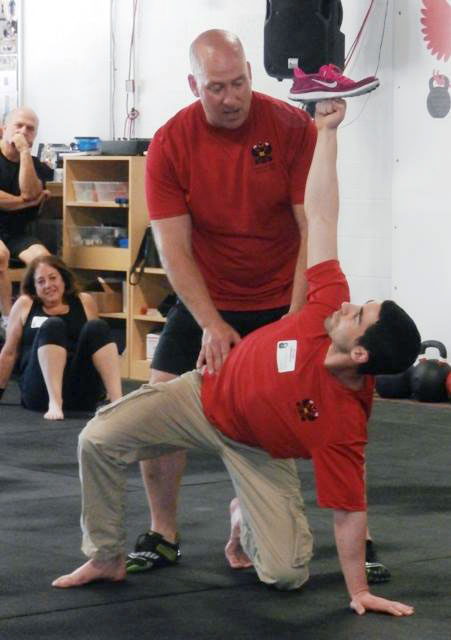
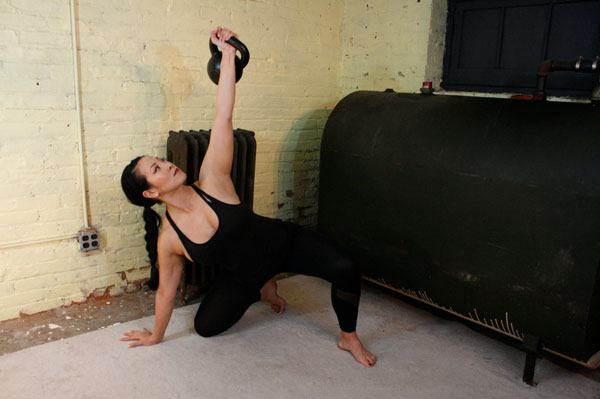
 Slow motion get-ups are different than doing a get-up at a regular pace and pausing at each step. Perform a slow motion get-up as though you’re watching yourself on video, frame by frame. Definitely pause at each step to check yourself (just as you would in a regular get-up) but move in super slow motion from one step to the next. At first, you may want to try slow motion get-ups with no weight. It’s surprising how challenging this drill can be!
 Each movement in the get-up is a pivot from the body’s core joints—the hips and shoulders. The pivoting should be smooth. Once the position is established, all “sides” of the get-up cube should also be aligned. The spine must be straight throughout the get-up. The body’s center of gravity must be balanced between the limbs. The angles of the hips and shoulders positioned to provide maximum support and stability. Each limb, joint and muscle must be arranged and coiled underneath the weight overhead to create a solid foundation.

 My Top Five Kettlebell Exercises for Golf:
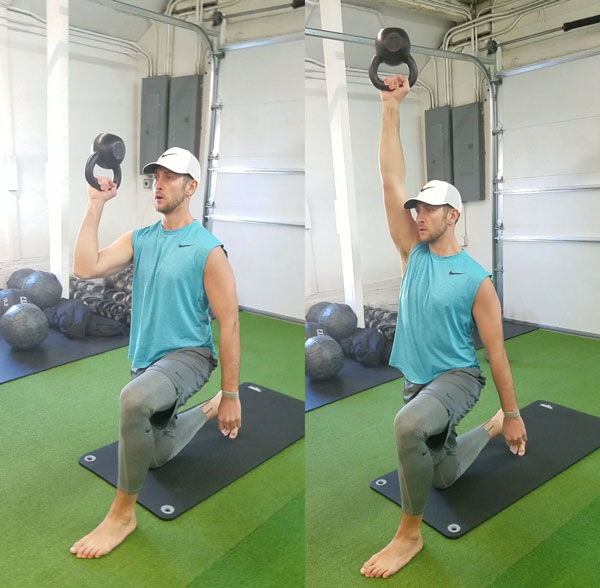
 In my opinion, it is wiser to train in a way that gradually builds you up over time. Work for your health while prepare yourself for whatever might come.
 Beginning in the second trimester, it is also important to avoid exercises that require your client to lie flat on her back. This precaution can prevent the weight of the uterus from compressing the vena cava—a major blood vessel—potentially disrupting blood flow to the baby and leaving mom dizzy and short of breath. An easy way to work around this issue is to instruct your client to do these prone exercises, such as floor presses, on an incline instead.