What effective balance training is NOT
Many people believe that balance training has to involve a bosu ball or a balance pad where you think that you’re challenging and improving your balance. This is an outdated idea of how balance should be trained.
When you work with the general population, you discover that a high number of them have a difficult time simply standing on one leg. If your client is already challenged by standing on one leg and you put them on a balance pad or bosu ball, you’re only building on dysfunction and a faulty base of support.
Instead of going right into challenging their surface area of support, challenge their base of support first. This allows you to help build a stronger base of support and go from stable to least stable using their own biomechanics.
The more effective way to train balance
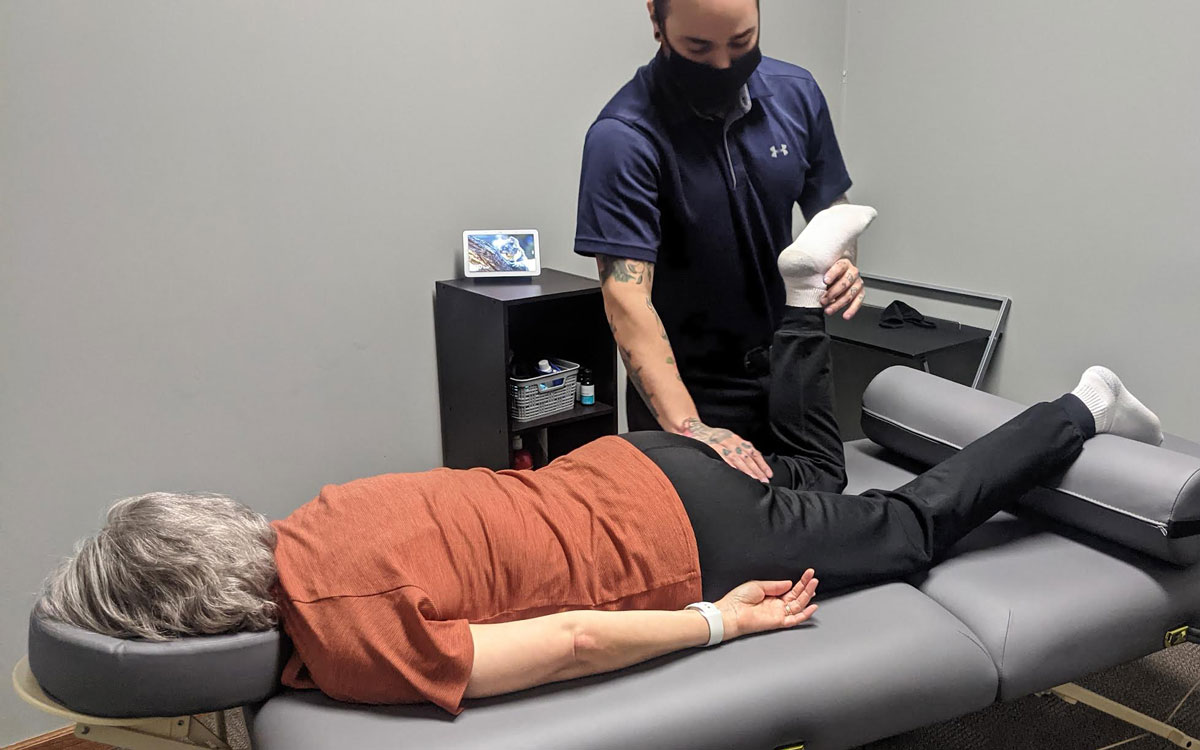
To properly train balance you need to see where you’re at with your client. This can be done by assessing their movement. The FMS does a good job at helping screen for movement capabilities. The assessments that help to determine a client’s balance are the split squat and hurdle step. I prefer to use a single leg stand test which is similar to the hurdle step and ask my client if they can perform a lunge — and if not I test their ankle range of motion by using a simple ankle dorsiflexion test to see where their range of motion is.
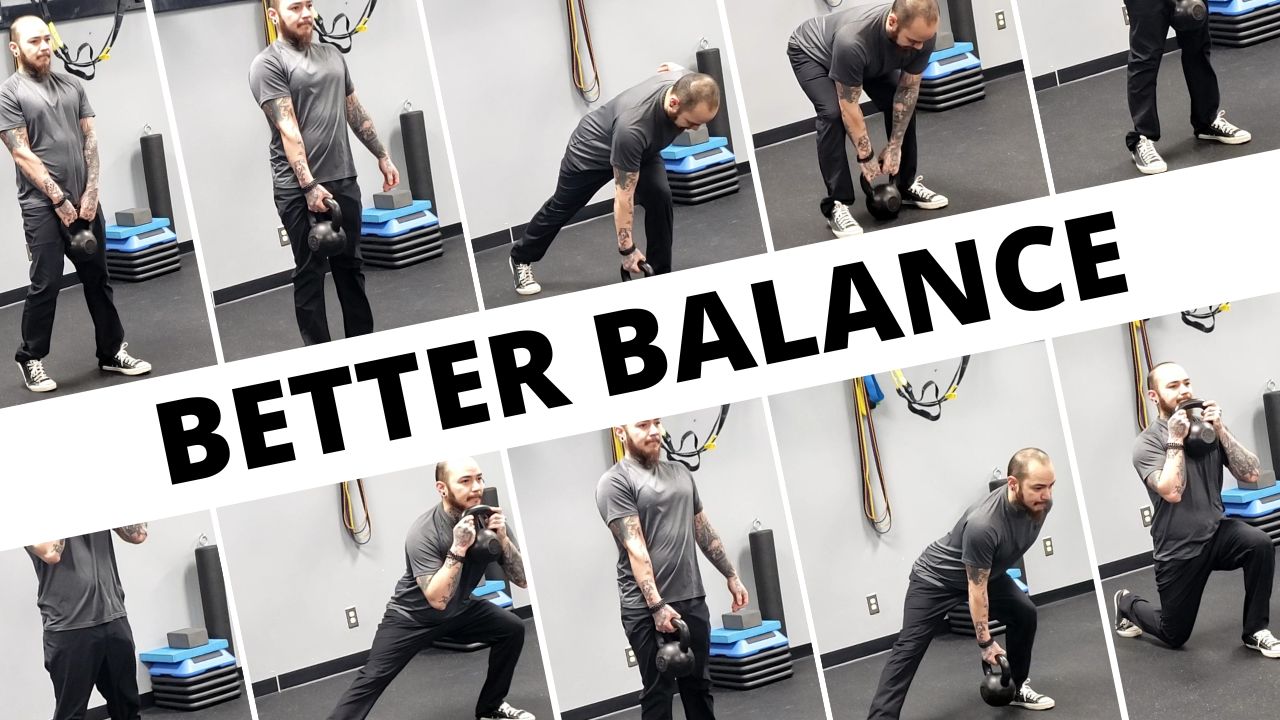
When you train proper balance you begin with the most stable base of support which is going to be a bilateral position where both feet are flat on the floor. From there you can change the body position into a kickstand position, then further it into a step back position, then move into a full single leg motion. Balance training is about how well you can maintain stability of the fixed joint. When you do proper balance training there is no need for balance pads or bosu balls.
Here are some of my favorite kettlebell exercises to help build and progress in proper balance training.
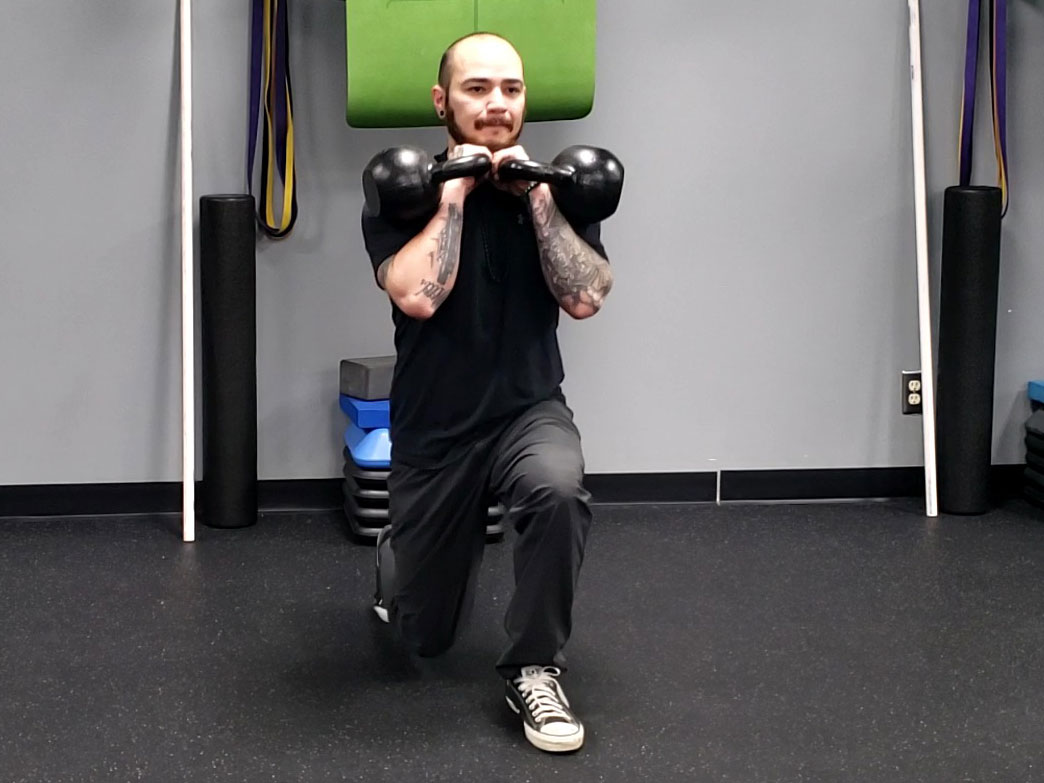
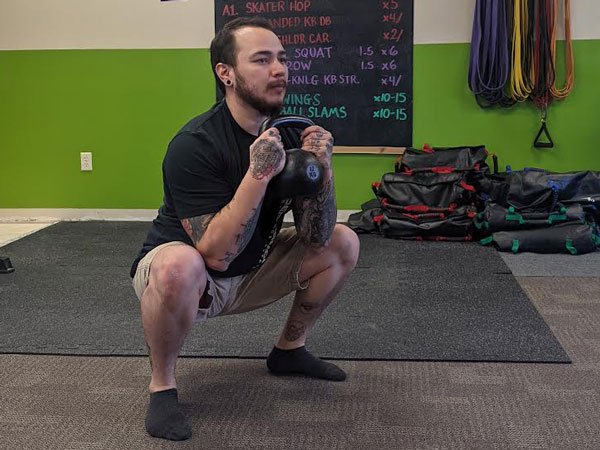
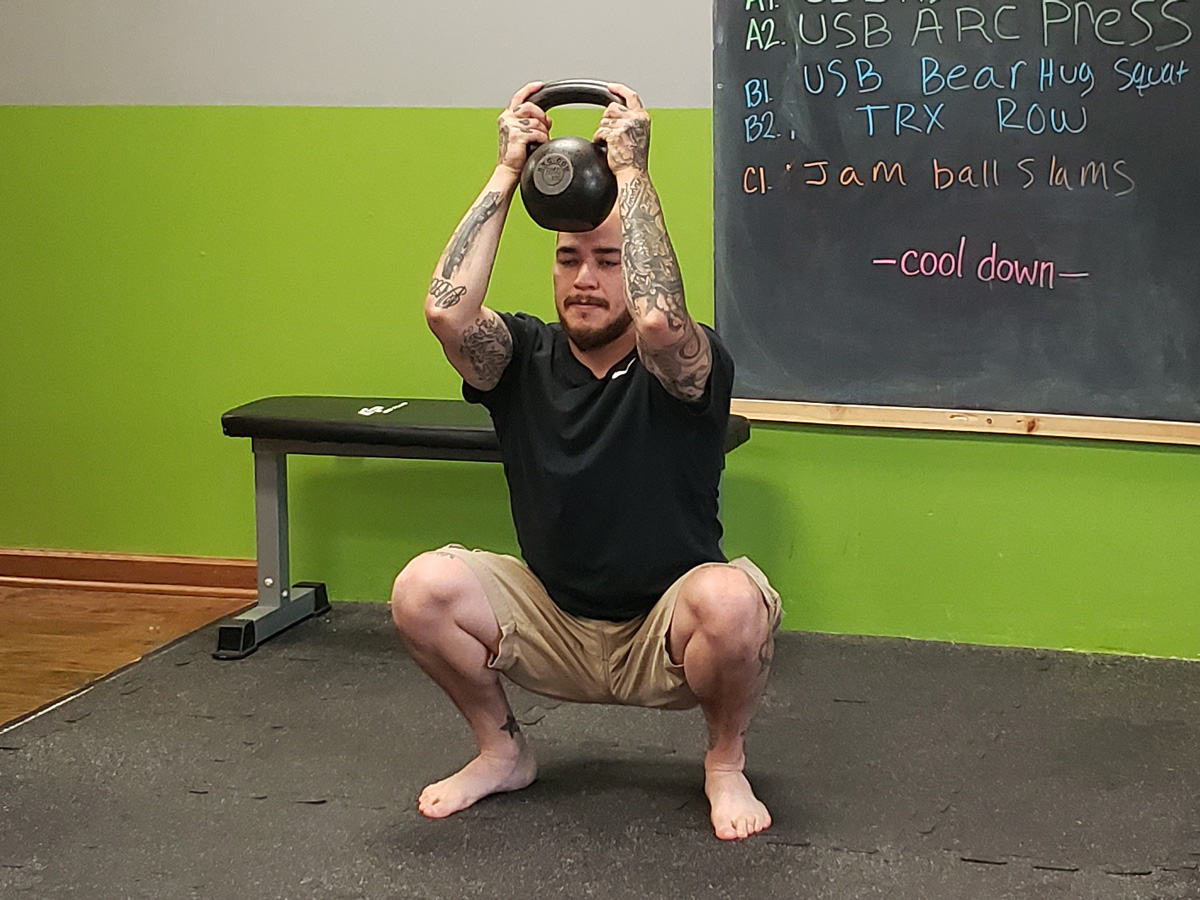
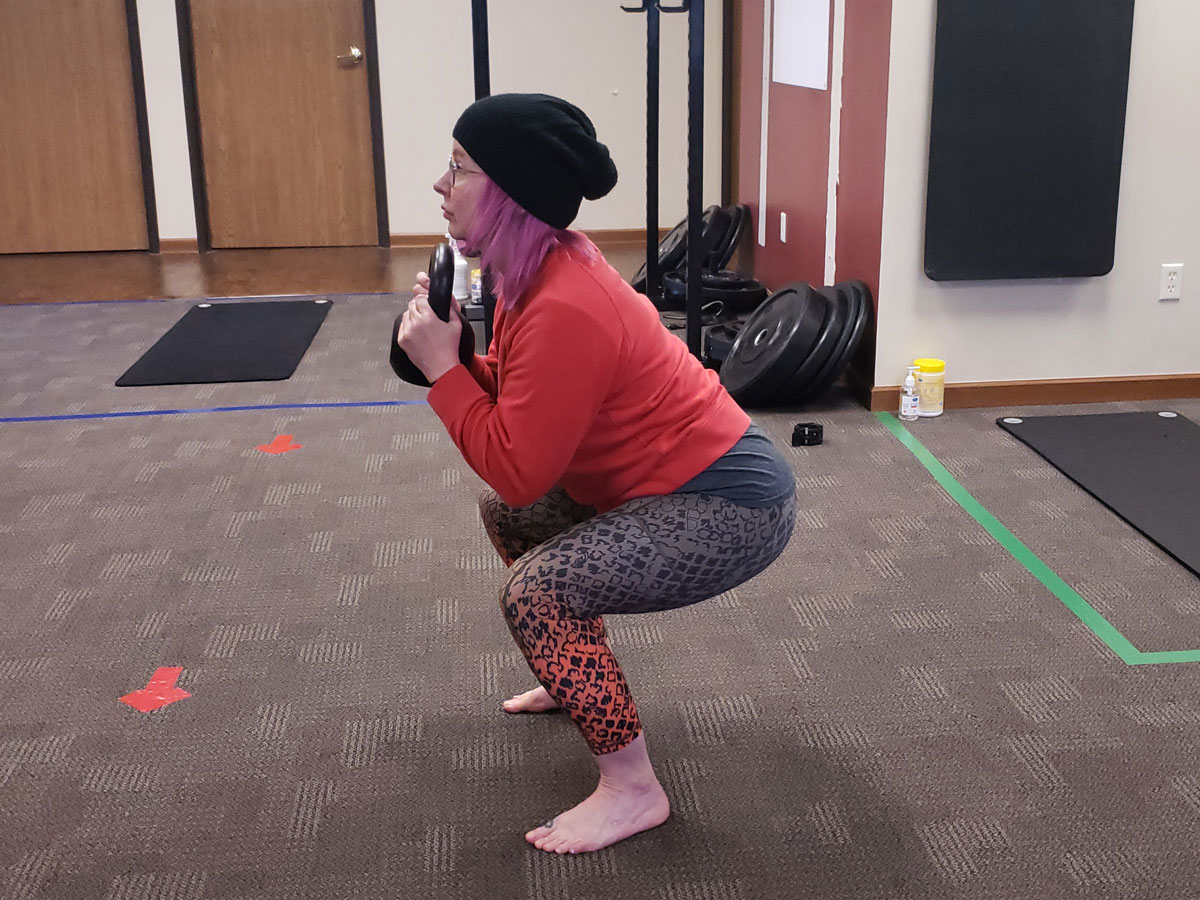
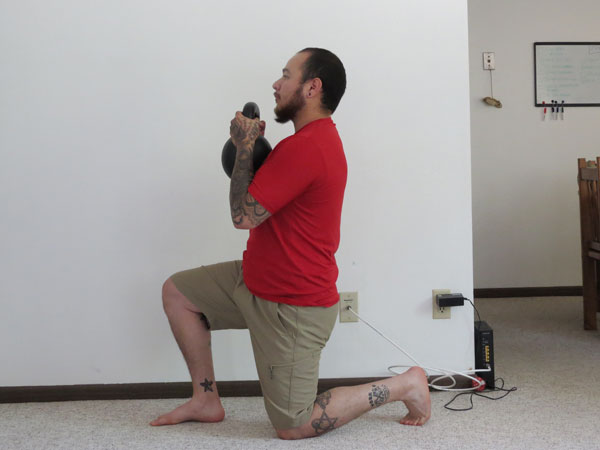
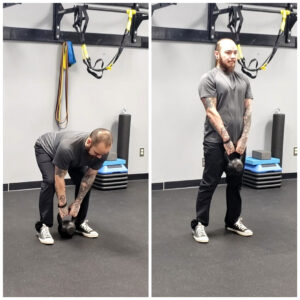
Split Squat
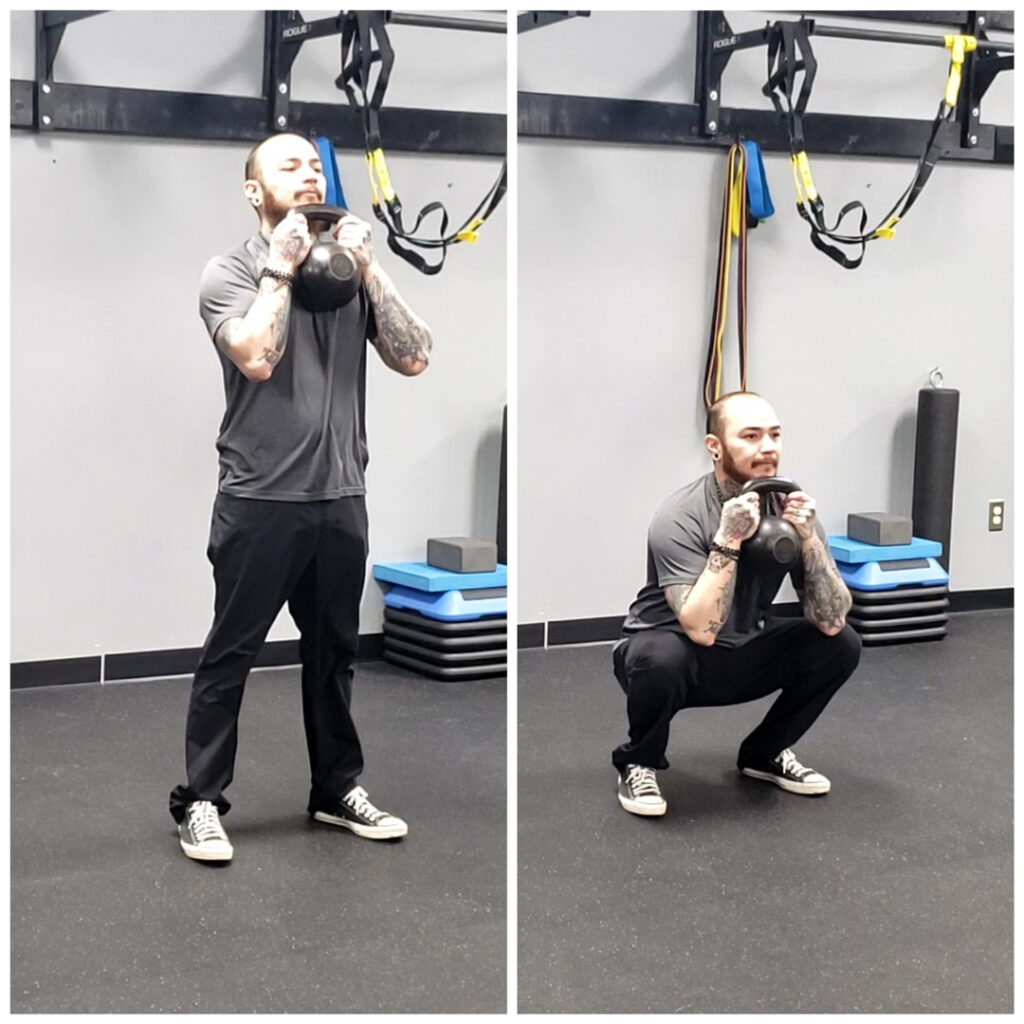
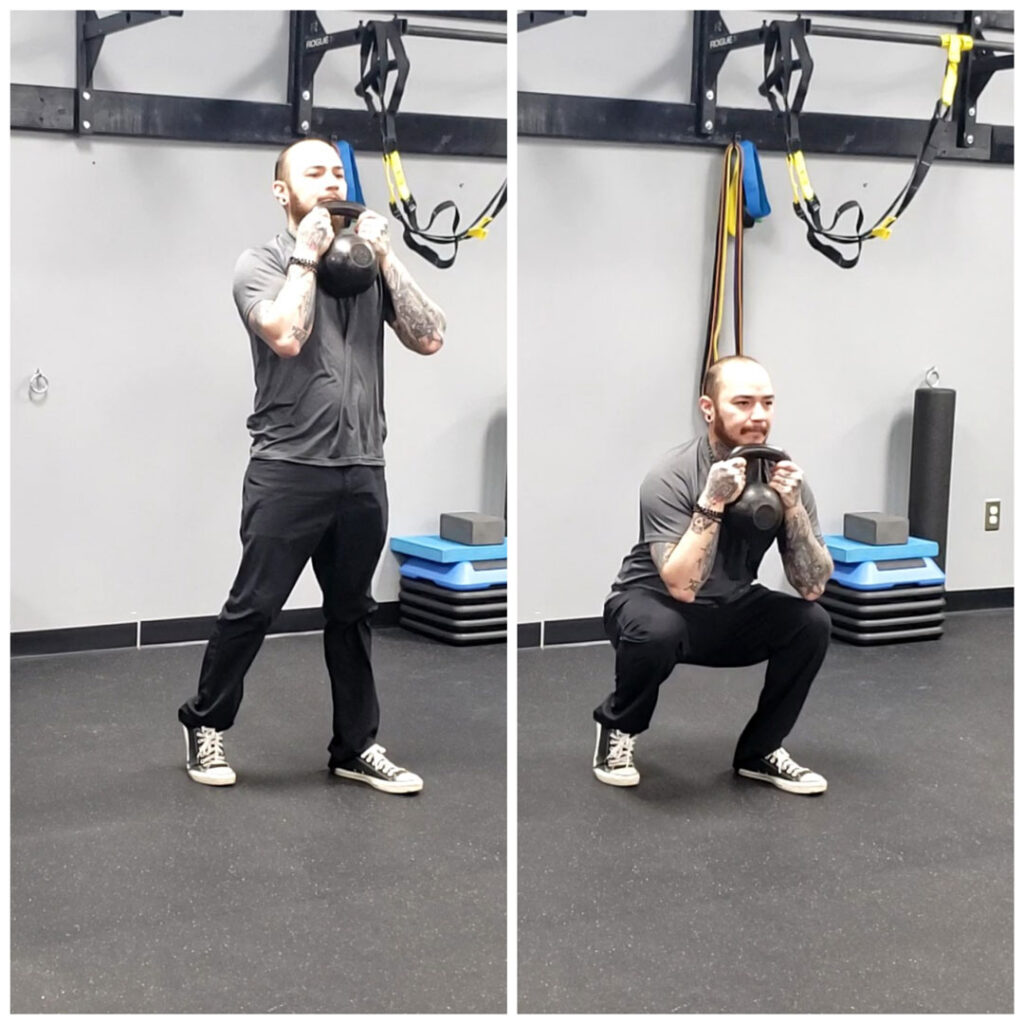
The split squat is a great exercise because you get to train balance of the forward leg while maintaining stability through the rear foot.
You can begin with a traditional squat and once the technique has been properly mastered you can then move into a kickstand position where you begin to challenge the base of support, because you are raising the heel off the ground and pulled in-line with the fixed heel. From there you can begin to further challenge the position by going into a step back position, then going into a rear foot elevated position where you are creating a greater intensity to your balance and stability.
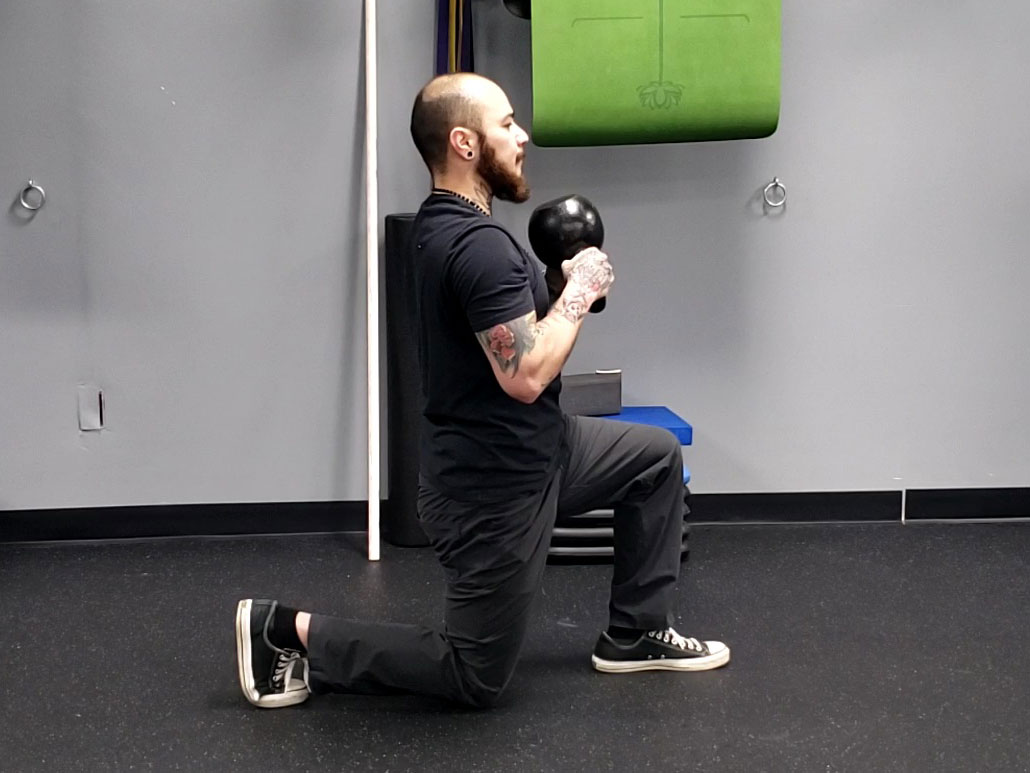
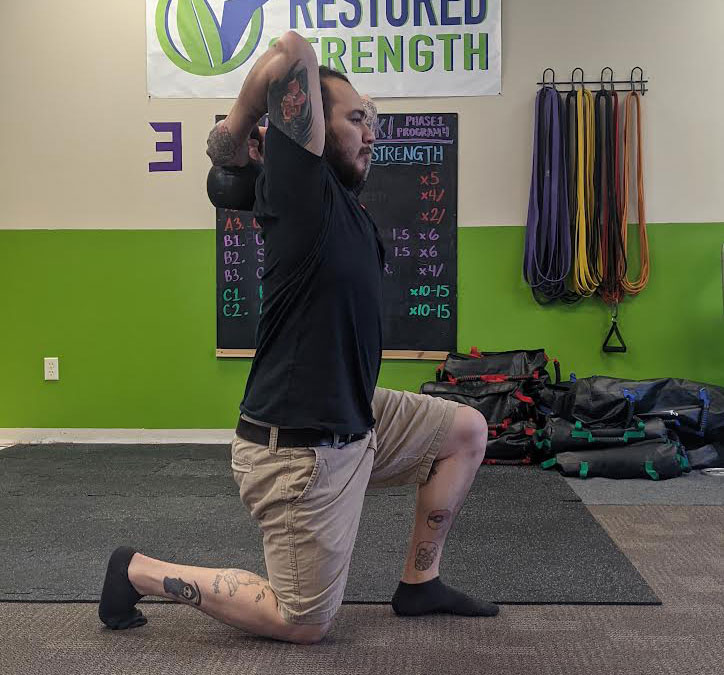
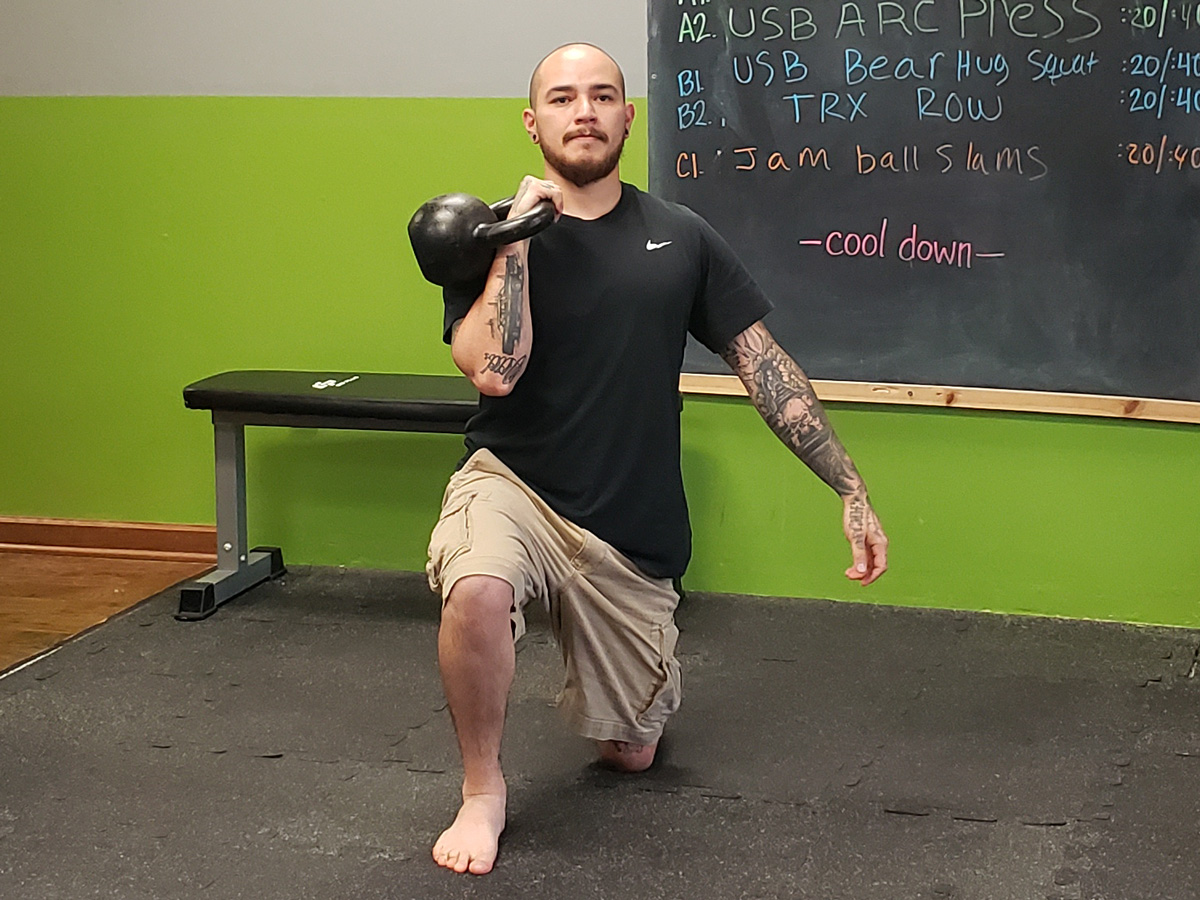
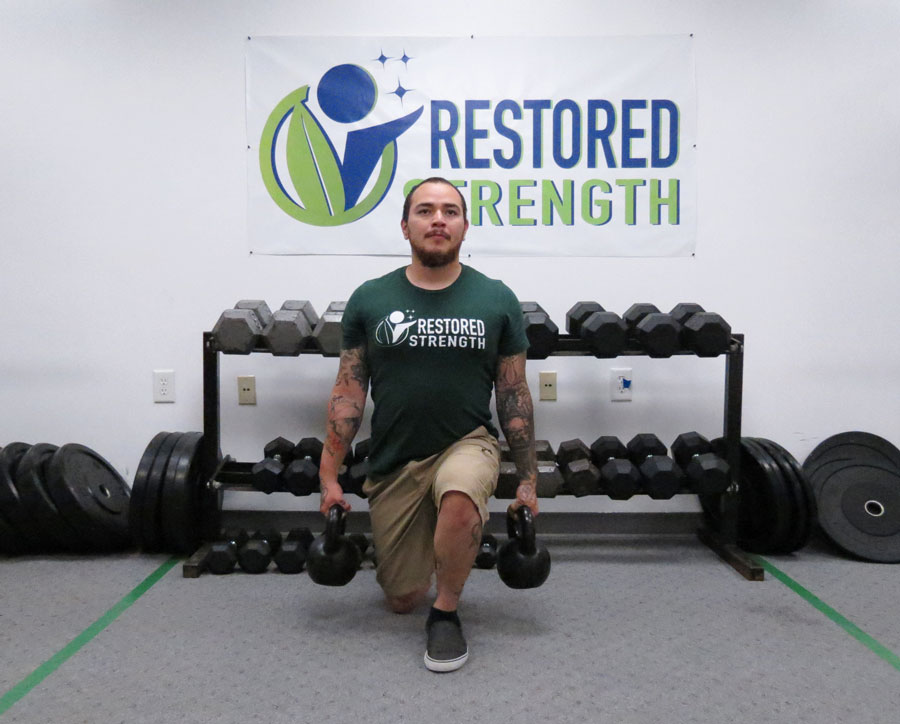
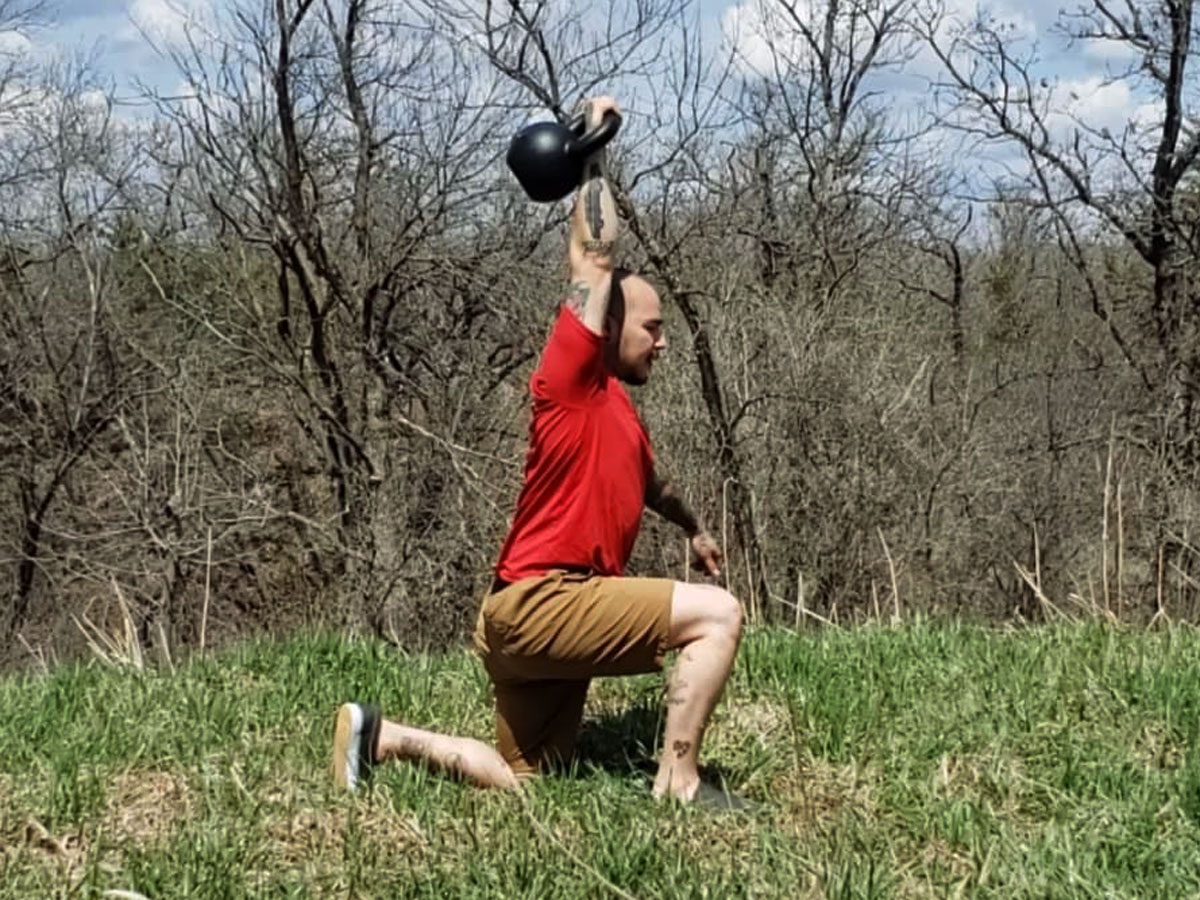
Reverse Lunge
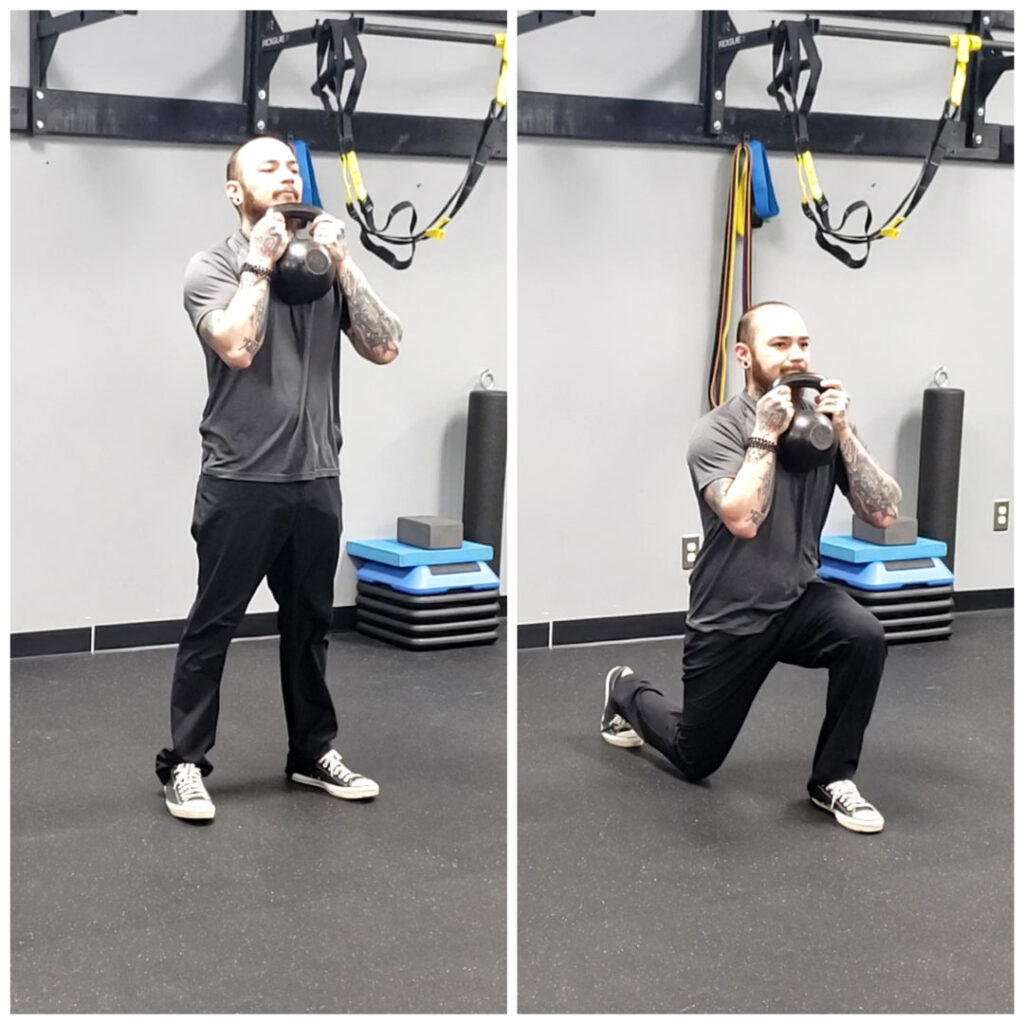
The reverse lunge is another exercise I like to help train balance for clients. If the client is unable to perform a lunge then I will have them substitute it for a step up. The sequence is slightly the same, which would be starting with the greatest base of support where they’re continuing to learn how to squat from there they can move into an active kickstand position, then moving into a reverse lunge. You can progress this movement by elevating the front foot or by stepping forward.
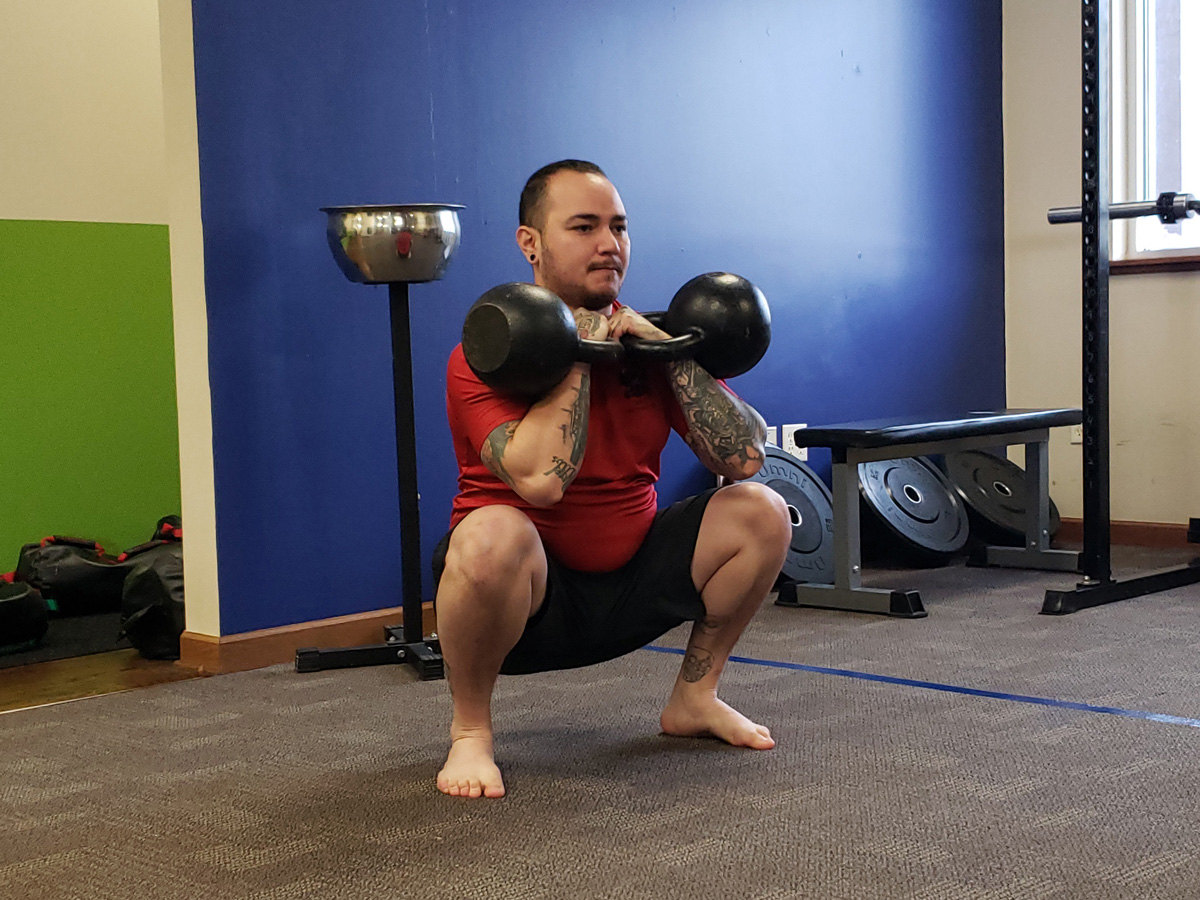
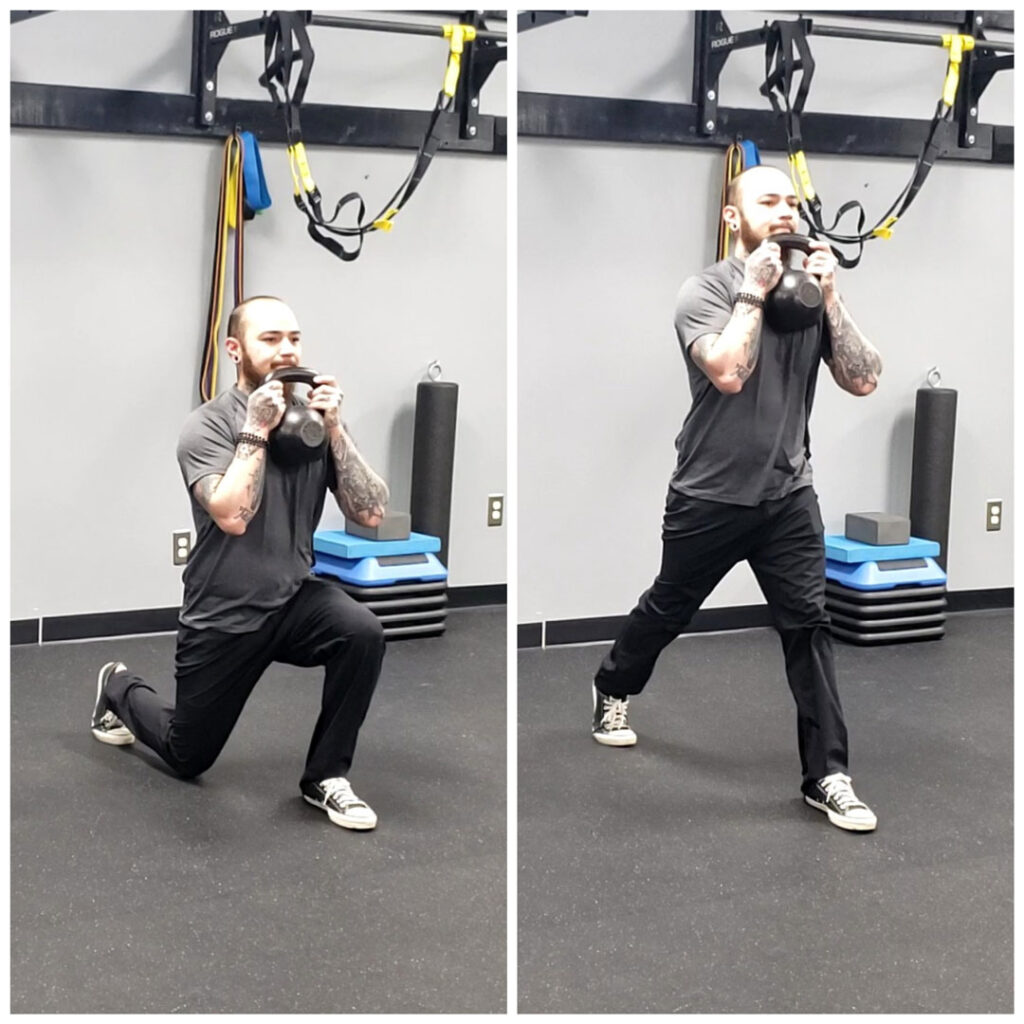
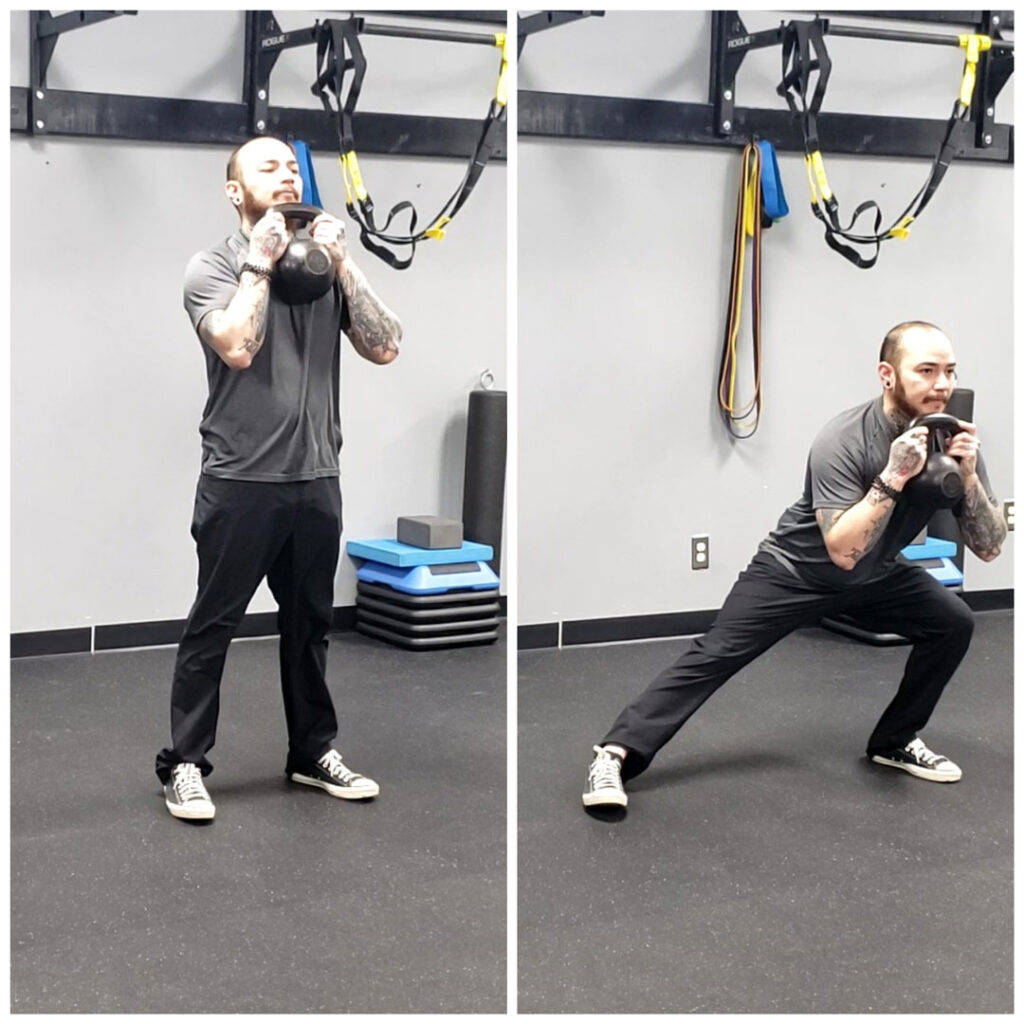
Lateral Lunge
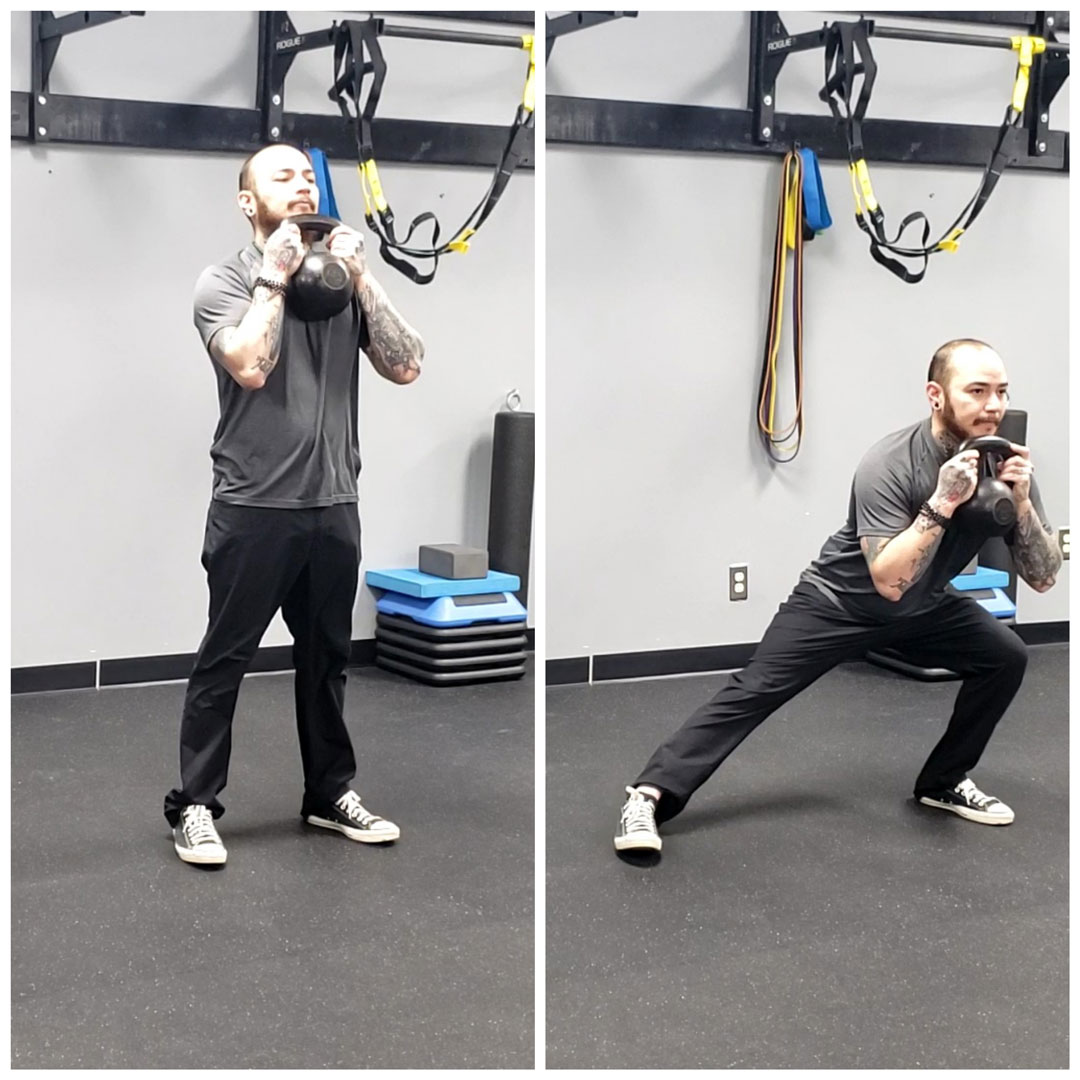 The lateral lunge takes you from the sagittal plane of motion into the frontal plane of motion where things can be even more challenging for creating better balance. You can begin by starting in a wide stance and squatting down in a stationary position. From there you can move into a more active lateral lunge where you are more active and fluid with the movement. You can progress this movement by adding in a cross over step to further challenge the base of support with additional resistance.
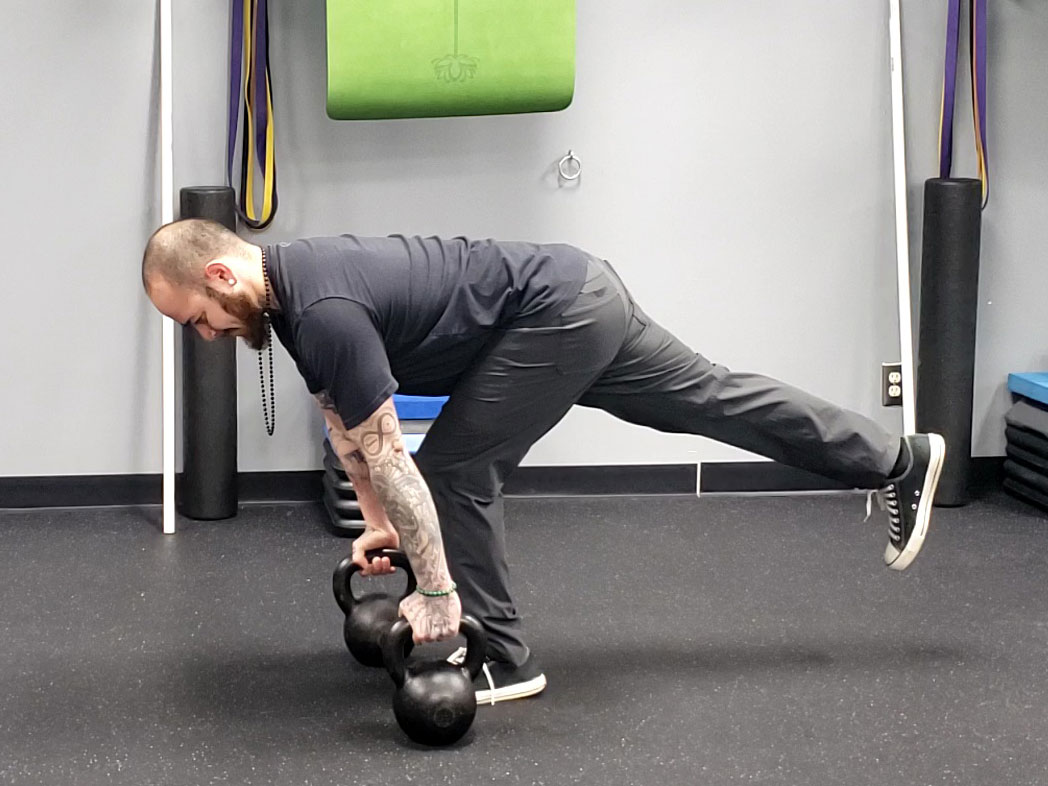
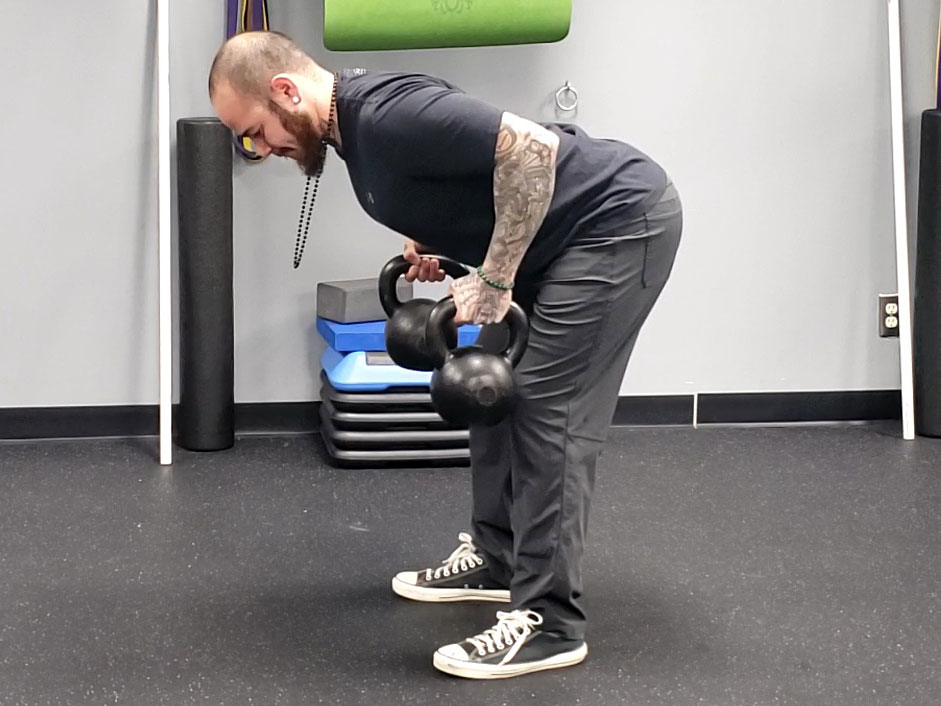
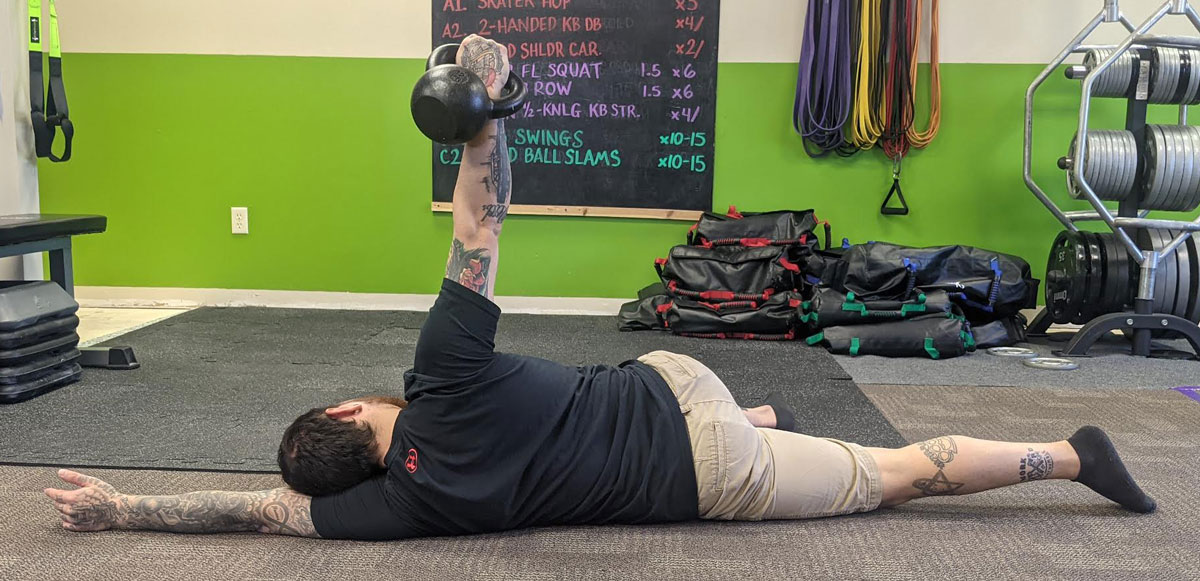
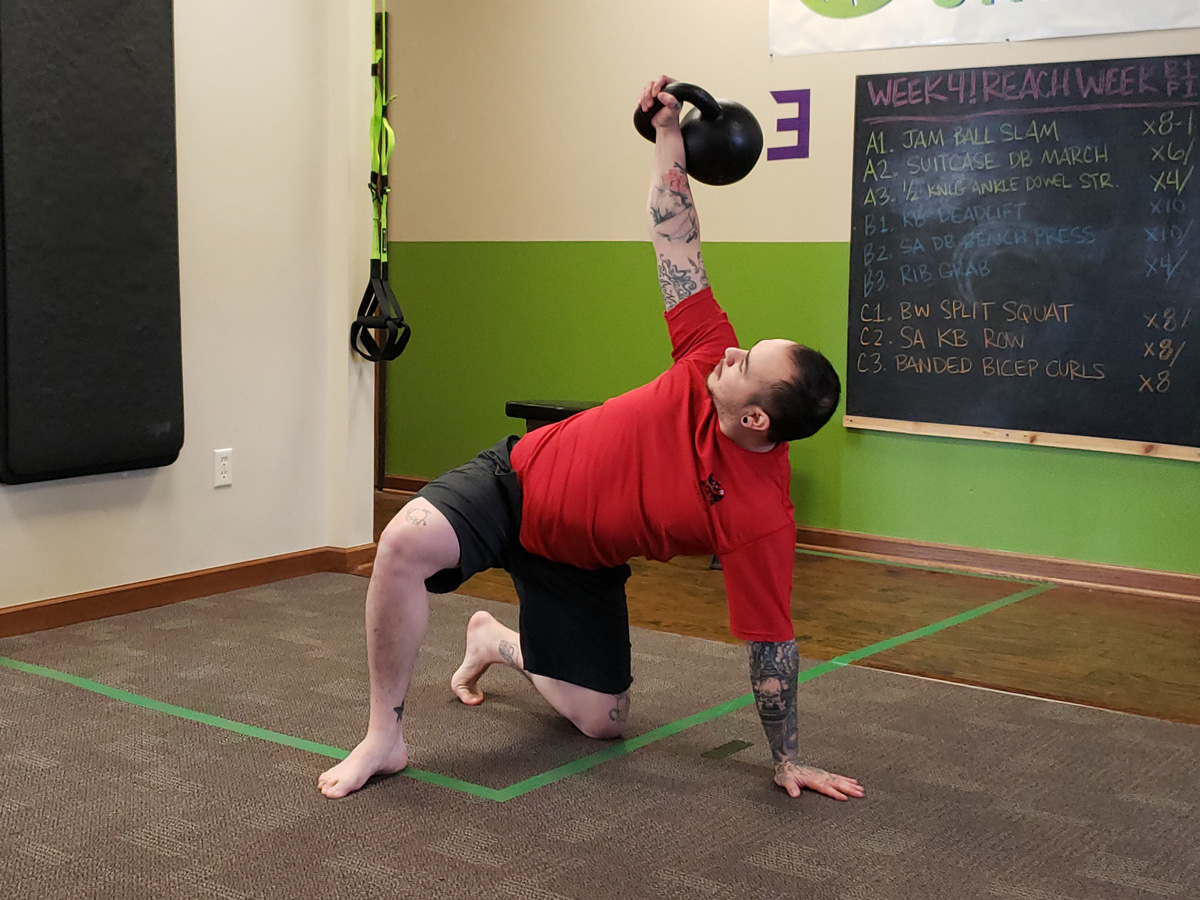
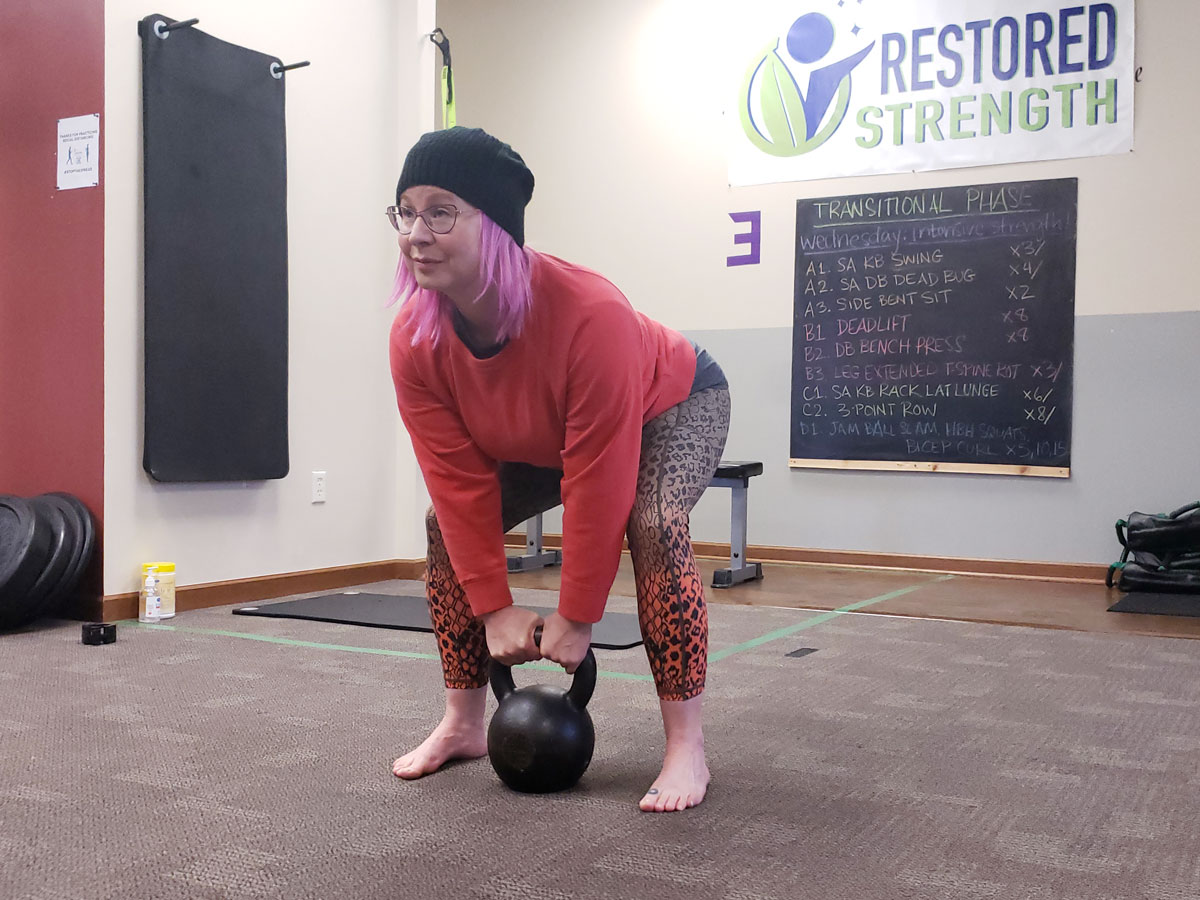
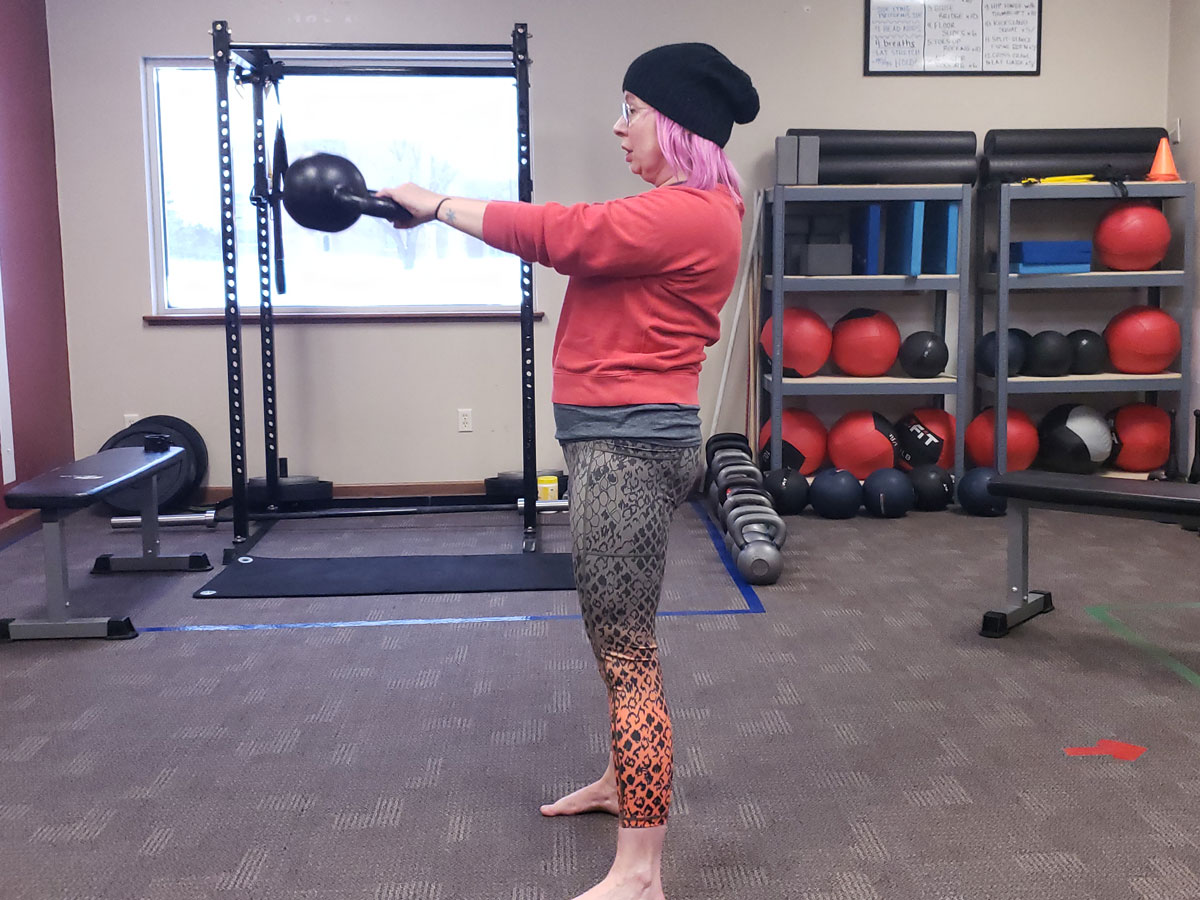
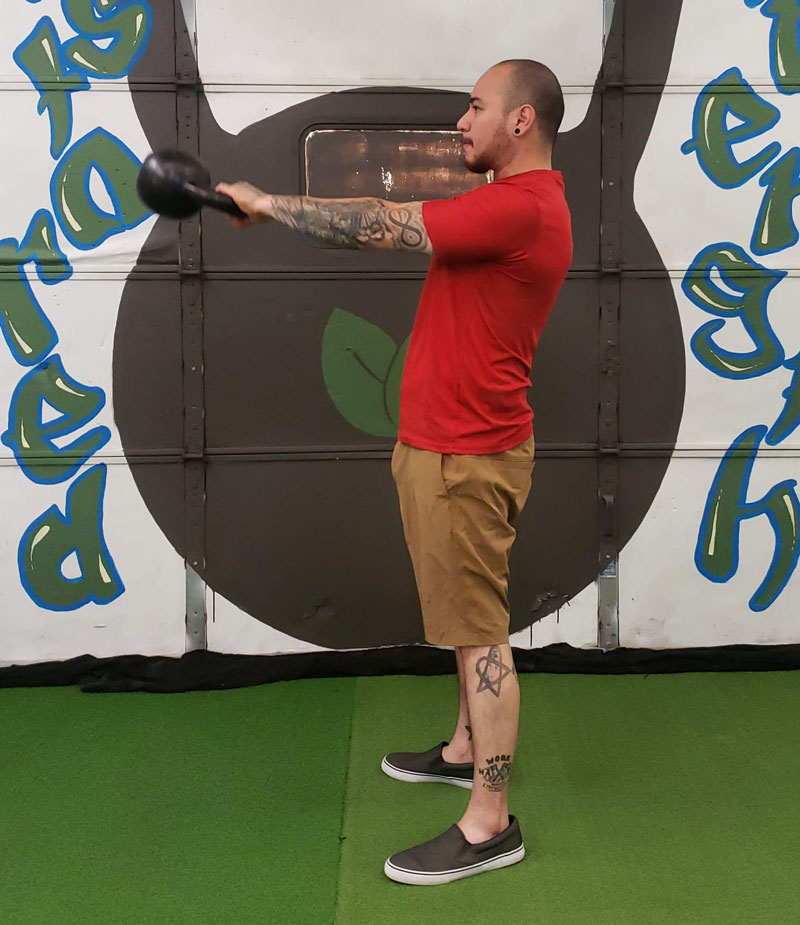
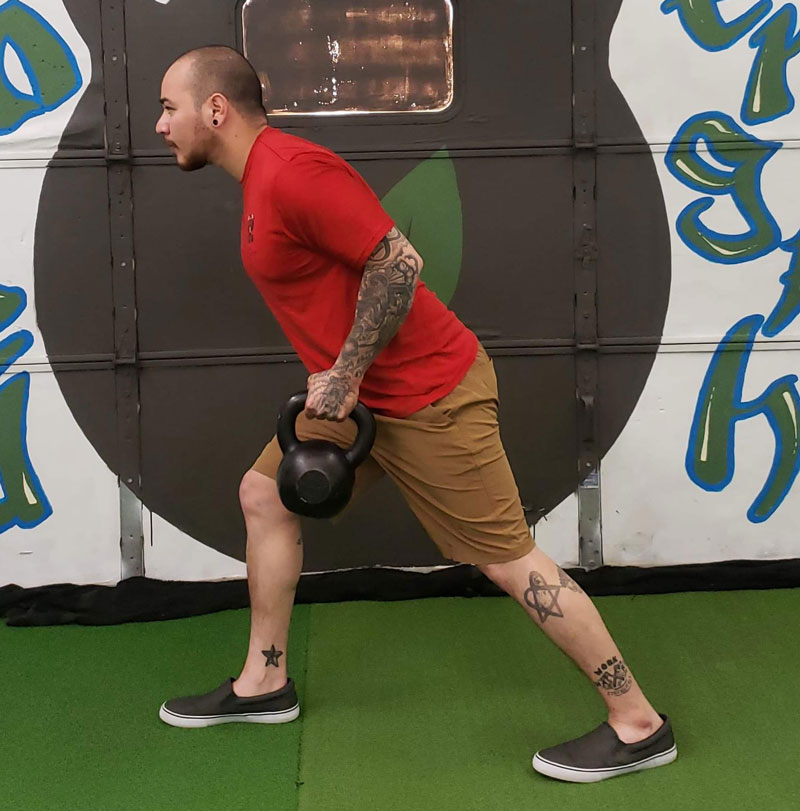
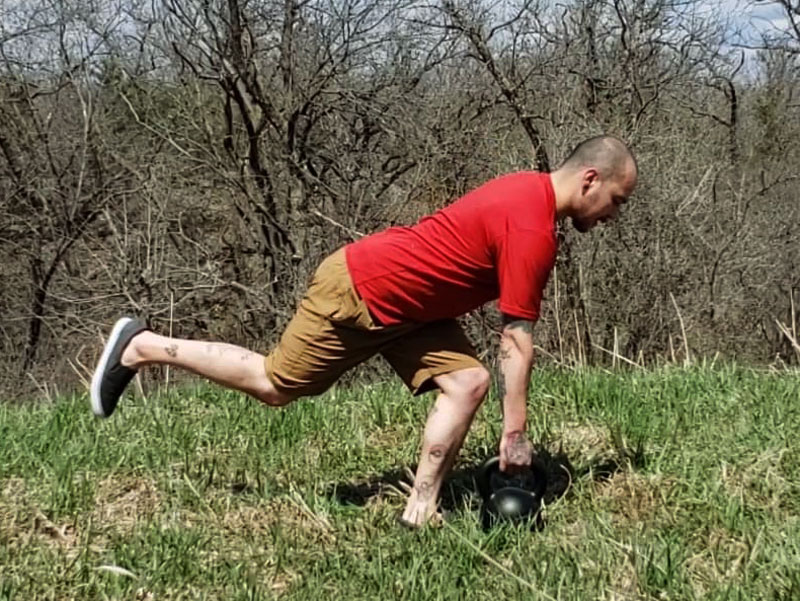
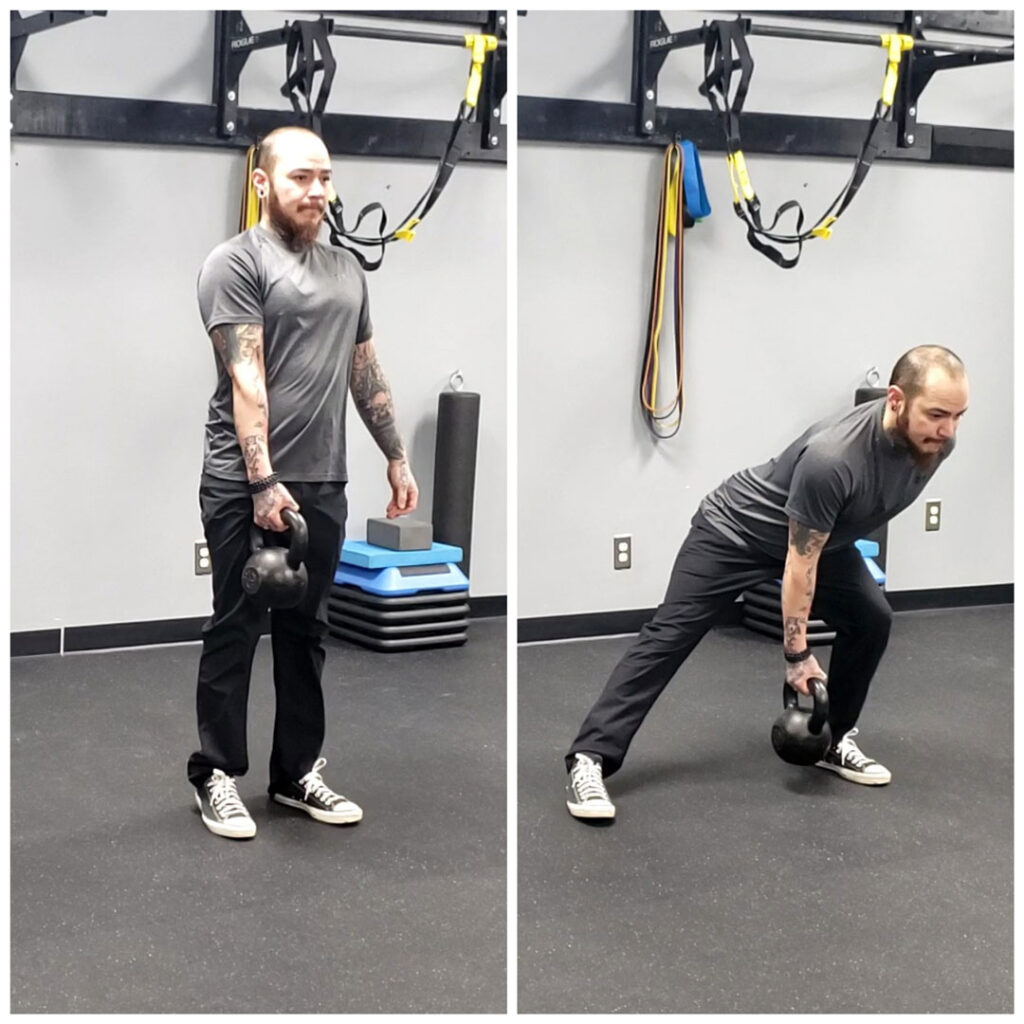
Single Leg Deadlift
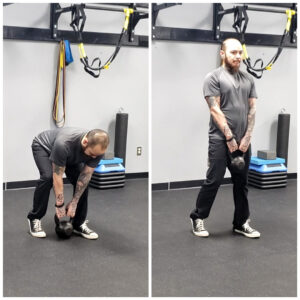
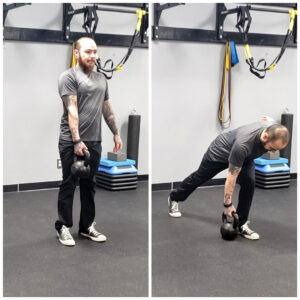
The single leg deadlift is one of my favorite exercises to build better balance. This is a similar progression model where we begin with building a solid foundational base of support with both feet flat on the ground. From there clients can progress with a kickstand position then move into an active step back position, then lastly going into a full single leg deadlift. This allows you to build the lever arm of the traveling leg from short to long and from most stable to least stable.
Lateral Deadlift
The lateral kettlebell deadlift will be a similar build up from the lateral lunge. You can be in in a wide stationary position, then build into a more active movement, and progress it by adding in the crossover step. You can go from a single bell to double bells to help add load and complexity to the exercise.
Balance training should be a big component to your fitness program, but it needs to be done in a sequential manner where there is a gradual build up to the end goal. Adding strength onto dysfunction will only lead to further dysfunction, especially when your client is already lacking a bare minimum entrance point to their balance.
***
William Sturgeon, RKC Team Leader, RKC II trains clients at his gym, Restored Strength. Contact him through his website at RestoredStrength.com or follow him on Facebook: facebook.com/restoredstrength