Low back is one of the most common injuries or difficulties that most people struggle with daily. There are many reasons that can be leading to low back pain such as excessive sitting or standing, lack of physical activity, improper use of biomechanics, chronic stress, etc. Just as there are many reasons for low back pain, there are also many solutions for low back pain.
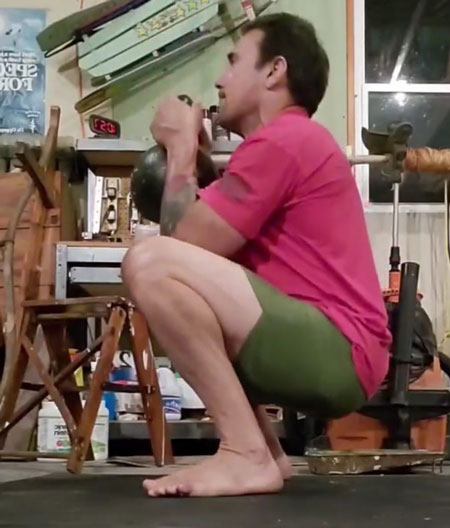
One of the best exercises to help someone with low back pain is the kettlebell swing, granted they’re cleared from their PT, DC, or MD to participate in physical activity. The reason for this is that it’s going to teach your client how to properly hinge at their hips, brace their core to maintain spinal stability, and strengthen their glutes by showing them how to contract them fully.
Now there has been some negative connotation in the past associated with low back pain and kettlebells. I’ll address that right now: kettlebells aren’t causing you to have low back pain, it’s poor biomechanics used with kettlebells that is leading to furthering your low back pain.
Here’s a sequence you can use to help teach your client how to swing properly if they’re dealing with low back pain.
Soft Tissue Work with Rolling Out
I like starting each of my training sessions with some soft tissue work, also known as self-myofascial release (SMR). We can call it rolling out for short. The main areas that I have clients roll out are the following: Quads, Calves, Hamstrings, Glutes, Upper Back, and Lats. These muscles are usually the prime movers in most of the movements we will be doing in the workout. It helps to promote blood flow to the areas we’re focusing on to help create an acute range of motion, but also helps the client feel better for the session. Think of this as a mini-self massage. I usually have them spend about 30-60 seconds on each individual muscle group.
Warming Up with Mobility
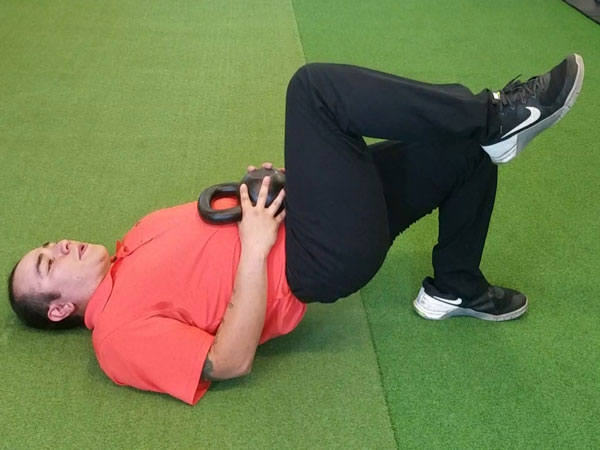
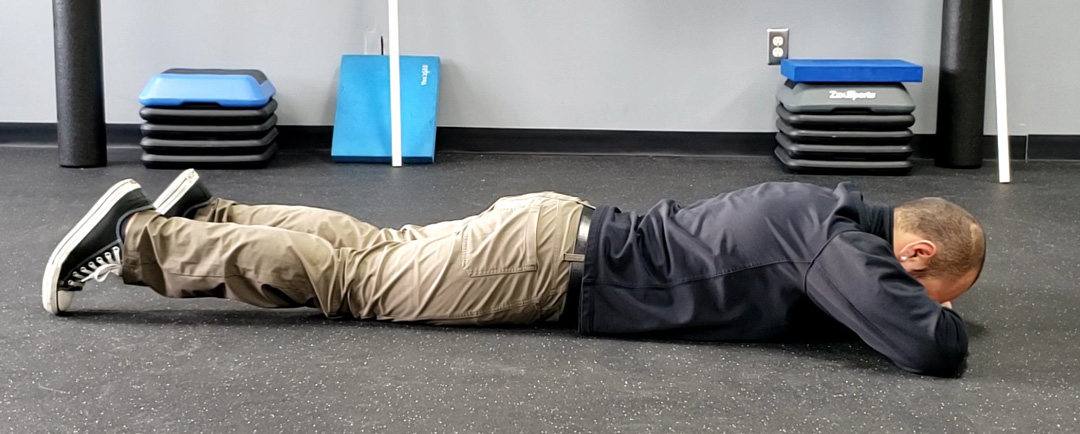
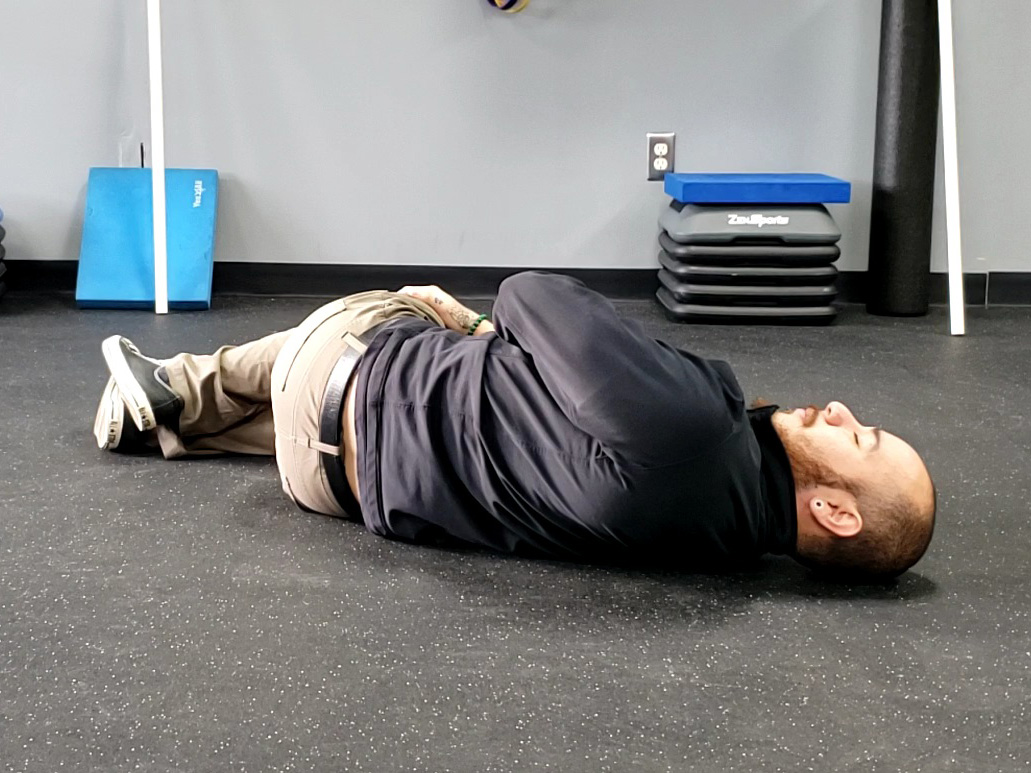
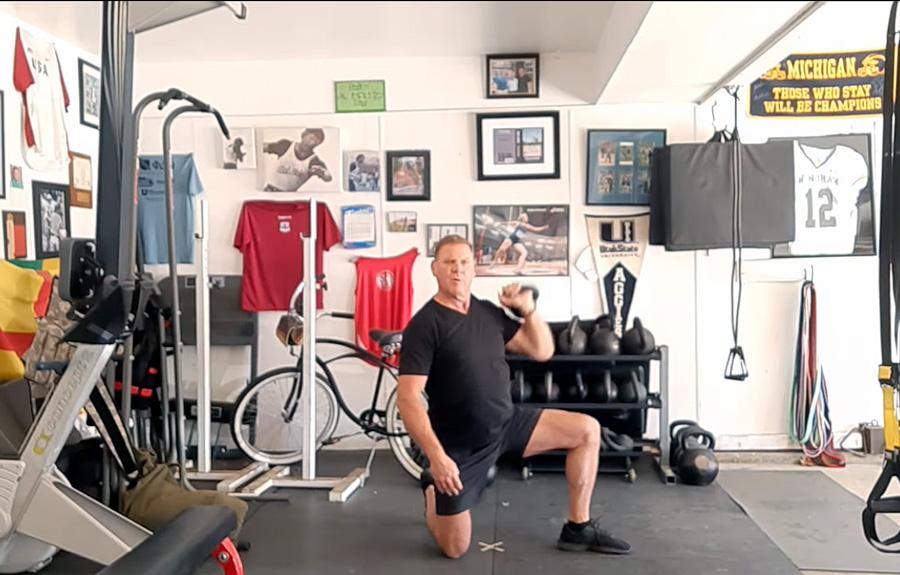
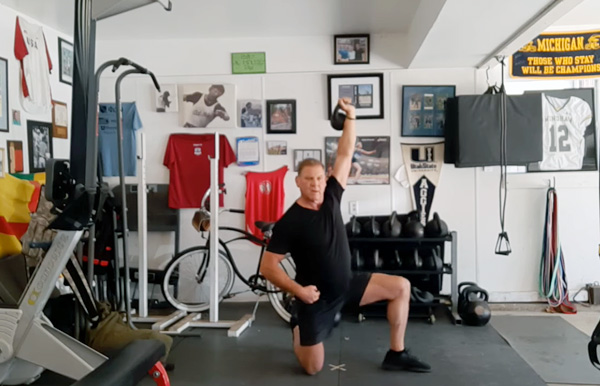
After rolling out, the next sequence of the warm up is to do some active mobility and dynamic movement to help prime the muscles, mobilize the joints, and prep the body for exercise. I like starting on the ground and working my way up. I usually start with a mini-band glute bridge, then move into some body weight dead bugs, then move into mini-band bird dogs, next going into an active half kneeling hip flexor stretch, then a leg extended hand behind the head rotation, wrapping up with some mini-band lateral walks. I usually do about 10 reps total of each exercise.
Kettlebell Swing Progression
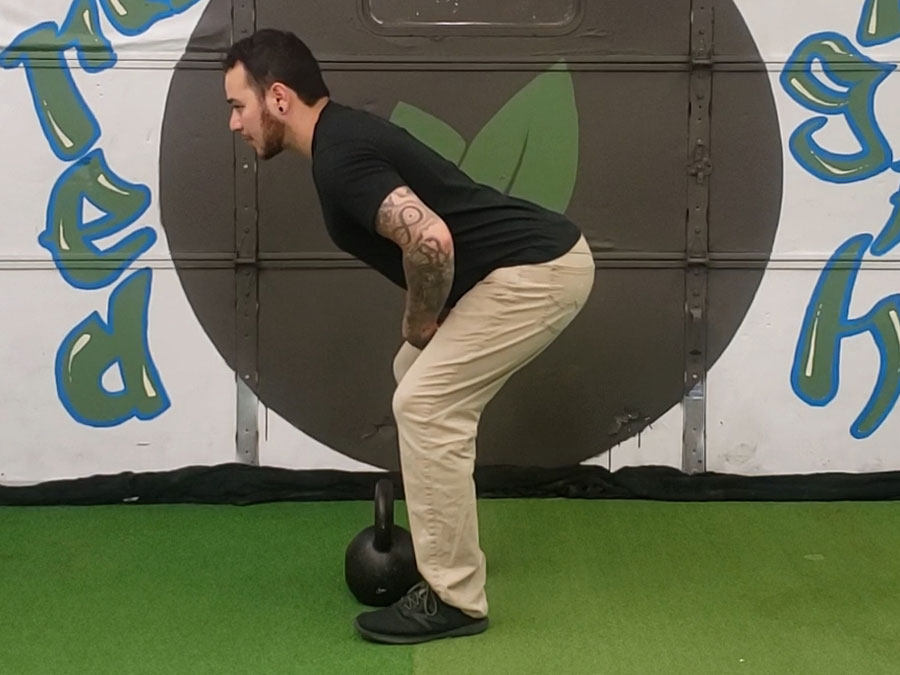
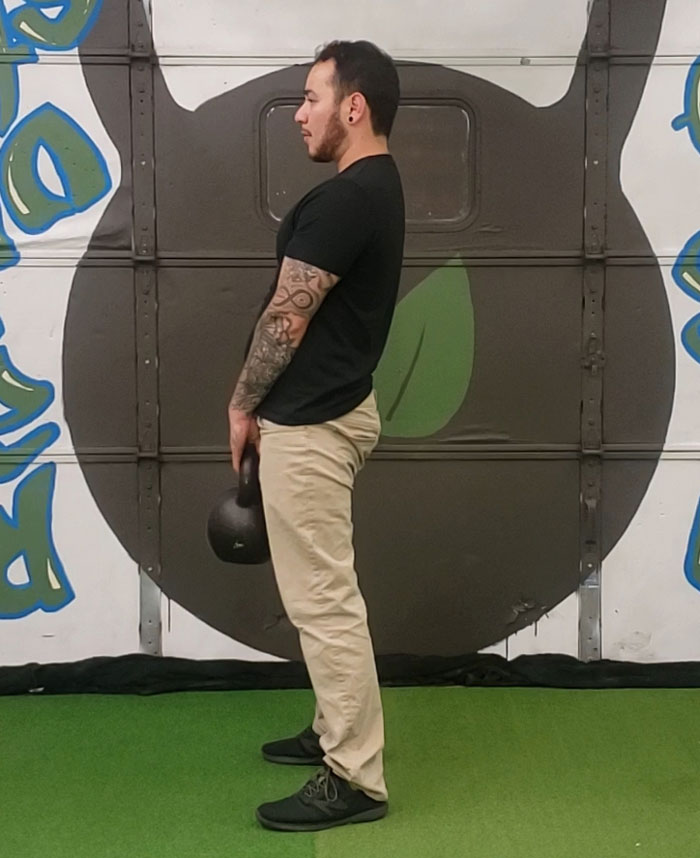
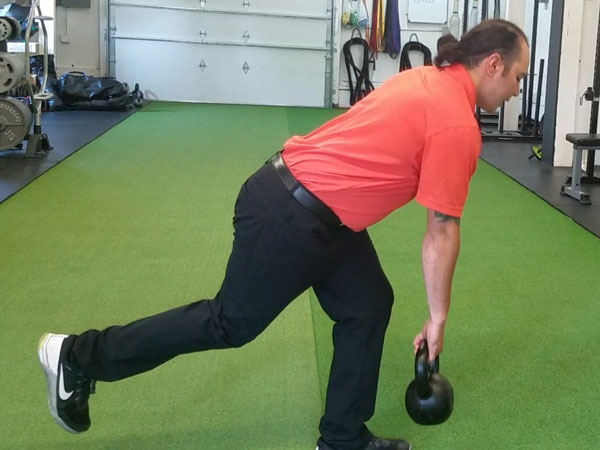
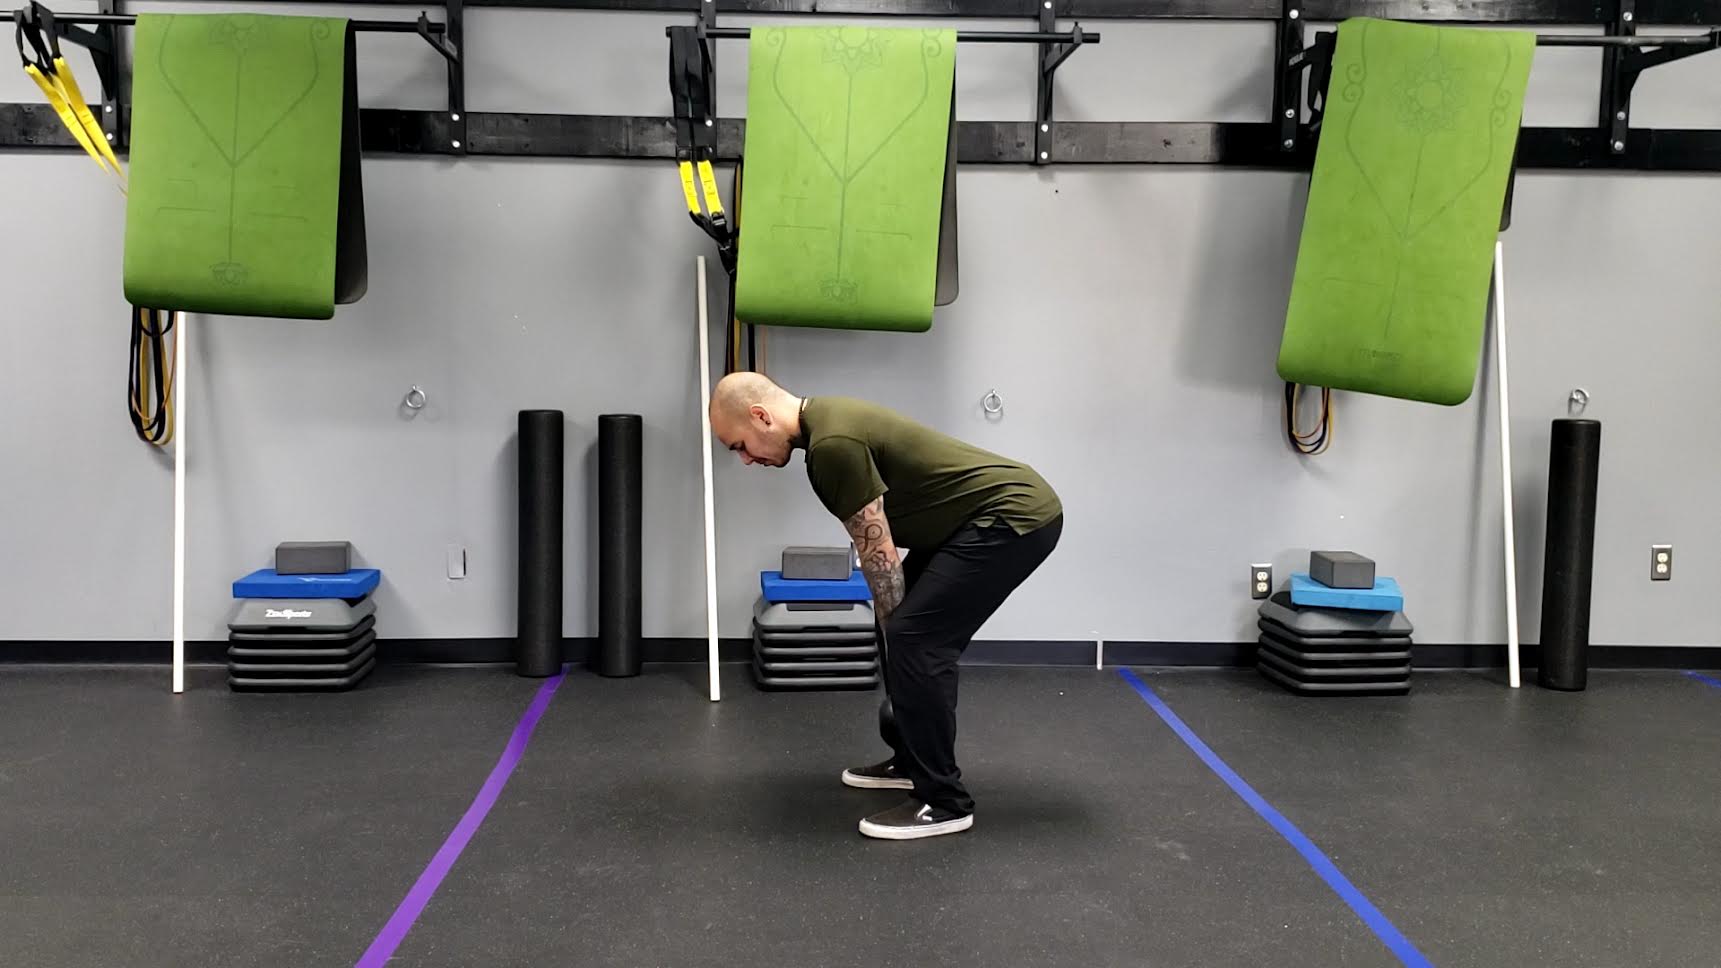
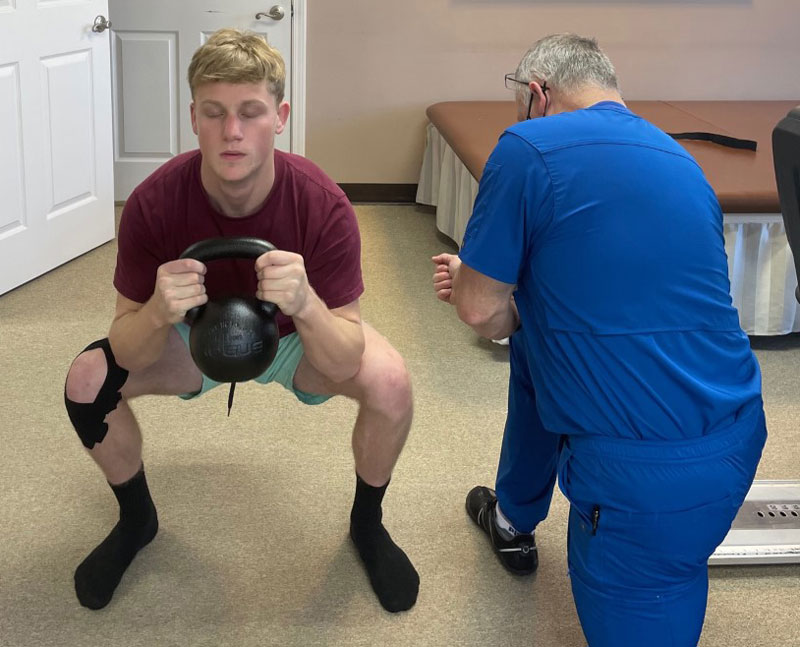
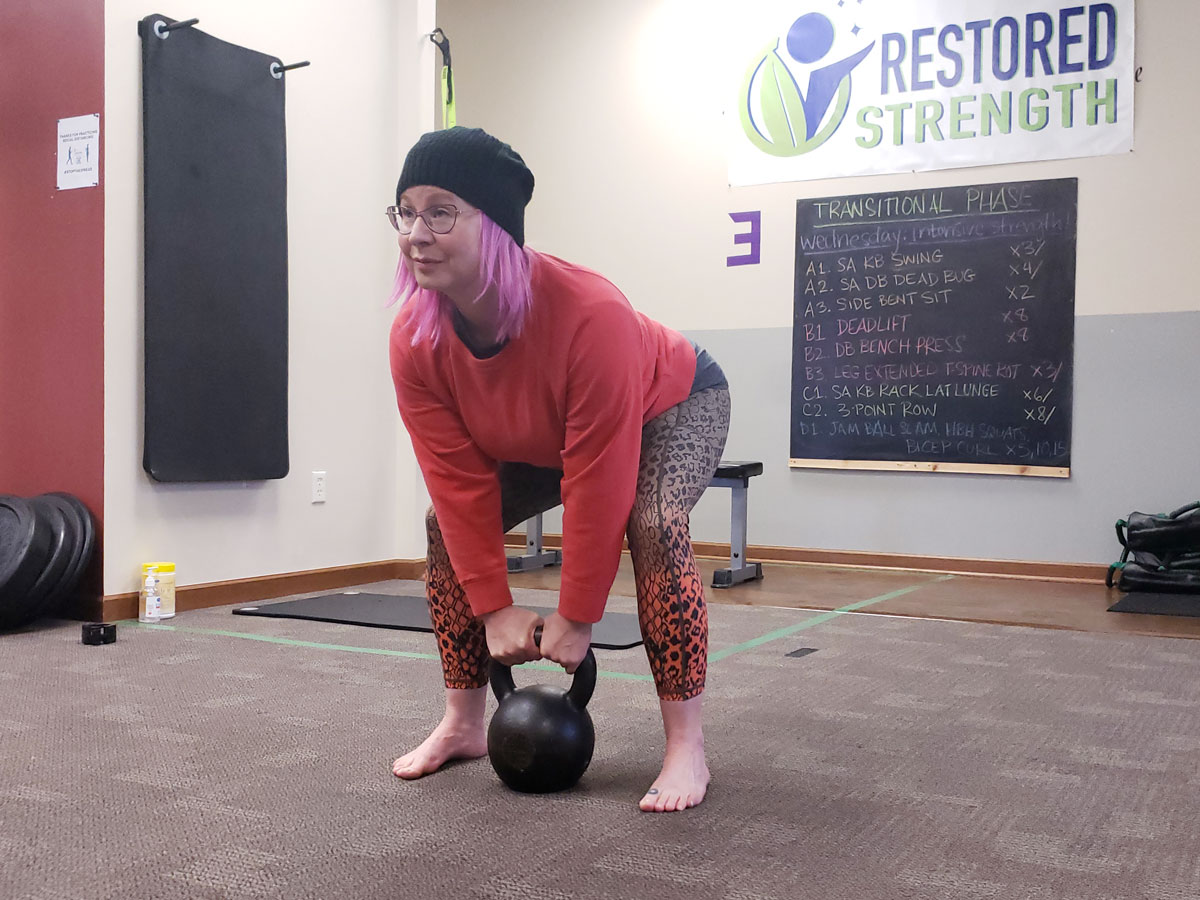
Step One: Kettlebell RDL
Start here, when it comes to teaching the kettlebell swing. The most critical and important piece of this exercise is having mastery in the basic foundation which is the hip hinge. The hip hinge is what will bring your clients through proper biomechanics in the RDL. I prefer to start here because the weight helps clients brace for tension and also the load will help with counterbalancing their weight.
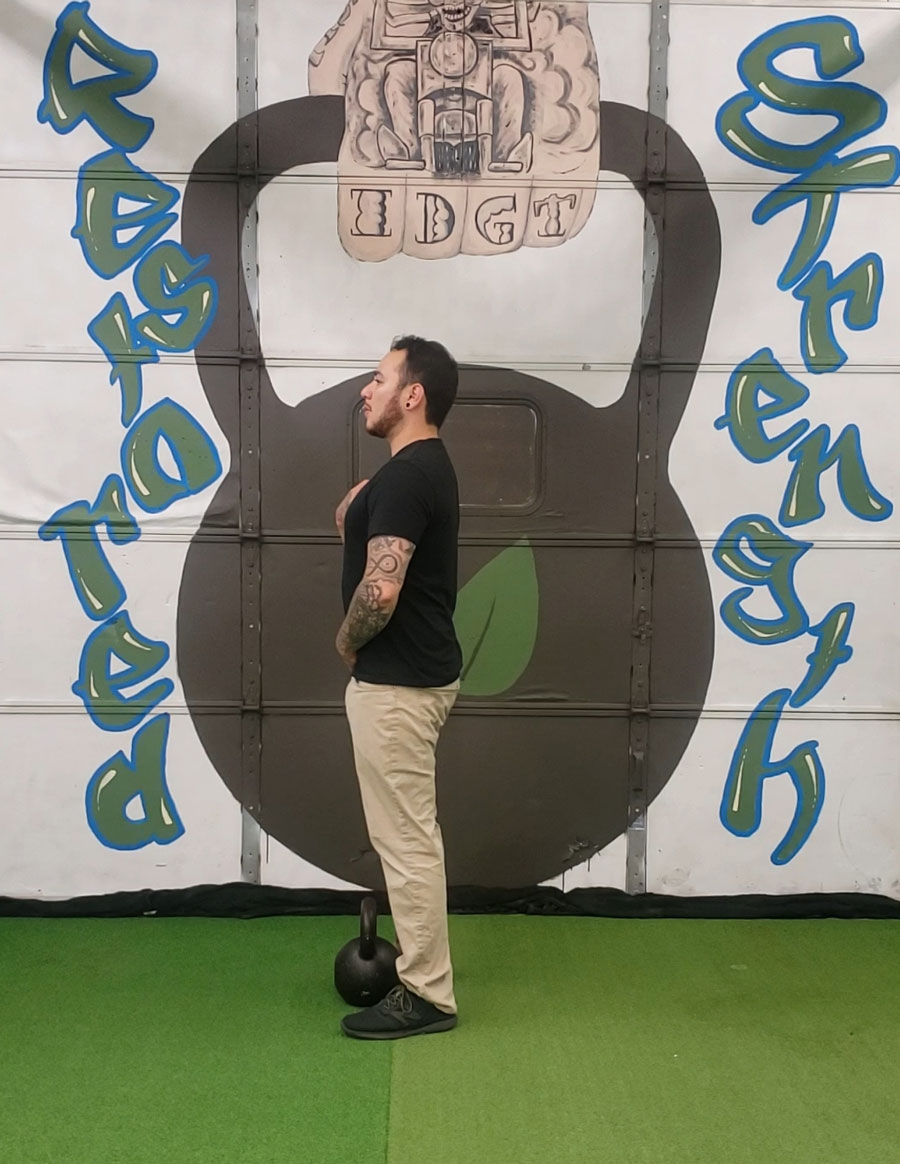
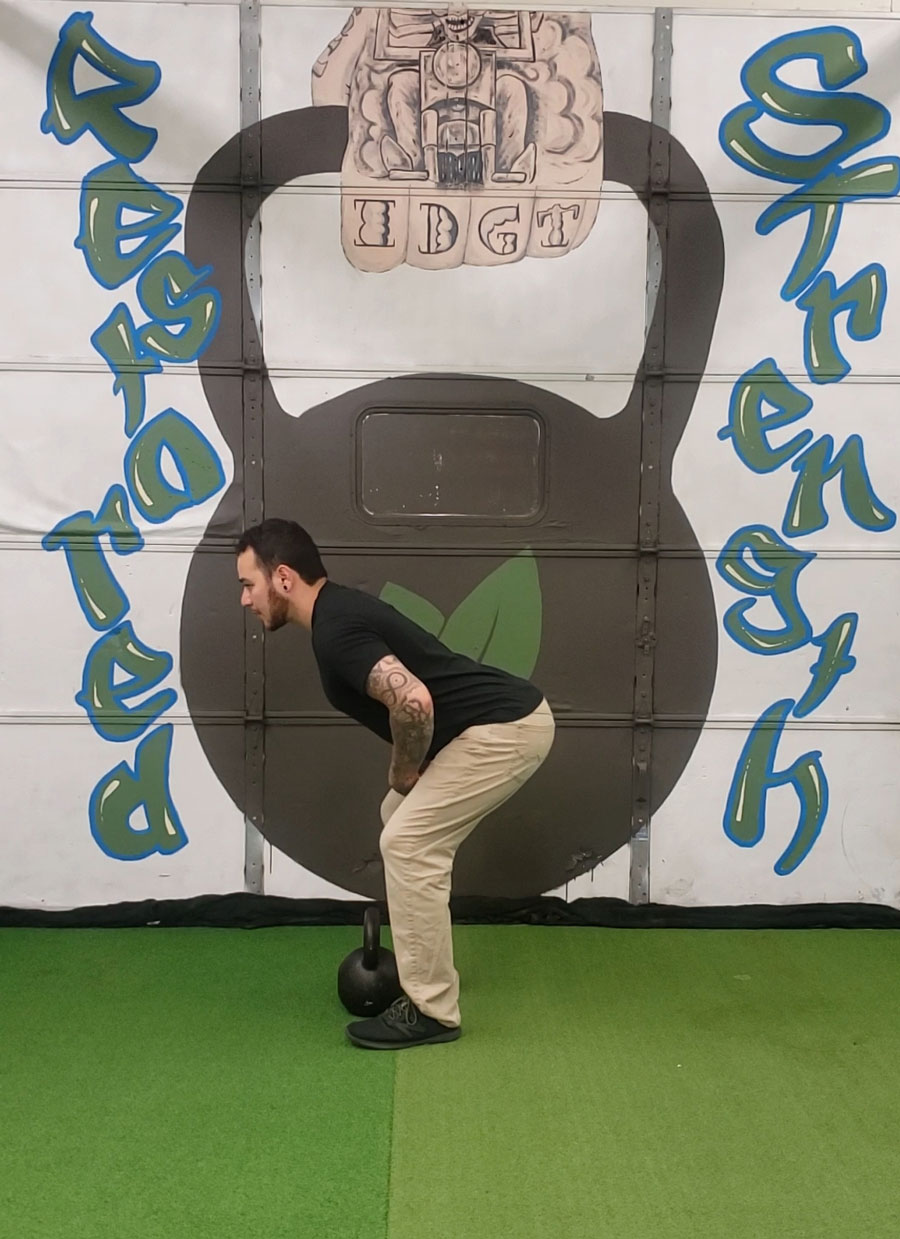
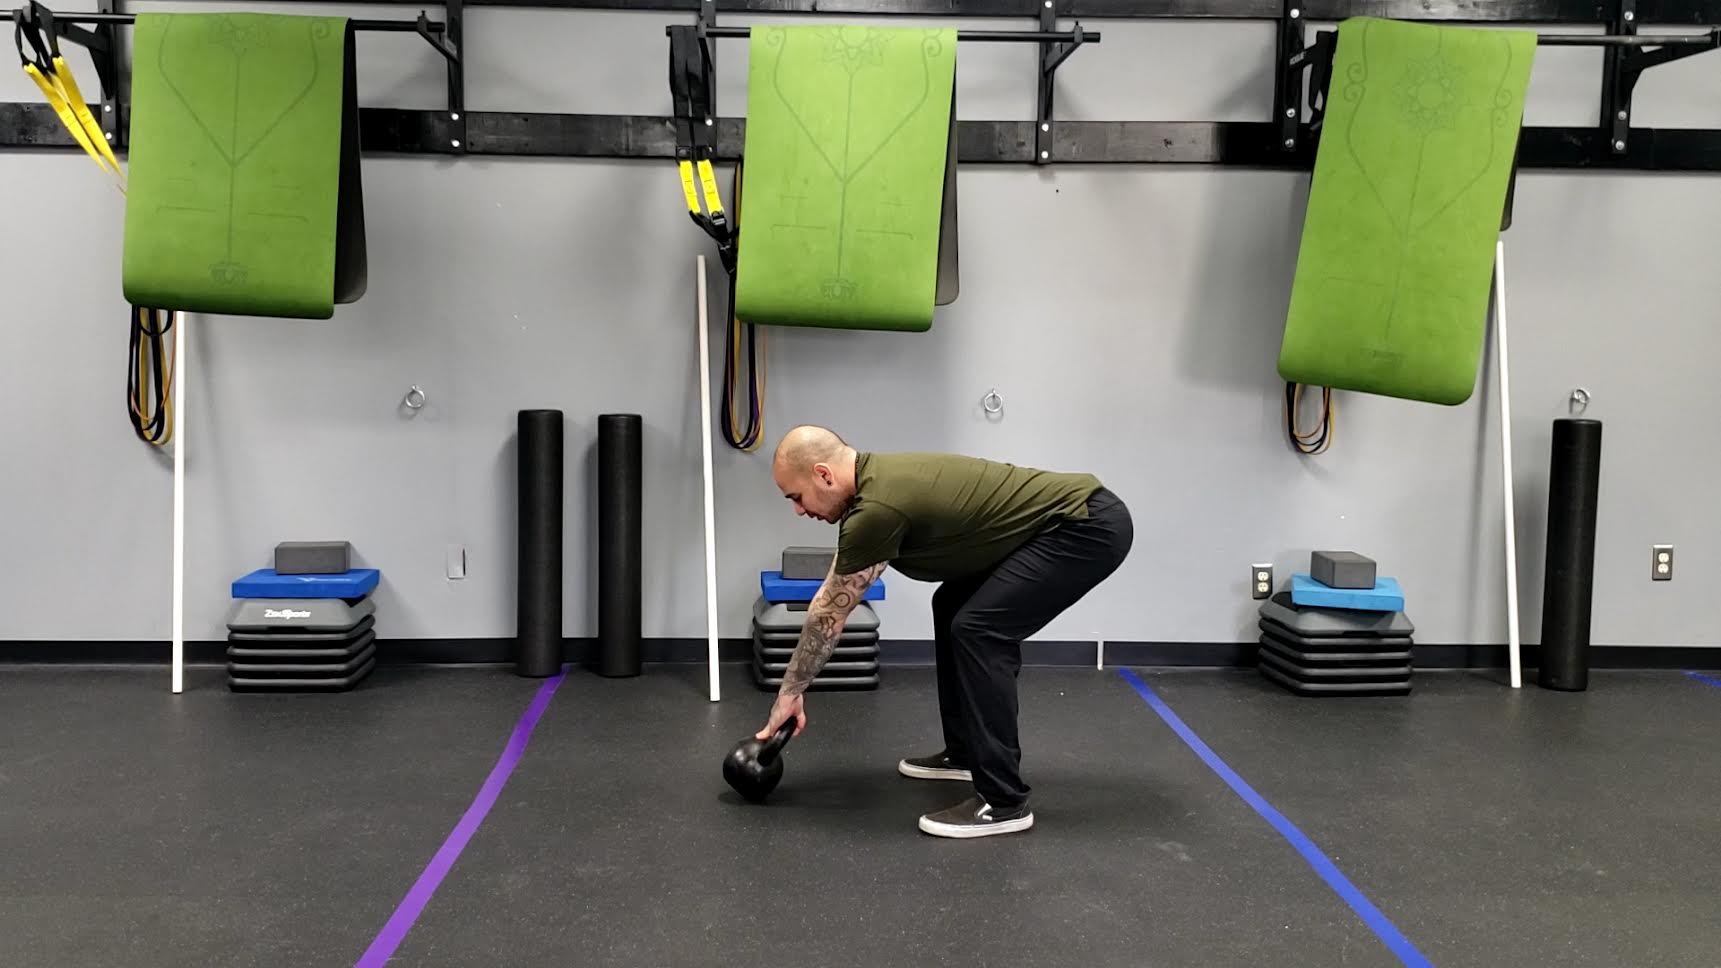
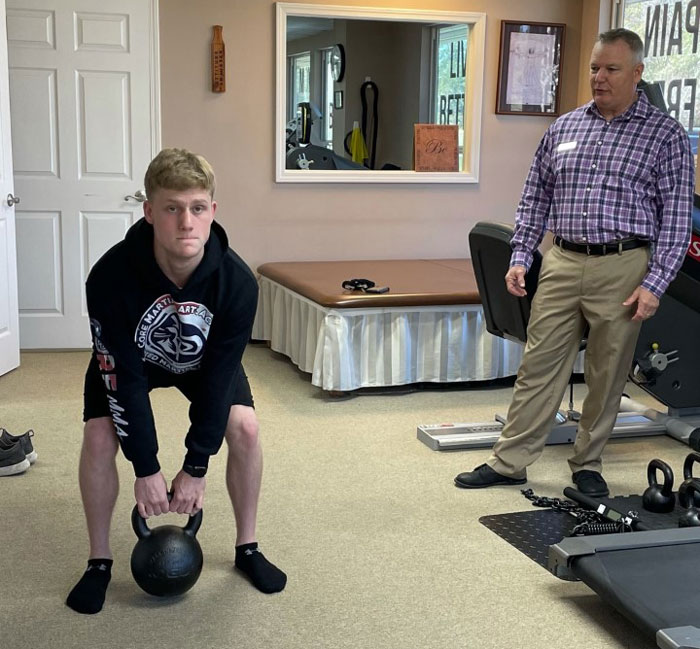
Step Two: Kettlebell Deadlift
Next up is teaching the deadlift. This can be more intense than the RDL because it’s going to increase the range of motion in their biomechanics. Starting the bell on the floor allows for your client to build up into other deadlift progressions that help to build up to the swing such as the deadlift drag and static deadlift stomp. All of these will reinforce the hip hinge position which then increases your client’s ability to have movement pattern retention.
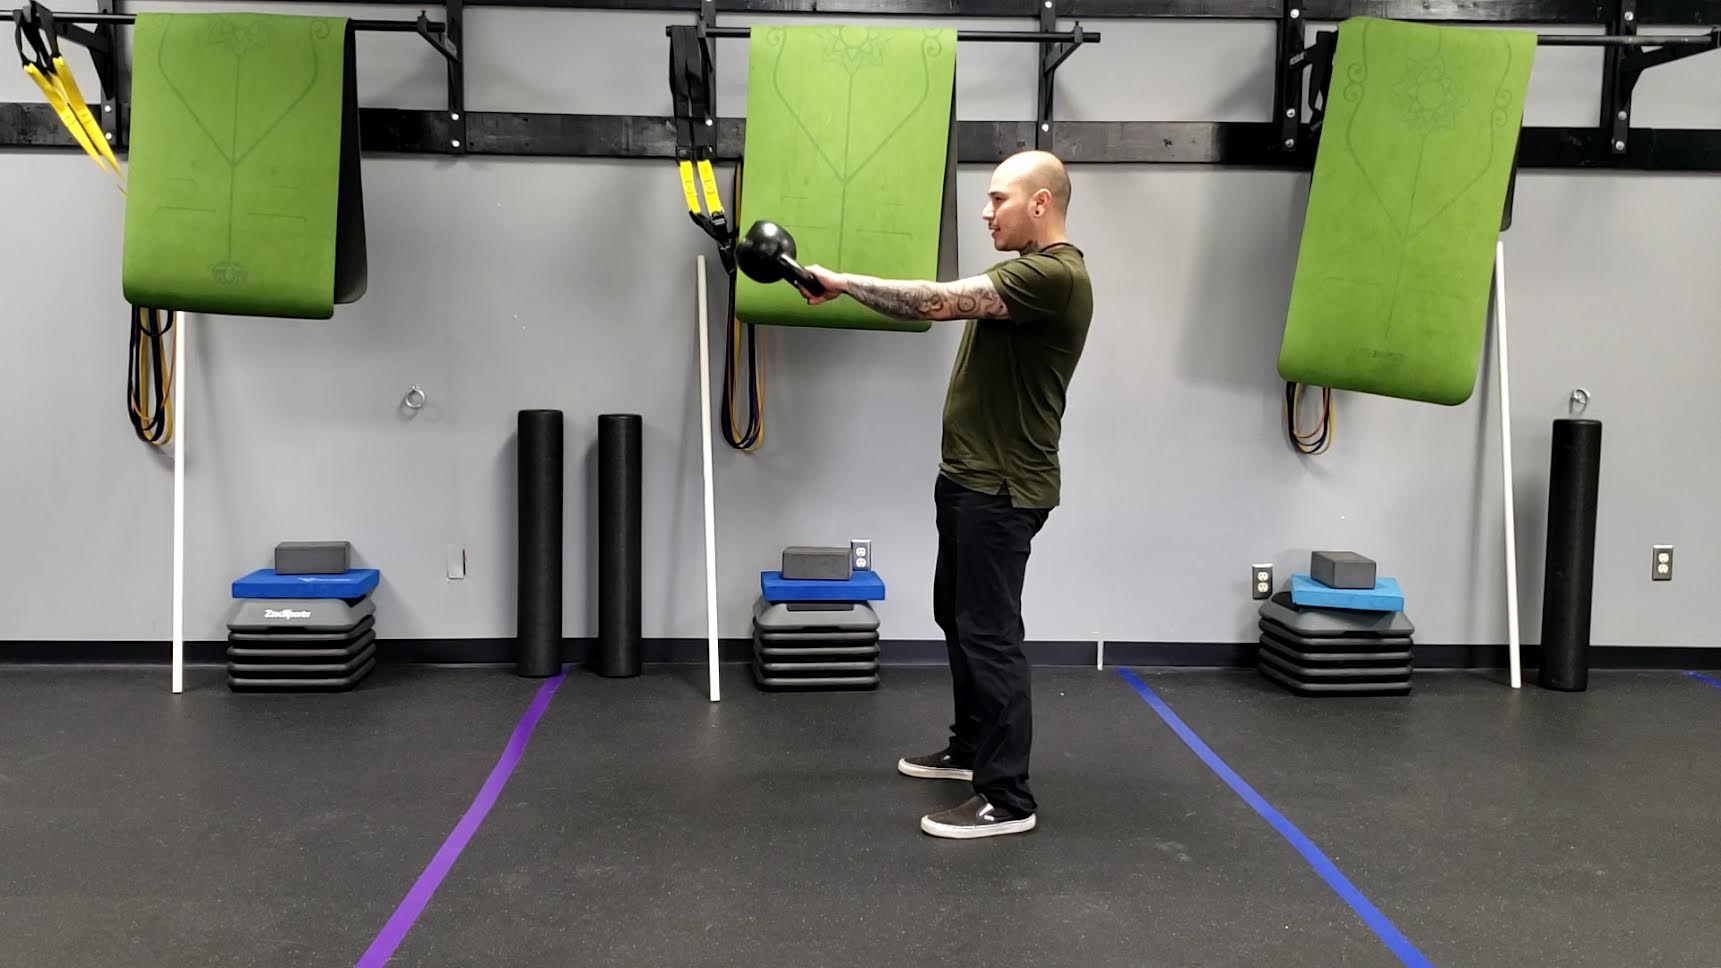
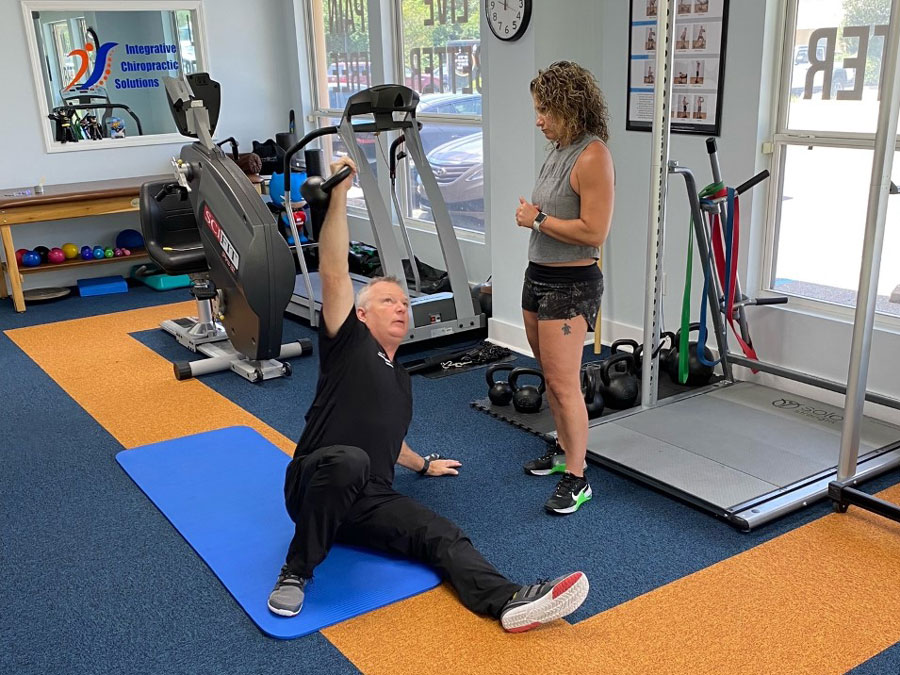
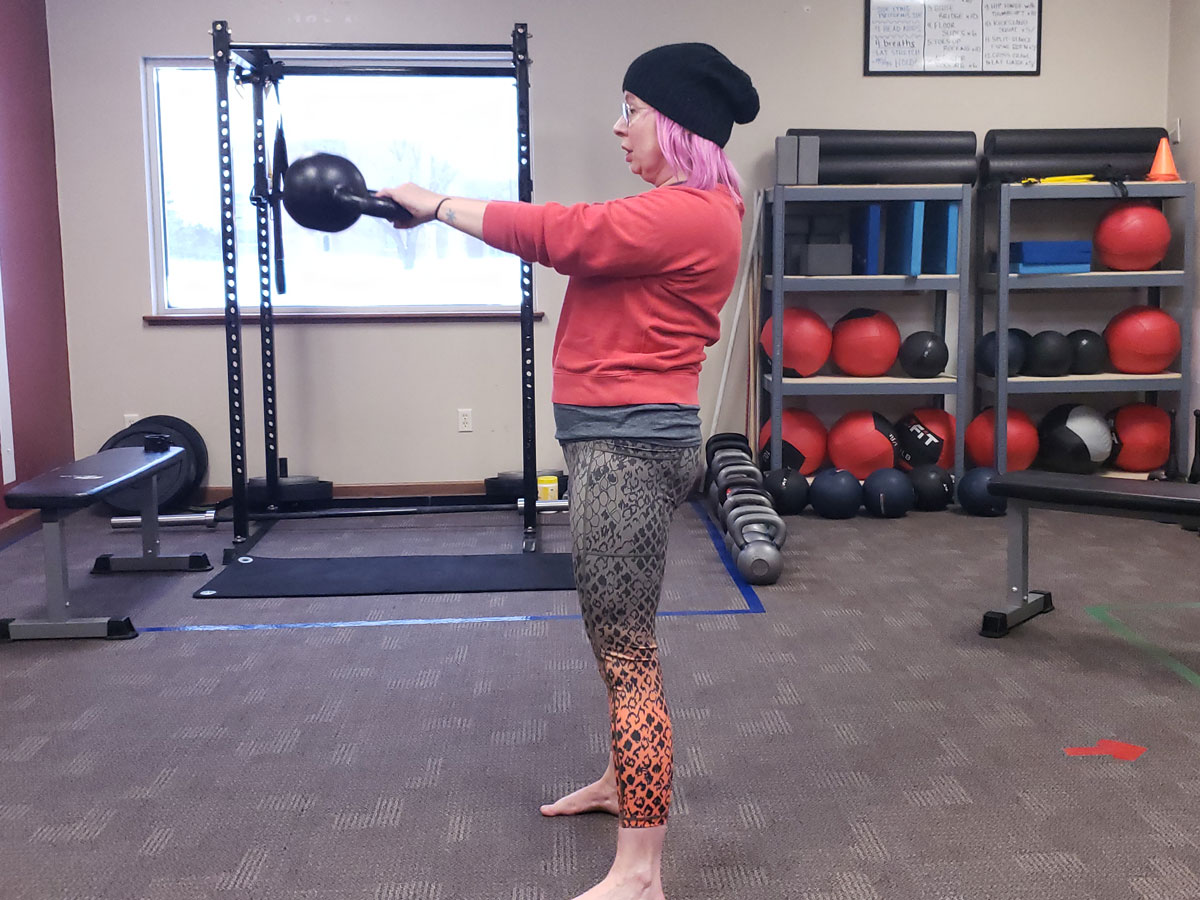
Step Three: Pendulum Swing
The next step is the pendulum swing. This is a more dynamic movement where you start to introduce the upper body. Introducing the proper mechanics of the upper body to the swing will also help with how involved the arms are in the swing. The pendulum swing will also help teach the hips to absorb force, specifically in the back swing.
Step Four: Dead Stop Swing
The dead stop swing is where you’re putting steps 1-3 together. We take the RDL from step one to teach us how to hinge to have our foundation, next we move into the deadlift that furthers our range of motion to prepare us for the pendulum swing that shows us how to incorporate the upper body, and now we’re moving into a full swing. Begin by creating about 2 feet of distance from the bell, slightly tilted towards you, then hike pass, explode up, let the arms float up, then wait for the bell to hinge you back, then end by parking the bell back to the starting position.
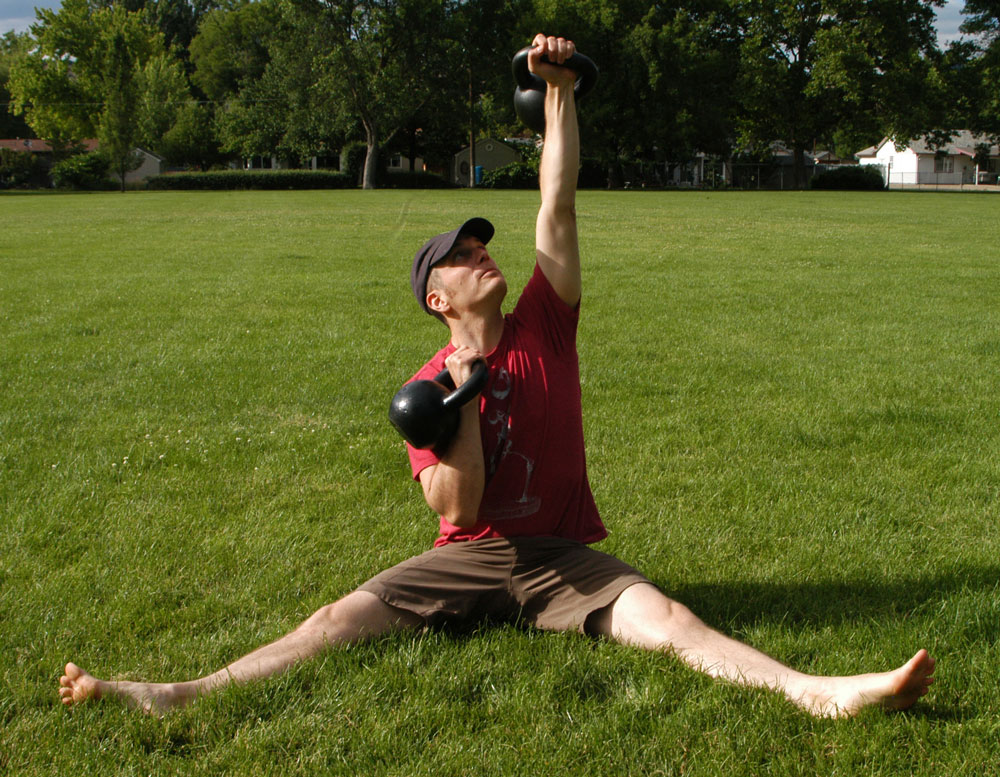
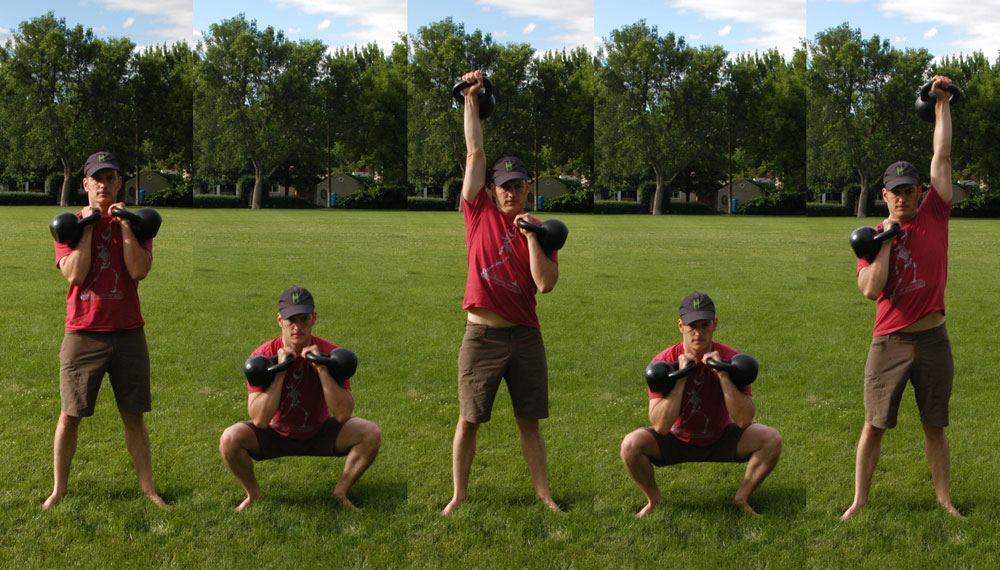
Step Five: Swing
The last step of building up towards the swing is to do consecutive swings when you no longer set the bell down each time. When teaching the kettlebell swing take this opportunity to introduce other correctives taught in the RKC to help make any corrections needed. Beginning to master the kettlebell swing can open up new doors for a wide amount of variations such as single hand swings, hand to hand swings, cleans, and other exercises.
Here’s a video reviewing all the steps:
***
William Sturgeon, RKC Team Leader, RKC II trains clients at his gym, Restored Strength. Contact him through his website at RestoredStrength.com or follow him on Facebook: facebook.com/restoredstrength
 I ran my gym based on what the FMS taught. We used the Functional Movement Screen as part of our onboarding program. I loved the results we were getting in members that could not/did not move as well as they should. It started my journey from Law Enforcement/Gym Owner to attending Chiro school. I knew that there was more that I could do to help people with the right credentials, and being a Chiropractor was something that I knew would allow me to help more people achieve even better outcomes.
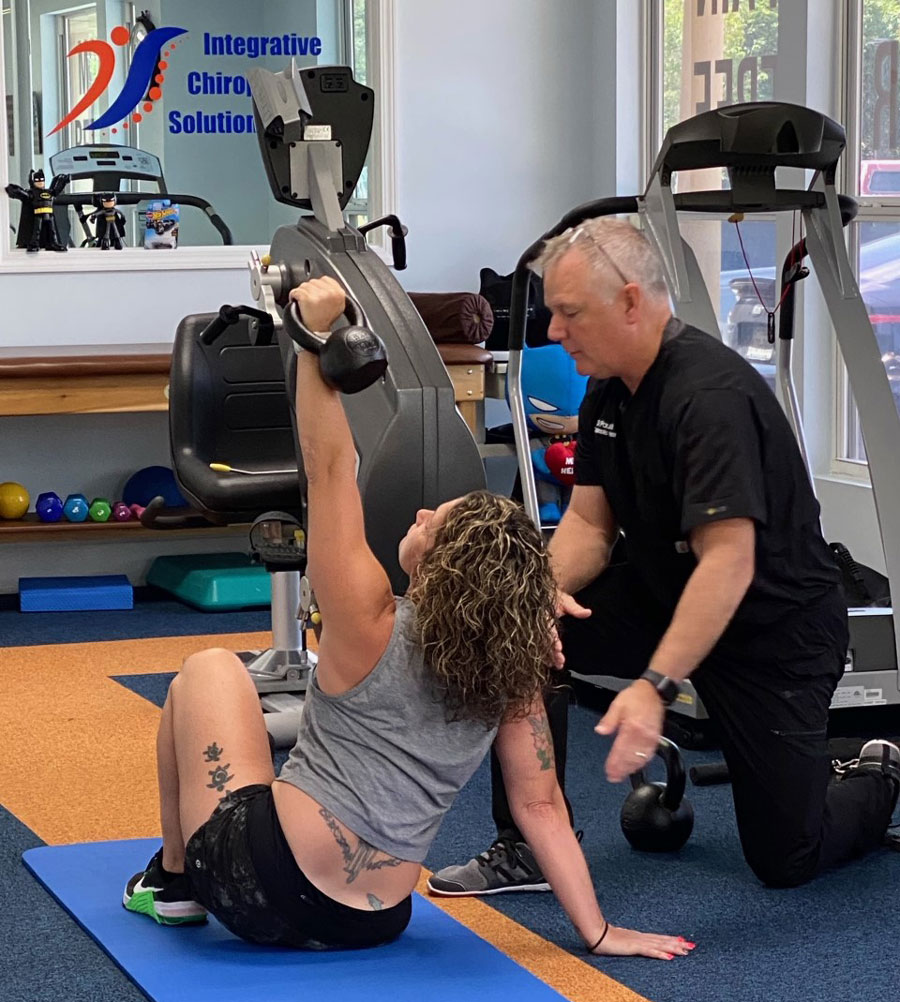

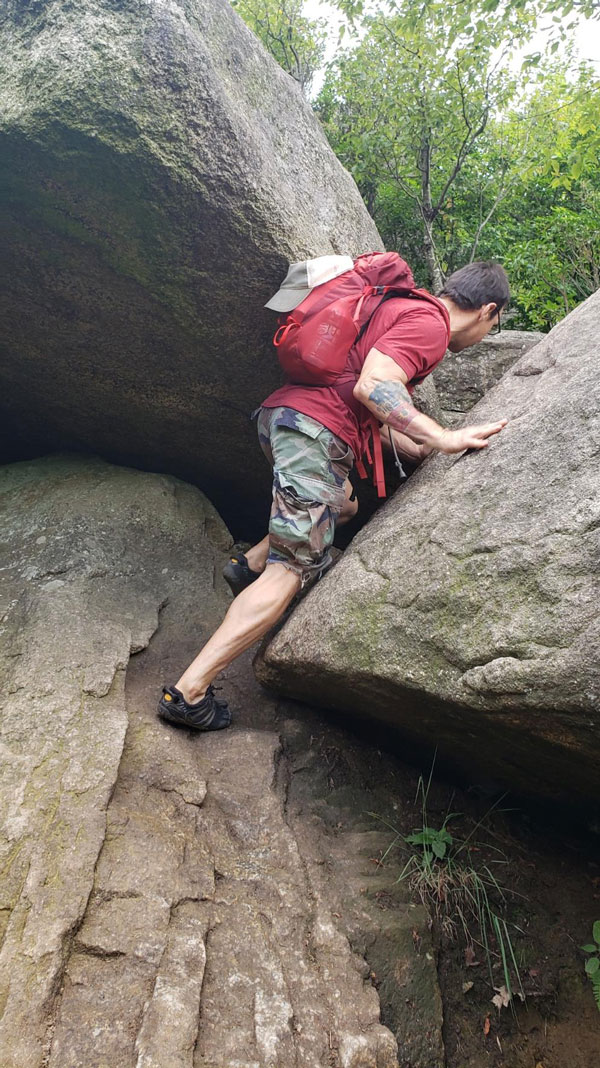
 When we step up vertically while hiking, the quadriceps enter the scene. The quads act as shock absorbers, aid in speed control, and injury-proof your knees during all aspects of hiking, but especially when descending a mountain. The quadriceps are also prime movers for hopping around difficult terrain and help maintain stability when doing so. Practicing