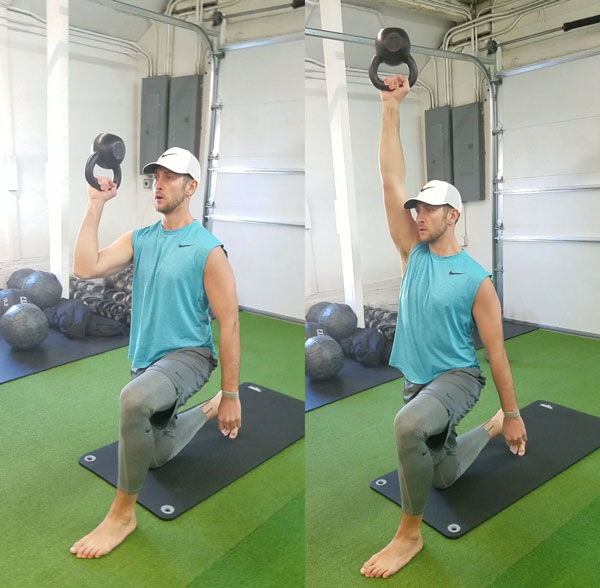
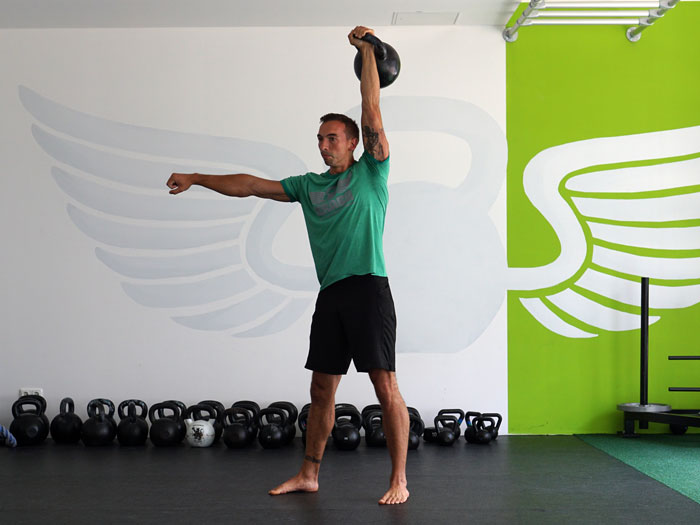
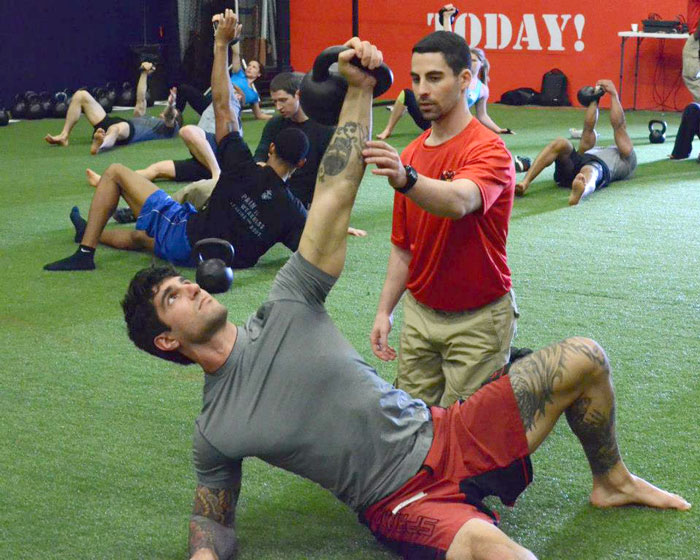
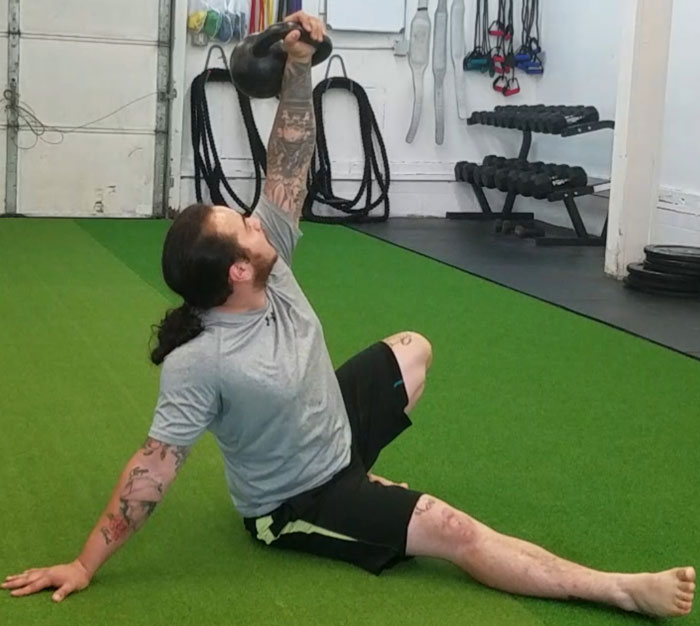
The Turkish Get Up is an exercise that checks all the boxes. This exercise is still a mystery to me after all these years of teaching it. Every time I teach it, do it, and watch others do it, I learn something new. It checks every box I can think of as a strength coach.
The boxes I’m talking about are:
- Power
- Balance
- Mobility
- Flexibility
- Explosivity
- Posture
- Core
- All planes of motion
- Therapeutic
- Meditative
- Mentally challenging
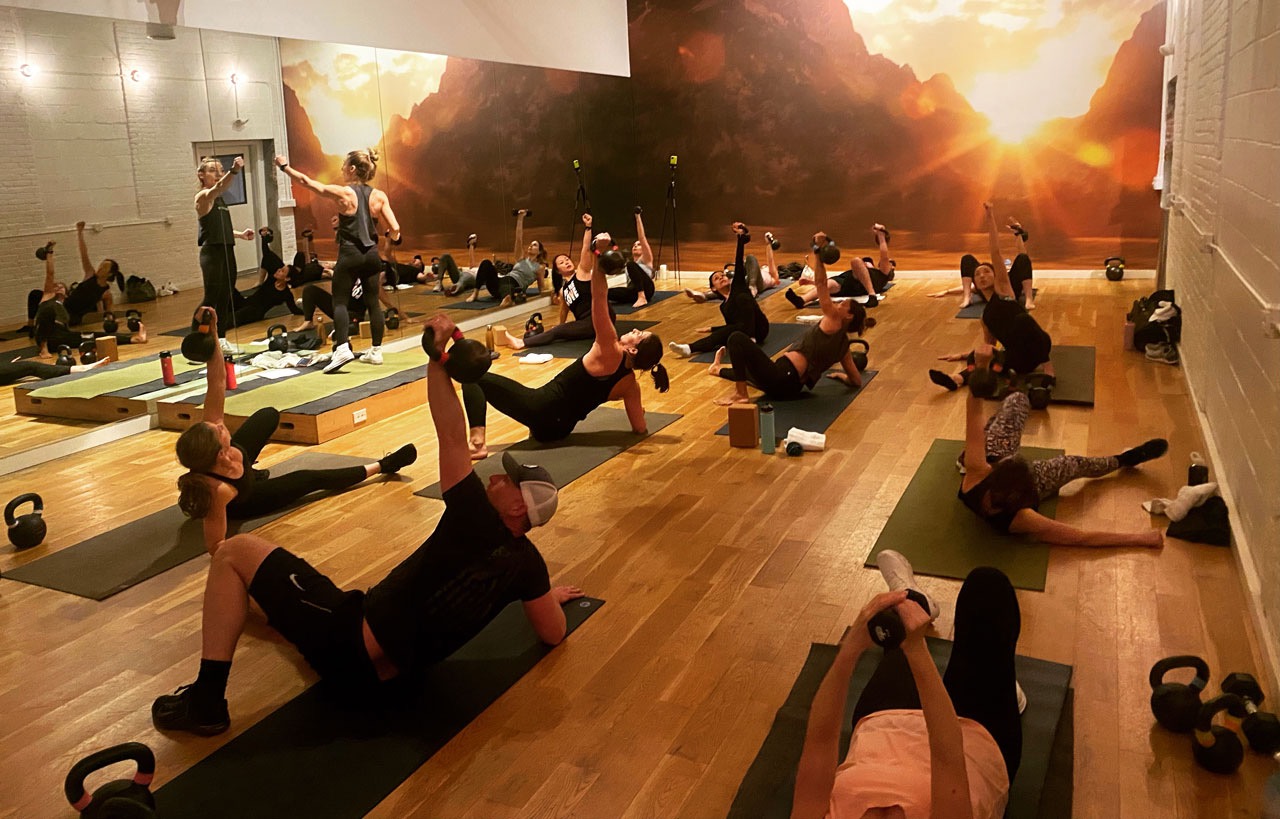
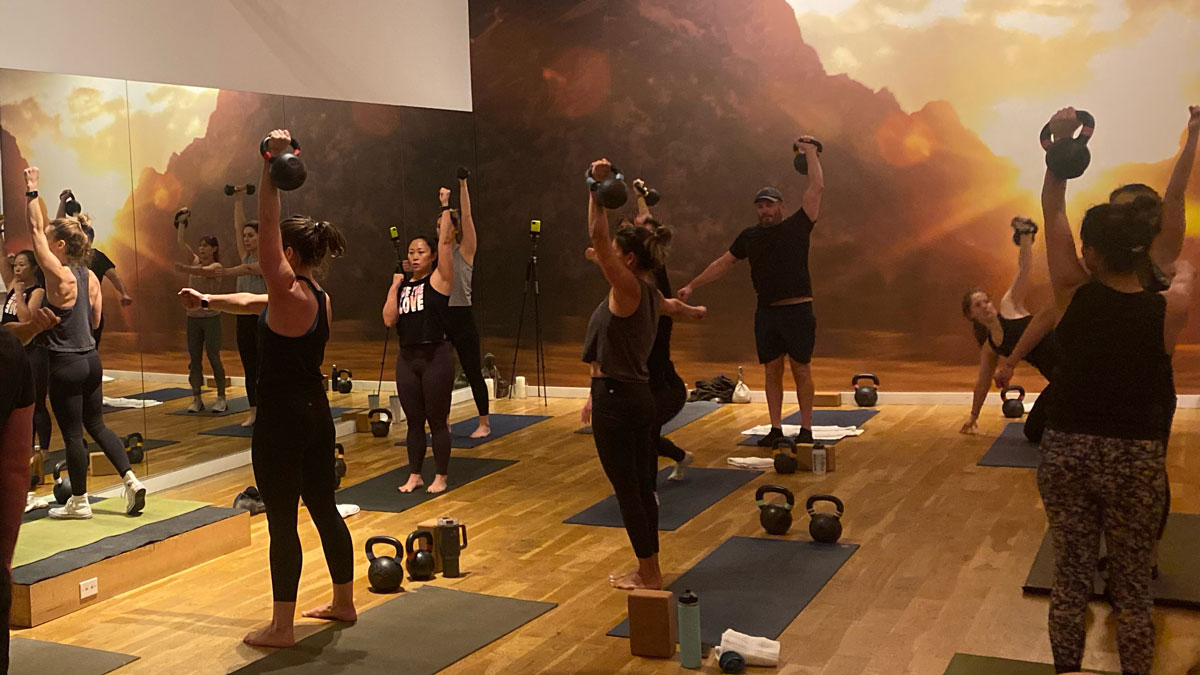
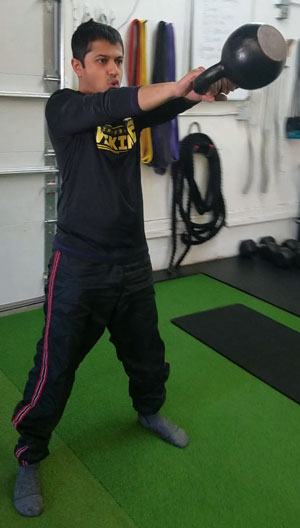
10-minutes of practicing this exercise in a way that’s right for your body is a powerful experience and it pairs well with others too, meaning it’s an easy exercise to superset. My favorite combination is TGUs and single arm swings.
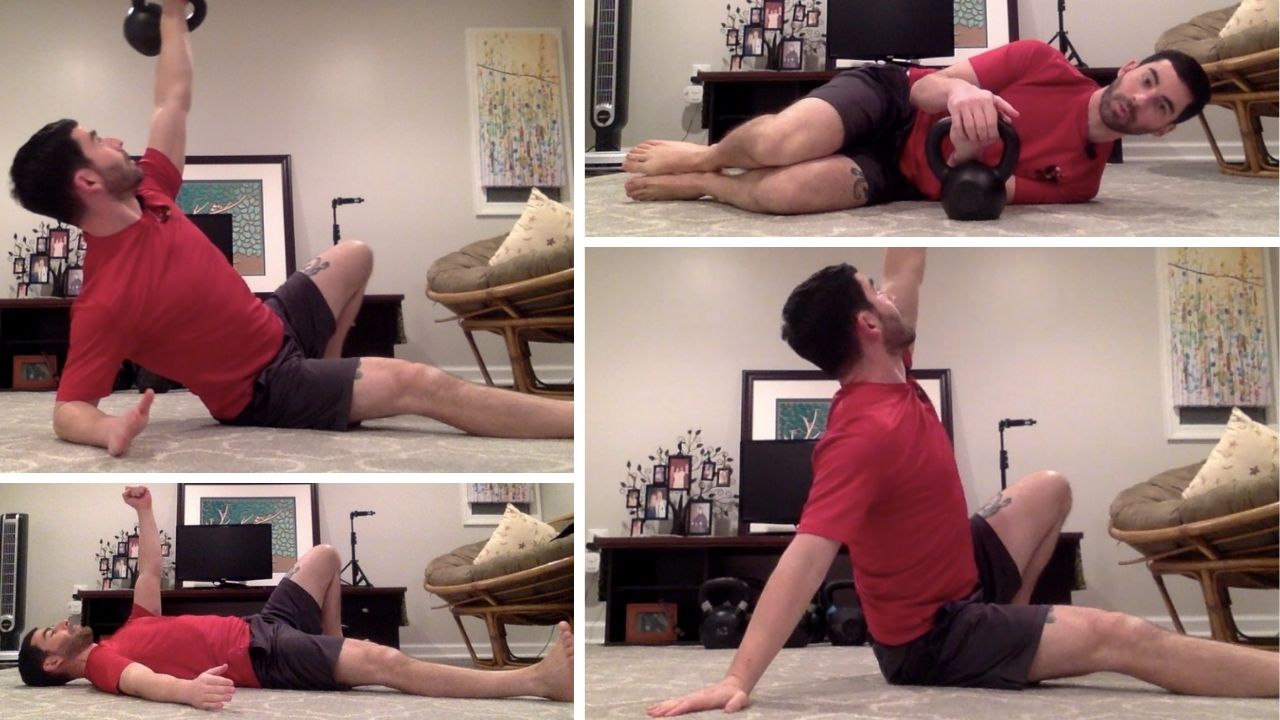
Here’s a video illustrating all the most important elements to take into account when performing the Turkish Get Up:
I’m a busy person, I live a blessed life. My days are full — as I foster children, I have children, I’m married, I run a couple of businesses, I’m an active parishioner at my church and participant at my men’s group. I’ve got a lot going on! This means what I don’t have is a lot of time to workout. So for me, finding exercises that maximize potential and results are important.
It’s already known that when kettlebells are properly trained and programmed, they are the highest caloric output form of conditioning and they have little to no impact. They’re very safe and effective.
This way I don’t need to spend too much time foam rolling, stretching, meditating etc. I can just set a timer for 20 minutes, do 1 TGU per side, stand up and do 10 swings per arm and repeat. After the 20 minutes, I’m smoked in all the right ways yet energized to move forward into the day and serve.
Have you tried spending the time to learn how to do a proper TGU? And from there how to program it into your routine? And from there stick to it for a few years on a daily basis? I highly recommend it!
***
Nick Lynch, Founder Superb Health and Performance www.superbhealthmke.com

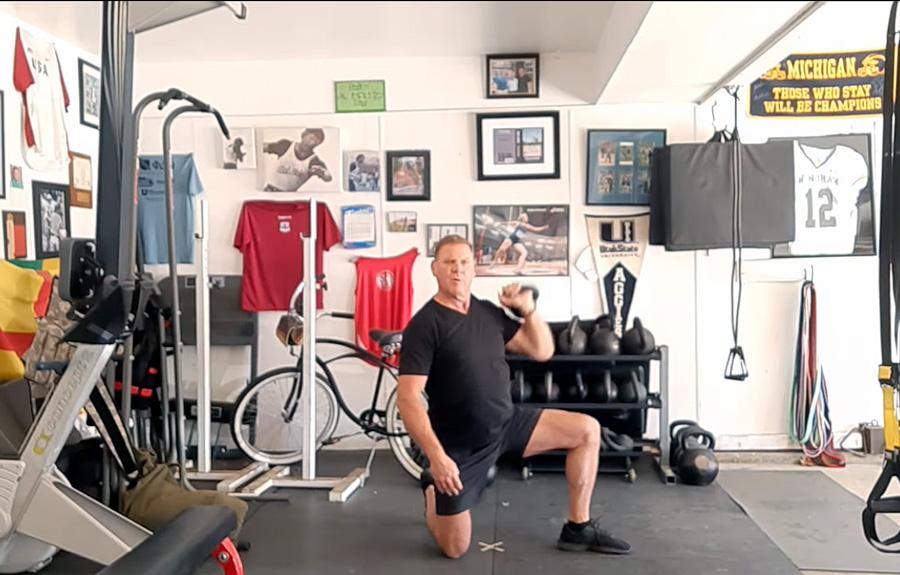
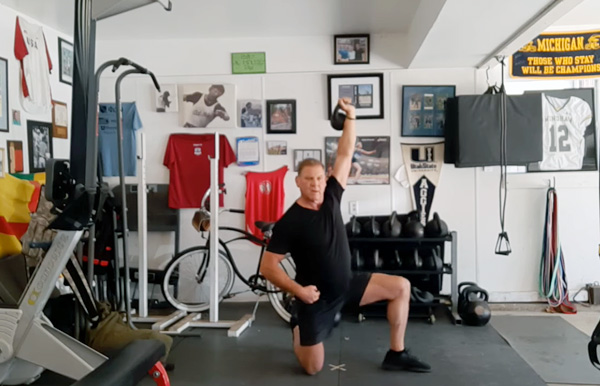
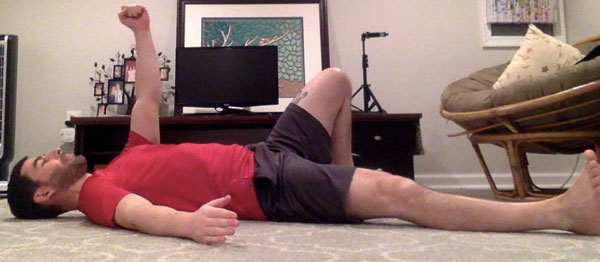

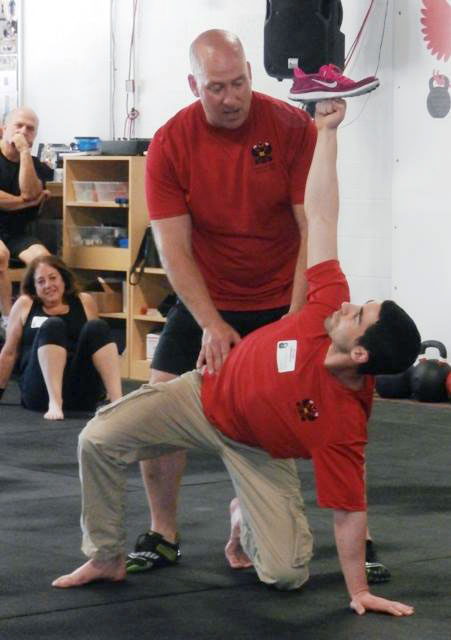
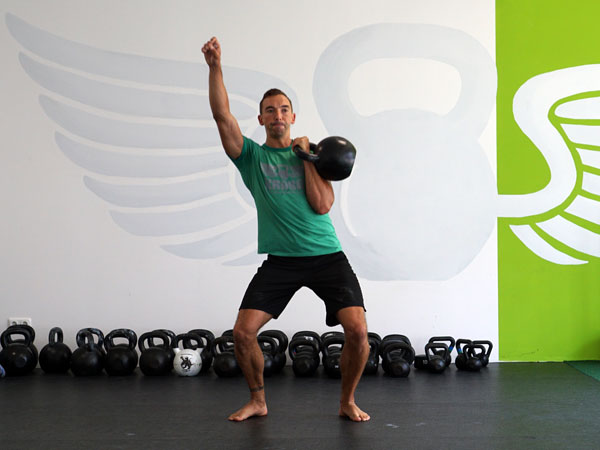
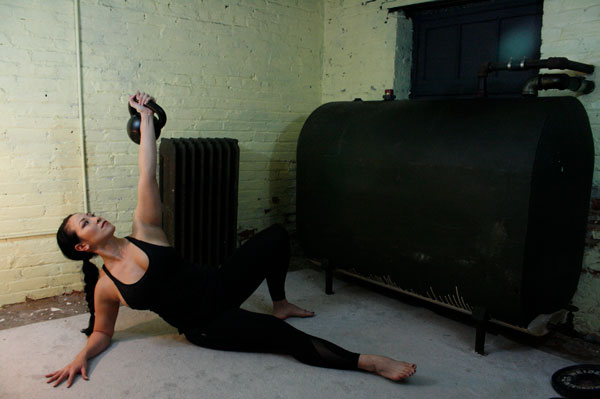
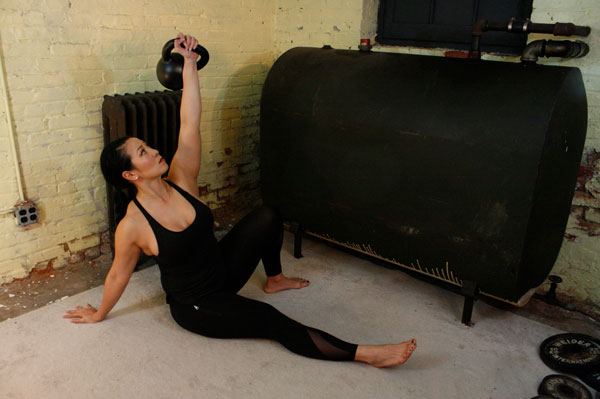
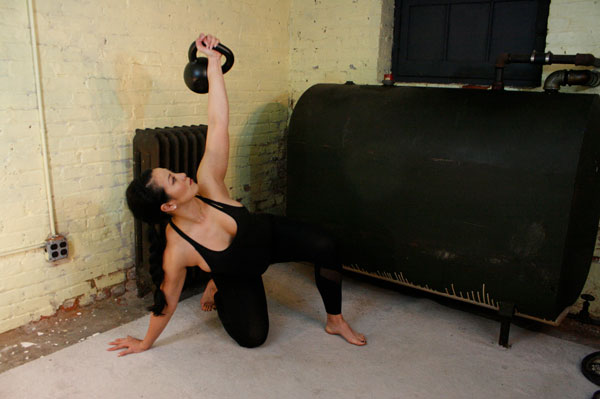
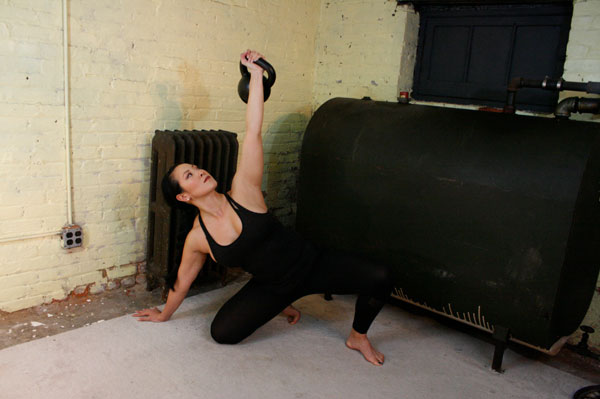
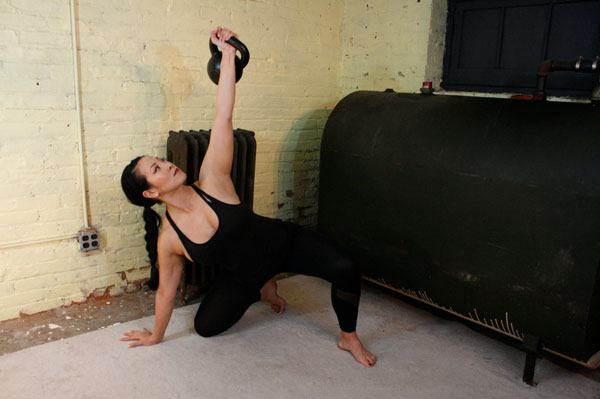
 Slow motion get-ups are different than doing a get-up at a regular pace and pausing at each step. Perform a slow motion get-up as though you’re watching yourself on video, frame by frame. Definitely pause at each step to check yourself (just as you would in a regular get-up) but move in super slow motion from one step to the next. At first, you may want to try slow motion get-ups with no weight. It’s surprising how challenging this drill can be!
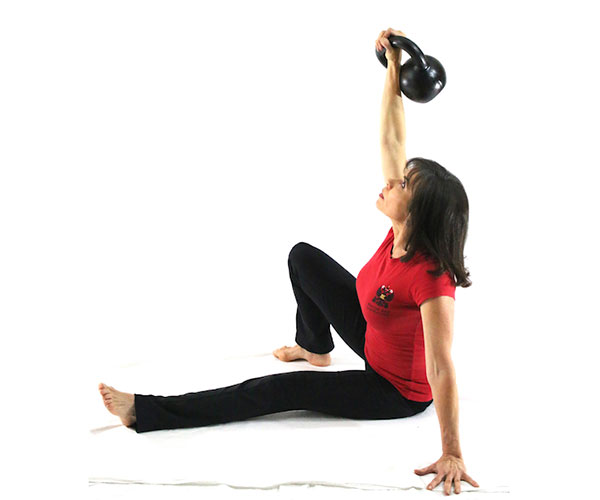
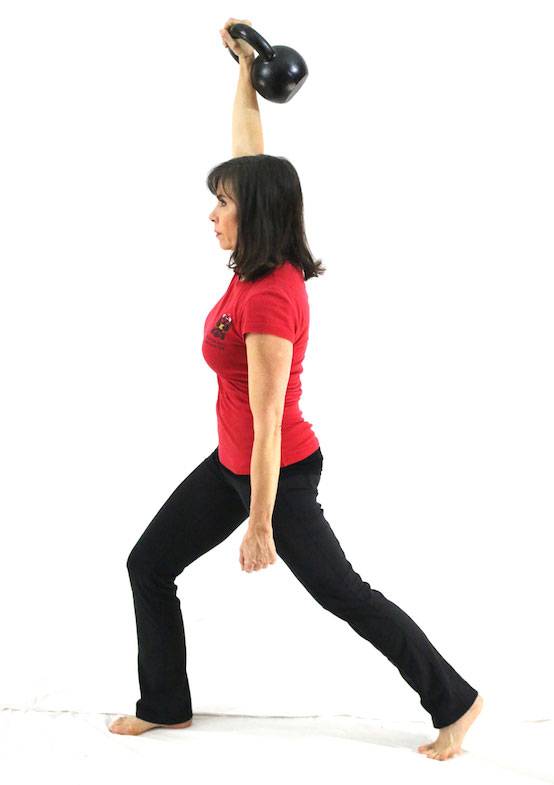
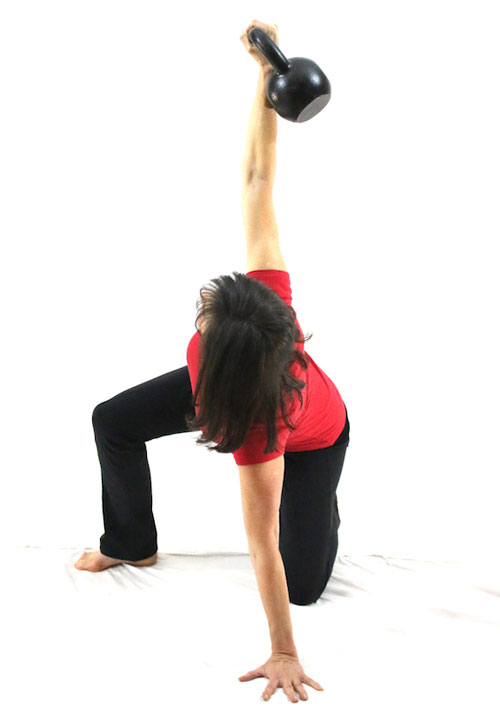
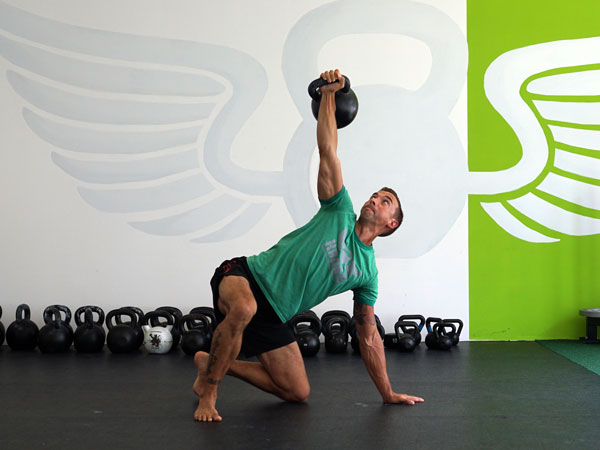
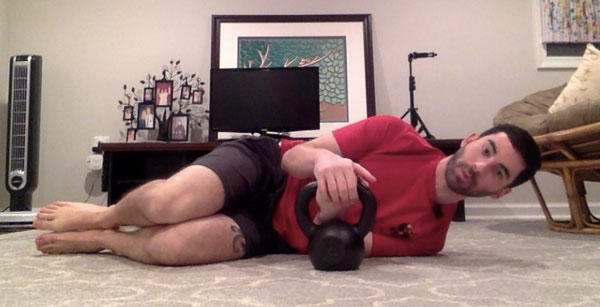
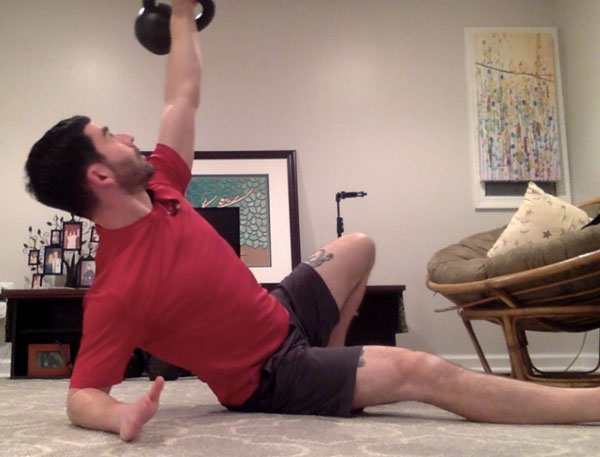
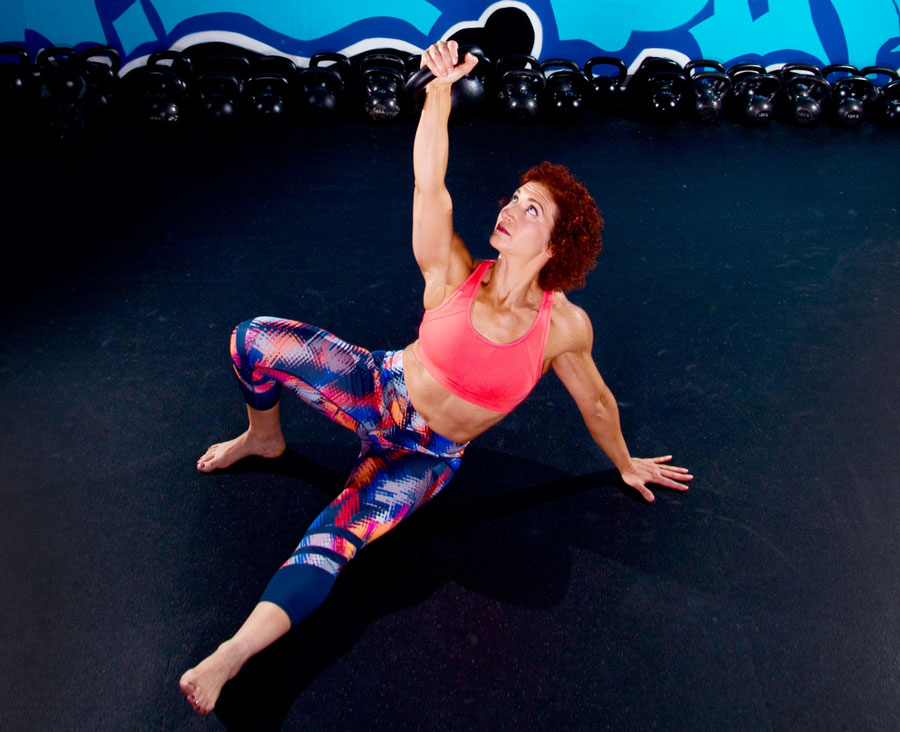
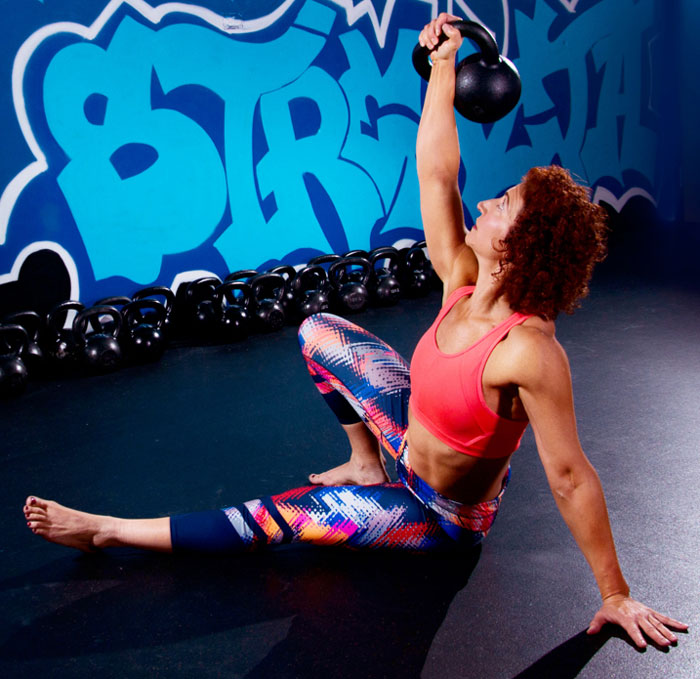
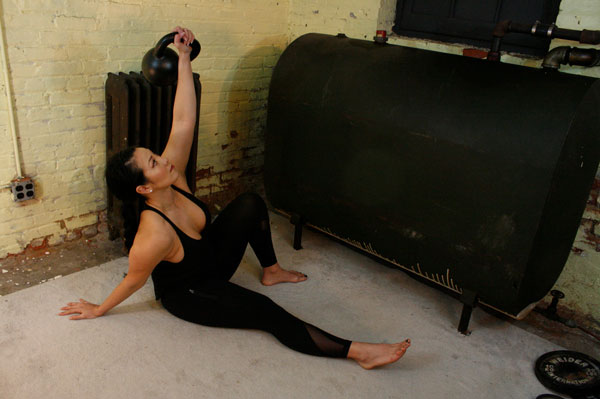
 Each movement in the get-up is a pivot from the body’s core joints—the hips and shoulders. The pivoting should be smooth. Once the position is established, all “sides” of the get-up cube should also be aligned. The spine must be straight throughout the get-up. The body’s center of gravity must be balanced between the limbs. The angles of the hips and shoulders positioned to provide maximum support and stability. Each limb, joint and muscle must be arranged and coiled underneath the weight overhead to create a solid foundation.
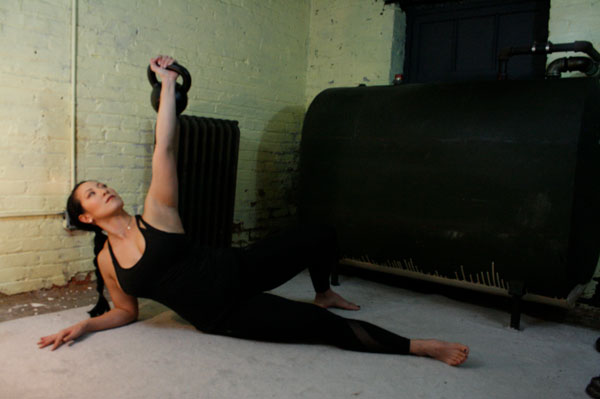

 My Top Five Kettlebell Exercises for Golf: