• Skip to main content
  • Skip to primary sidebar
  • Home
  • Contributors
    • Matt Beecroft, Master RKC
    • Martijn Bos, Master RKC
    • Andrea Du Cane, Master RKC
    • Angelo Gala, Master RKC
    • Chris Holder, Master RKC
    • Steve Holiner, Master RKC
    • Dan John, Master RKC
    • Mike Krivka, Master RKC
    • Thomas Phillips, Master RKC
    • Robert Rimoczi, Master RKC
    • Phil Ross, Master RKC
    • Max Shank, Master RKC
  • Workshops
    • HKC Workshops
    • RKC Workshops
    • RKC-II Workshops
  • Find an RKC Instructor
  • Resources
    • Articles
    • Forums
    • Kettlebells
    • Products
  • Blogs
    • PCC Blog
    • Strong Medicine Blog
  • Archives

RKC School of Strength

Official blog of the RKC

kettlebell get-up

Kettlebells in the Clinic

October 25, 2022 By Paul Britt, DC 1 Comment

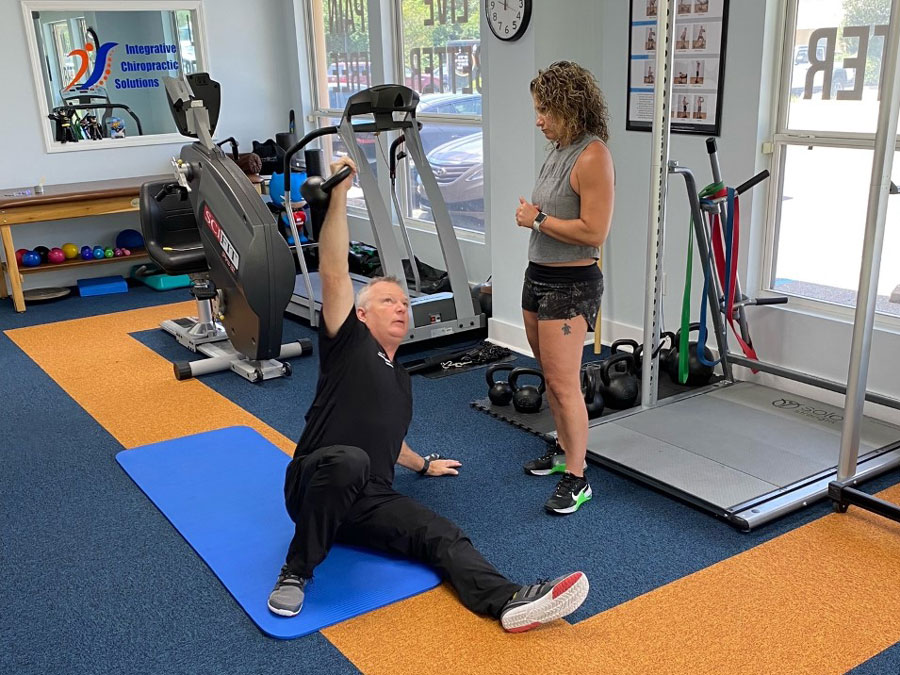
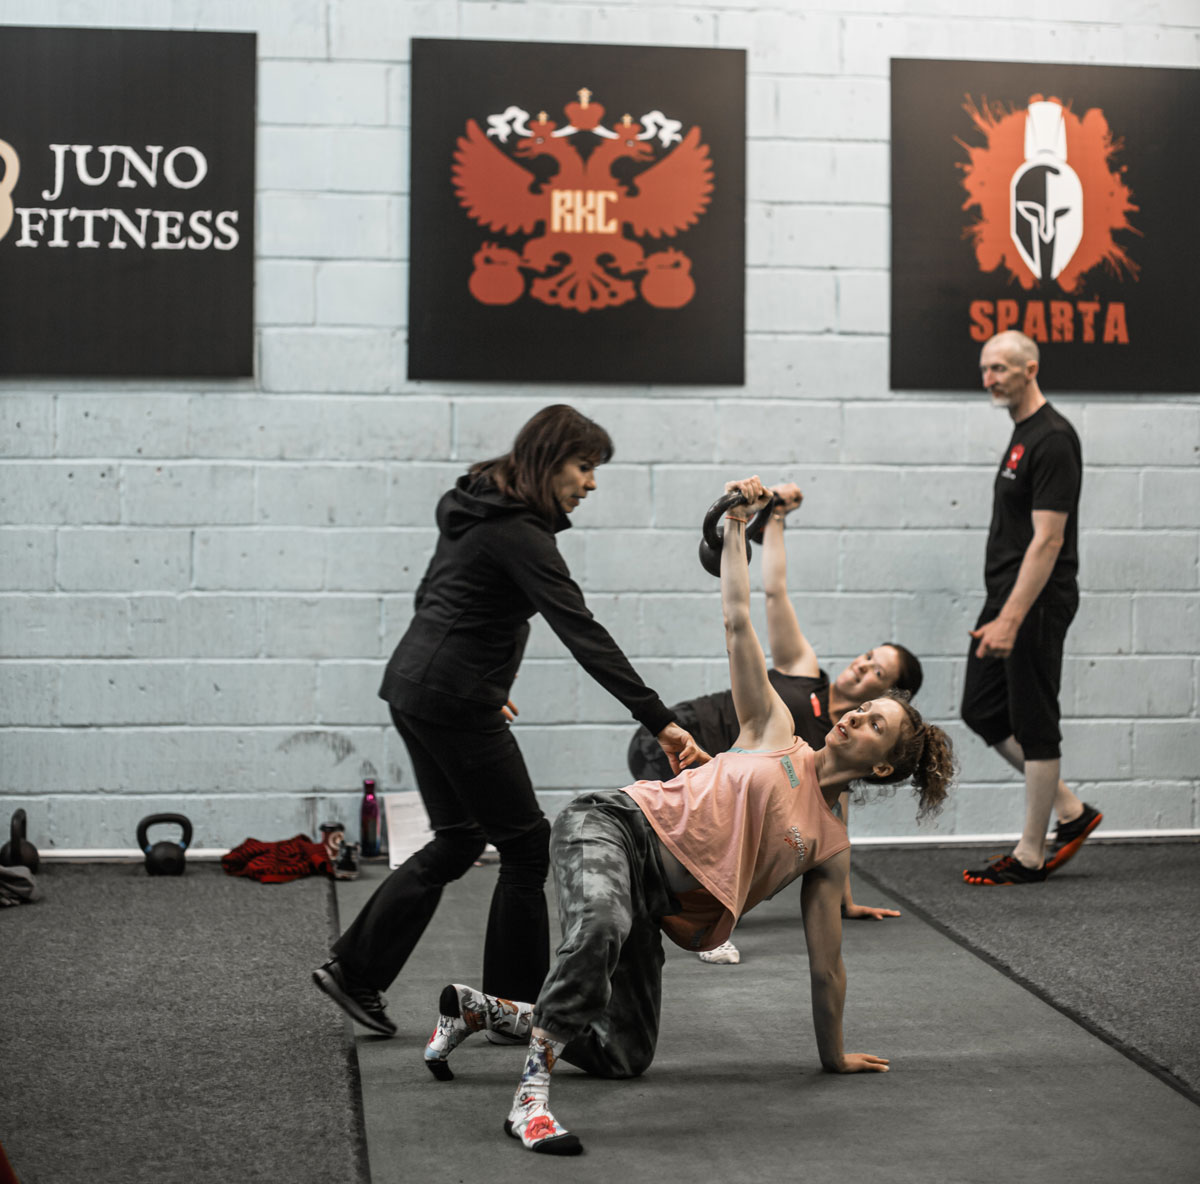
Paul Britt demonstrates a kettlebell get-up

If it wasn’t for kettlebells, I would not be a chiropractor today. I started out with the RKC in 2006 and attended the CK-FMS in 2010. The CK-FMS was the movement program that was based off of the FMS and was taught by Gray Cook and Brett Jones of FMS. It introduced me to movement screening and how to help clients move better, feel better and live better pain free.

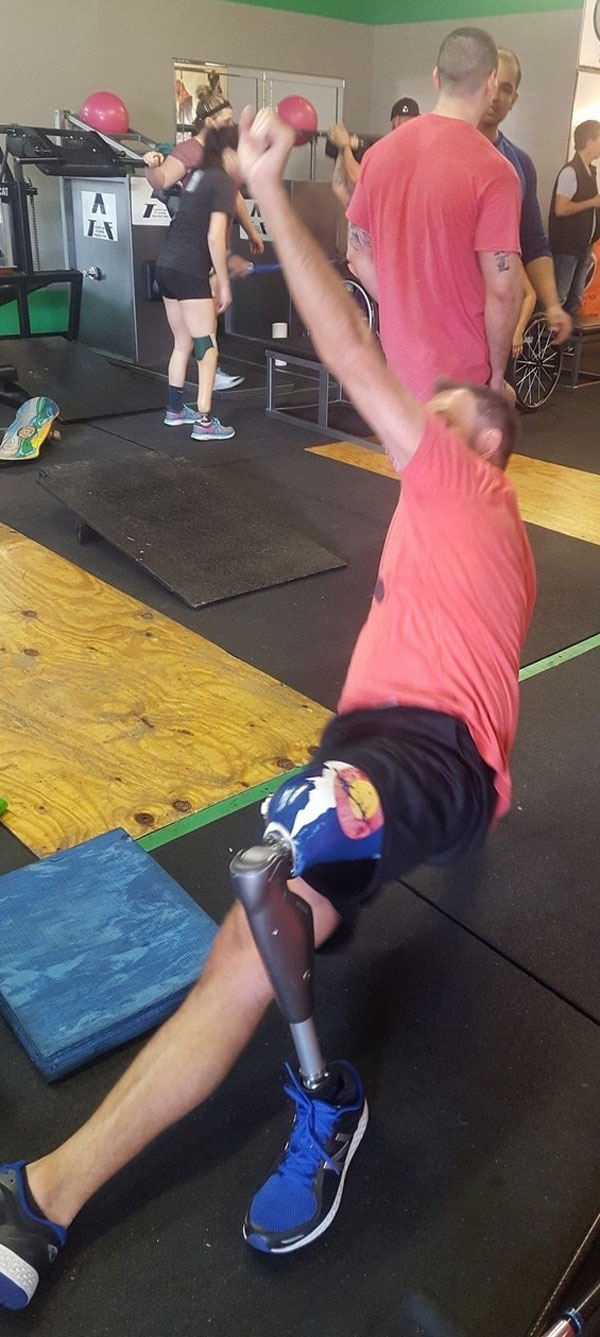
amputee athlete performing a get-upI ran my gym based on what the FMS taught. We used the Functional Movement Screen as part of our onboarding program. I loved the results we were getting in members that could not/did not move as well as they should. It started my journey from Law Enforcement/Gym Owner to attending Chiro school. I knew that there was more that I could do to help people with the right credentials, and being a Chiropractor was something that I knew would allow me to help more people achieve even better outcomes.
The ability to look at and screen movement helped tremendously in Chiro school. It allowed me to look at everyone through a movement lens versus just looking at the injury that brought them in. I attended the Selective Functional Movement Assessment certification while in school. That is the clinical variation of the Functional Movement Screen. It allowed me to narrow in on the root cause of the patient’s dysfunction. The RKC/FMS gave me a leg up in the Rehab and improving outcomes.

Fast forward a few years and I am still helping people with better movement and decreased pain with kettlebells. Kettlebells are a significant part of our rehab program. They take up little space and can be used by everyone. The allow us to engage our patients in their rehab due to the challenge and the fun of using the kettlebell. Everyone that walks in wants to try and pick up the 106lb…

We use the skills taught at the Hardstyle Kettlebell Certification (HKC) as our base for rehabilitation and strengthening. You will often hear that the swing, Get Up and squat pretty much fix what ails you. Guess what? It is true. We find that if our patients have those three exercises down, their activities of daily living as well as any extracurricular activity can be performed with little to no dysfunction. Can we fix everything? No, but we can help them improve their lives and make them more injury resistant.

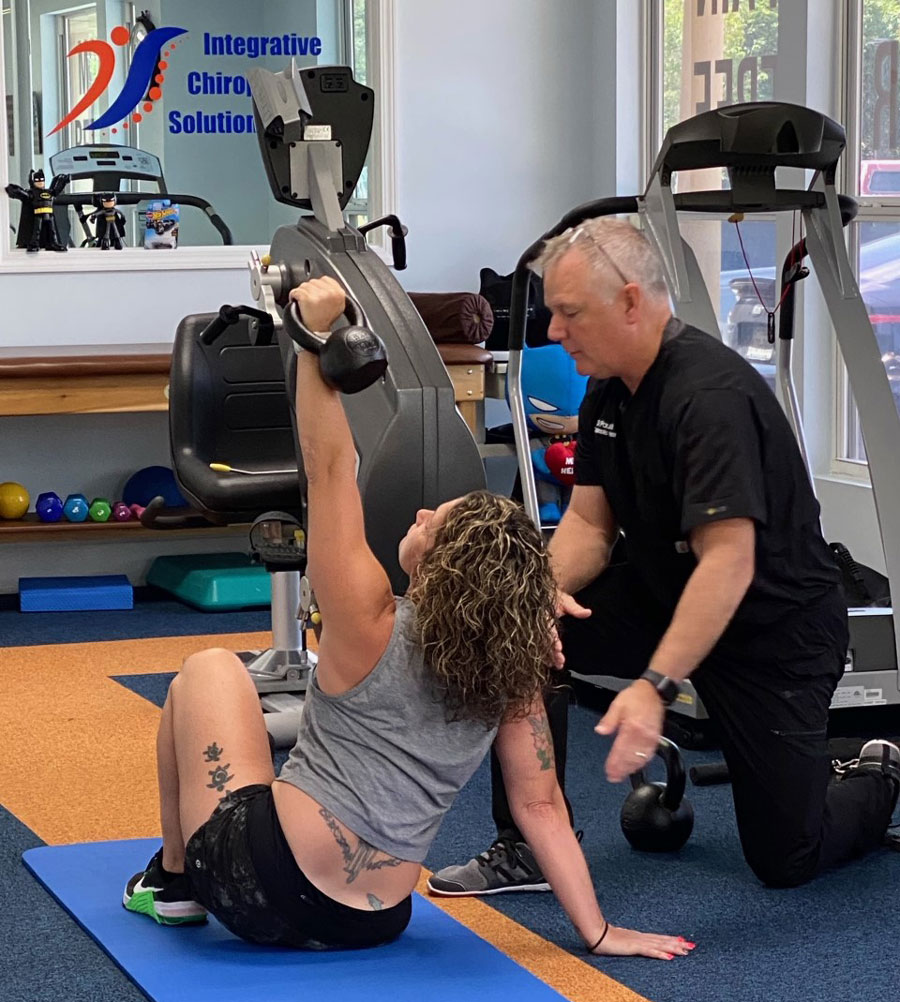
One of our patients, a CrossFit competitor, had to undergo shoulder surgery for a tear. Once we were able to load and stress the shoulder, we started out with the unweighted get up. We started out with rolling to the press. This allowed us to help connect her core to the rest of her body core after six weeks of being sedentary. We performed the movement of rolling to the press without weight. She would lay on her side in the fetal position, roll to supine and press from the floor.

Once she owned the movement, we move to shoulder packing. We use the supine press position and showed her how to pack the shoulder. We accomplished this by lightly pushing and pulling the arm up and down int the press position. This allowed her to feel the movement and perceive what it should feel like when doing correctly. We also showed her to rotate her fist in the press position for movement in the joint. This was for getting fluid moving as well as allowing the body to feel what the shoulder should be doing when functioning correctly.

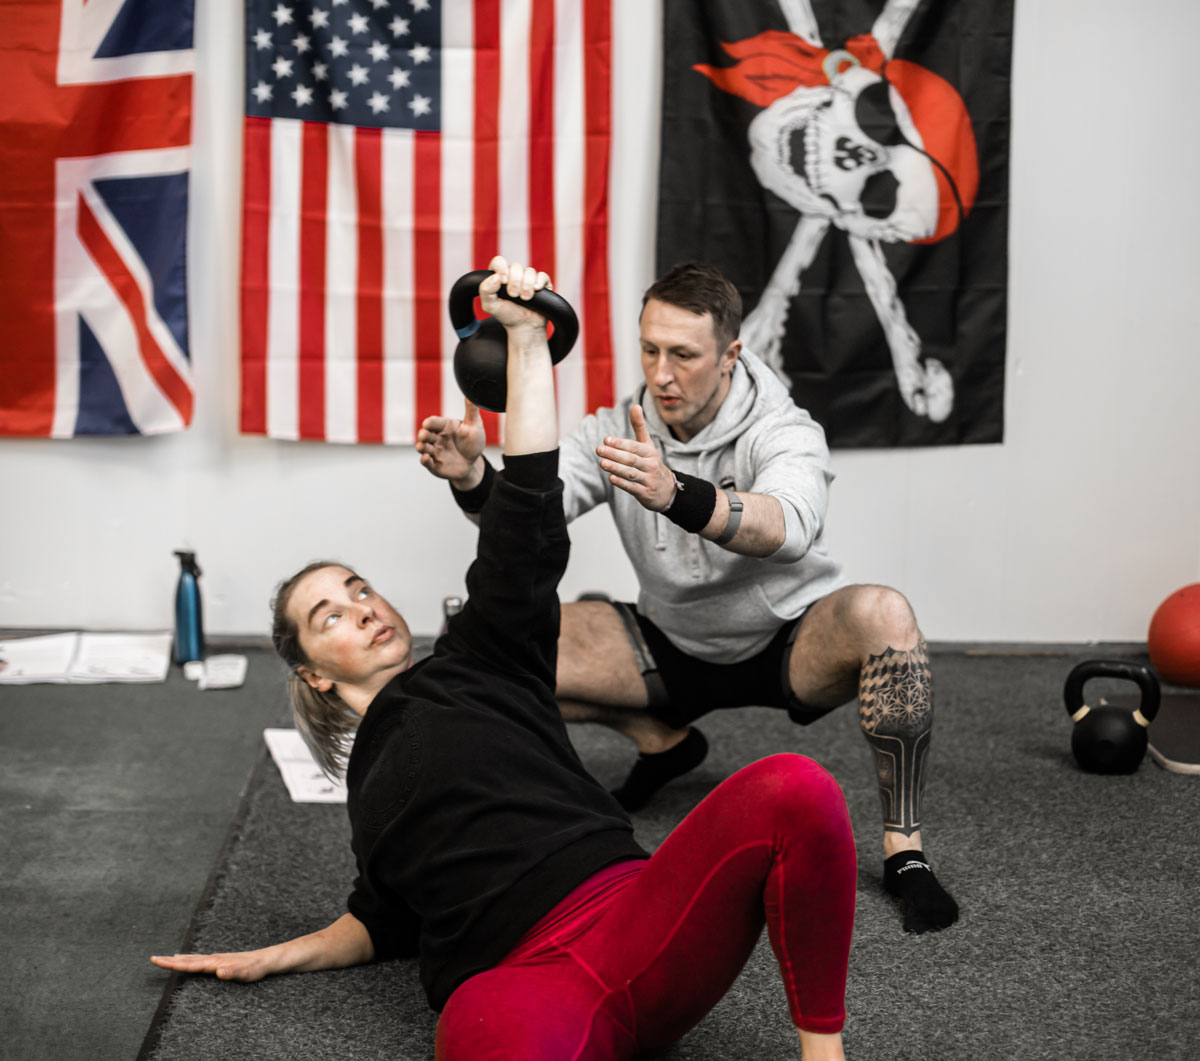
Paul Britt instructing an athlete performing a get-up

We like to work the standing to half kneeling after teaching the shoulder packing to get to half kneeling and help with stability. I find that this is often easier to teach than having patients work into the post and to the heist and windmill before they can safely move through the mid-range movements. There is no set number or time frame. We have had one patient work through the parts of the get up unloaded for 6 months before they were allowed to use any weight. Time practicing the get up is never wasted time.

The athlete worked through the rest of the get up without weight and then started with low loads. We moved from 25% internal rotation and 50% abduction to 100% pain free in both ranges of motion in 12 weeks after surgery. She is back to competition weights without pain or dysfunction.

The swing can be used in the same manner. We find the parts of the swing that will benefit patients and work from there. The power of the teaching process and the techniques are often greater than the sum of the swing. For back pain, posterior chain strengthening has been shown to be superior to general exercise and walking programs for treating chronic low back pain. (1)

The swing is a great tool for working with patients with issues in the back. For back pain we start with the basics, breathing. We start with crocodile breathing as taught in the HKC and RKC. A large problem that we find with low back pain and other injuries are breathing dysfunctions. A large portion of our patient base breathe in the upper chest, using traps and accessory muscles to breathe versus the diaphragm. Breathing has been shown to help inhibit the paraspinal muscles and help with spasms. Proper breathing patterns help with balance, pain and the ability to access full strength in a patient. (2)

Proper breathing is essential for being able to develop the ability to use tension and relaxation to get the most out of swings. What do we do, we work on teaching them how to breathe properly. Once they understand how to breathe, it becomes an alert system for us. If they lose the ability to breathe well during an exercise, we have either fatigued them or selected the wrong exercise to use.

The deadlift, the deadlift drag, and the pendulum swing are three of the swing teaching tools that we use a lot. “Deadlifts have been shown to improve low back pain as effectively as low load motor control drills.”(3) That basically says that if the patient is ready, deadlifts are at least as effective as bands, stick drills and similar movements that do not require loads.

Why not make them stronger if it is clinically available to the patient. There is a lot more buy in from the patient when they have that visceral response from lifting real weight and getting stronger each session.

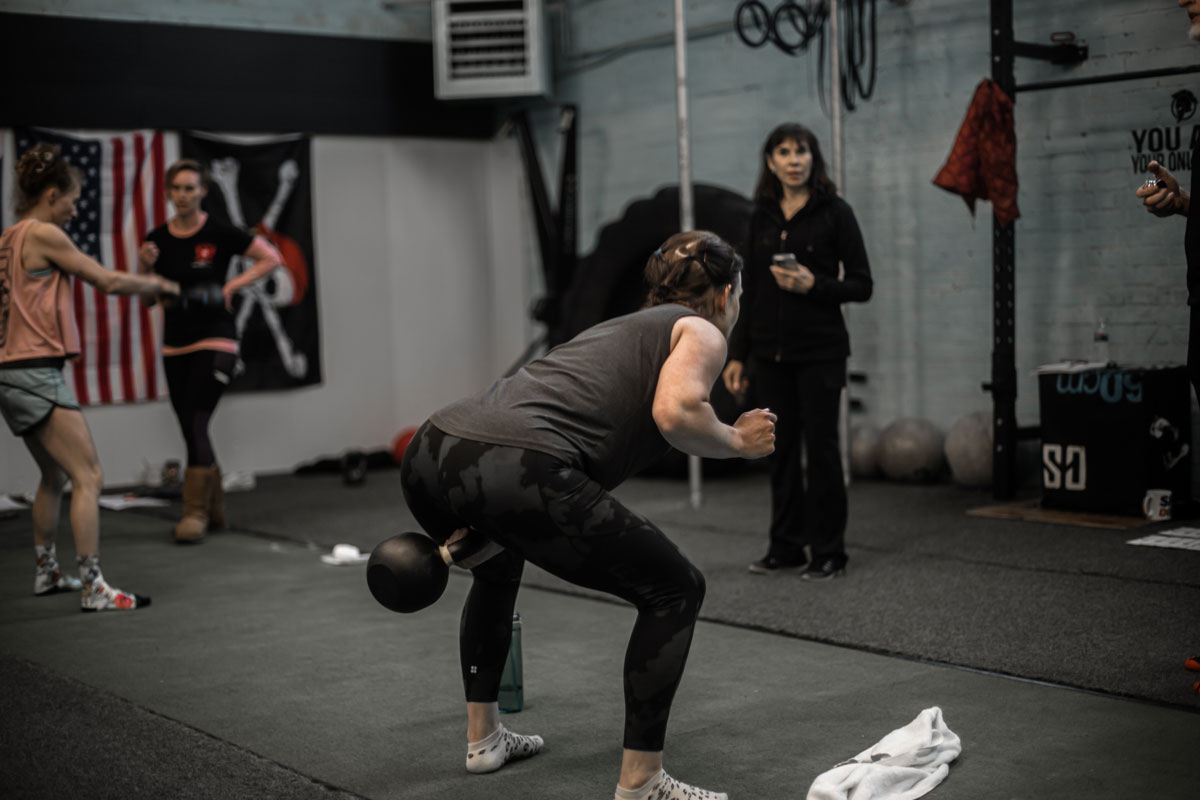
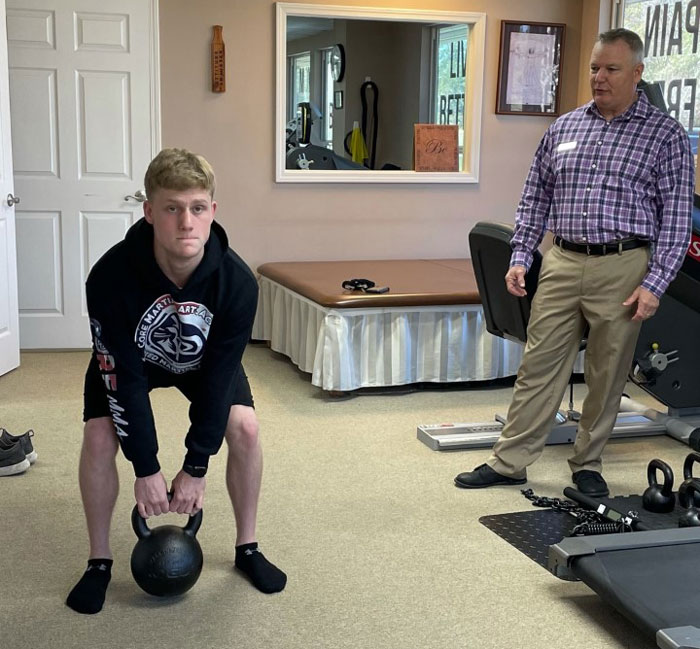
Paul Britt instructing kettlebell deadlift and deadlift drag

The deadlift drag is a great tool for strengthening the posterior chain and connection it with movement. The set up is deadlift hinge with the bell in front. The kettlebell is moved along the ground in a drag utilizing the lats, rhomboids and other muscle of scapular control as well as erectors and glutes. It has helped us to improve scapular control and function in patients that have scapular dyskinesia.

I have personally used the pendulum swing in my own rehab journey. I suffered a disc injury several years ago that kept me from performing standard exercises. I was able to move into a hip hinge but could not move through the full deadlift pattern with weight. I found that the low position was pain free and I was able to swing a kettlebell in that position. I would get into the hip hinge at a position that did not hurt or worsen my symptoms and perform pendulum swings.

Our end goal with swings is to move through two handed to one-handed swings. Research has shown that this is a great way to help mitigate current back pain as well as help decrease future problems. The one hand swing engages the opposite side spinal erectors and same side external obliques leading to greater stabilization in the back and core.(4)

A specific end user for the Kettlebell Swing as a rehab tool is our Post ACL reconstruction patients.(5) The research has shown that kettlebell swings help decrease the risk of non-contact injuries from high risk to a lower risk profile after 6 weeks of training. We teach them the Get Up, before we allow them to swing. The Get Up is used as a strengthening and screening tool to ensure the patient can load the knee safely before transitioning to the swing. The improvements are due to posterior chain strengthening, the semitendinosus and hamstrings.

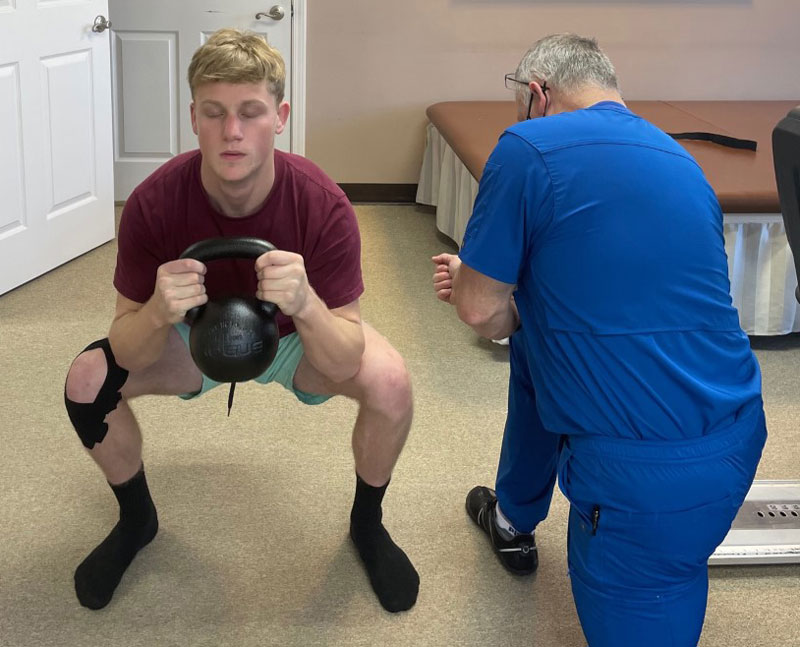
Paul Britt instructing the goblet squat at his clinic

The squat as taught in the HKC/RKC are useful in several ways. We like the squat as the end game for connecting the dots of the rehab program. It requires mobility and stability to perform and control of the breathing and tension. We use Bottoms Up Squats to test for connectivity of the core with the movement pattern. If the Bottoms Up Squat cannot be performed, there is a leak in the pattern.

We want to make sure that our elderly patients can get off the floor and the toilet. If they can do that, we have increased their quality of life and survivability. We have found that patients that have gone through the program have reached those goals.

This is a quick look at how you can implement kettlebells in the clinic to help your patients move better, feel better, live better pain free. It does not have to be complicated to work.

***

Paul Britt DC is a Certified Chiropractic Sports Physician and Senior RKC based in Gulf Breeze Florida. His practice, Integrative Chiropractic Solutions utilizes kettlebells as rehabilitations tools to help his patients achieve their goals.

  1. Tataryn N, Simas V, Catterall T, Furness J, Keogh JWL. Posterior-Chain Resistance Training Compared to General Exercise and Walking Programmes for the Treatment of Chronic Low Back Pain in the General Population: A Systematic Review and Meta-Analysis. Sports Med Open. 2021 Mar 8;7(1):17. doi: 10.1186/s40798-021-00306-w. PMID: 33683497; PMCID: PMC7940464.
  2. Stephens RJ, Haas M, Moore WL 3rd, Emmil JR, Sipress JA, Williams A. Effects of Diaphragmatic Breathing Patterns on Balance: A Preliminary Clinical Trial. J Manipulative Physiol Ther. 2017 Mar-Apr;40(3):169-175. doi: 10.1016/j.jmpt.2017.01.005. Epub 2017 Mar 1. PMID: 28259495.
  3. Aasa B, Berglund L, Michaelson P, Aasa U. Individualized low-load motor control exercises and education versus a high-load lifting exercise and education to improve activity, pain intensity, and physical performance in patients with low back pain: a randomized controlled trial. J Orthop Sports Phys Ther. 2015 Feb;45(2):77-85, B1-4. doi: 10.2519/jospt.2015.5021. PMID: 25641309.
  4. Andersen V, Fimland MS, Gunnarskog A, Jungård GA, Slåttland RA, Vraalsen ØF, Saeterbakken AH. Core Muscle Activation in One-Armed and Two-Armed Kettlebell Swing. J Strength Cond Res. 2016 May;30(5):1196-204. doi: 10.1519/JSC.0000000000001240. PMID: 26473519.
  5. Zebis MK, Andersen CH, Bencke J, Ørntoft C, Linnebjerg C, Hölmich P, Thorborg K, Aagaard P, Andersen LL. Neuromuscular Coordination Deficit Persists 12 Months after ACL Reconstruction But Can Be Modulated by 6 Weeks of Kettlebell Training: A Case Study in Women’s Elite Soccer. Case Rep Orthop. 2017;2017:4269575. doi: 10.1155/2017/4269575. Epub 2017 Jan 18. PMID: 28197354; PMCID: PMC5286491.

Filed Under: Coaching, Kettlebell Training, Mobility and Flexibility Tagged With: chiropractor, corrective exercise, fms, Getup, hkc, kettlebell get-up, movement, Paul Britt, RKC, Turkish getup

The Kettlebell Get-up in Detail Part 2

May 6, 2021 By Ryan Jankowitz Leave a Comment


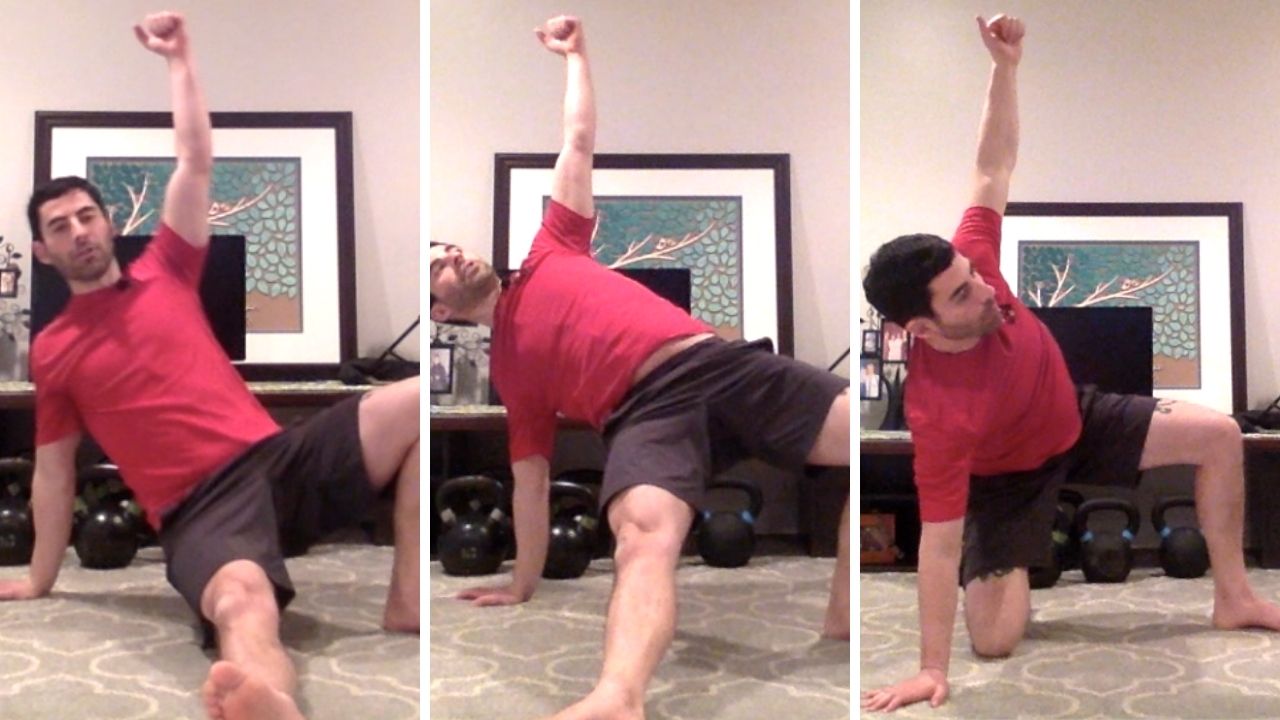
Ryan Jankowitz Demonstrating the move between the tall sit and the half windmill - kettlebell Get-Up Tutorial Part Two

Welcome back to my 3-part series on the kettlebell get-up! While my last post focused on the set-up, roll to elbow and the tall sit, today I’m going to focus on the leg sweep to windmill, lunge and stand up.

Once you’ve achieved the tall sit position, the next step is to sweep your leg back underneath you into the kneeling windmill position.

Some people may get confused at this part of the get-up because they are not sure how high they should bridge their hips before sweeping their leg back. This is mostly a matter of personal preference, however, I’ve found that with heavy get-ups doing a small bridge is the safest and most effective way to start the leg sweep. If you’re warming up with naked (no weight) get-ups or using a light kettlebell, then a high bridge can be okay. Just do what feels most safe and appropriate.

When you sweep your leg back, aim to line up your wrist, knee and ankle. A nice straight line here will allow you to load your hips and use your torso to straighten up to the kneeling position.  Also, make sure to tuck your toe under (dorsiflex) after you sweep your leg back and keep your toe tucked in order to help you with the lunge.

Be aware that if you don’t bring their knee back far enough, you will not be able to properly use your hips and torso to straighten up. When this happens, the arm on the ground and the lower back are overused—and at risk of injury.

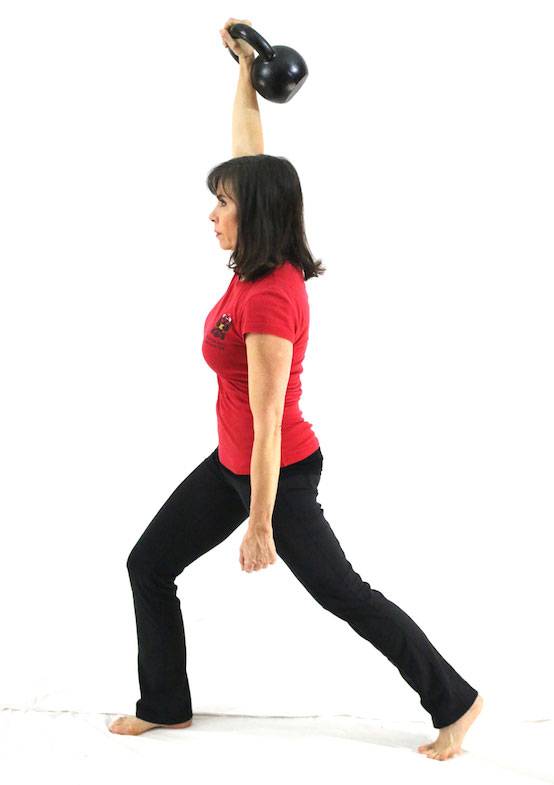
Now that you’ve straightened up, you must put yourself into a lunge position. Here are the two different ways to do this:

  1. “Windshield wiper” your back leg
  2. Step across with your front leg

When teaching the get-up at the HKC and RKC, the “windshield wiper” method is taught first. This movement can sometimes be uncomfortable for people who have had a knee injury, knee surgery, or their knee just doesn’t like this type of movement. In this case, step your front leg across to move into a lunge position.

At this point, the arm holding the kettlebell should be vertical. The kettlebell should be behind your head so that if you were to look up you wouldn’t see the kettlebell in front of you. Now, you’re ready to stand up from the lunge. Push both feet powerfully into the floor to help you stand up. When you bring your legs together, hit your Hardstyle plank by contracting your glutes, quads and abs.

To see all of these steps in action, please watch this video:

Focus on improving these steps to gain the strength and confidence to perform the get-up with heavier kettlebells.

Stay tuned for my third and final blog post about the kettlebell get-up.

Stay Strong,
Ryan Jankowitz, RKC II

 ***

Ryan Jankowitz, RKC-II and owner of RJ Kettlebell, lives in Maryland with his wife and two dogs. They love to go hiking and spend time on the beach. When he’s not telling his dogs to stop chasing squirrels, Ryan enjoys spreading the RKC message and teaching others how to train with kettlebells. Try his 2-week advanced kettlebell plan: https://rj-kettlebell.ck.page/b59325e156

Filed Under: Kettlebell Training, Tutorial Tagged With: get-up tutorial, kettlebell get-up, kettlebell technique, kettlebell training, Ryan Jankowitz, turkish get up, tutorial

The Get-Up

April 12, 2017 By Dan John 6 Comments

The Get-Up

When in doubt, I pull John Jesse’s classic book, Wrestling Physical Conditioning Encyclopedia (printed in 1974), off my shelf. Jesse collected the history and wisdom of every strength, conditioning and wrestling coach and compiled it into a rare book that covers all the bases of strength training.

The first lesson one learns when reading Jesse is humility. In case you think YOU invented something, flip through the pages to find:

  • Swings
  • Sandbags
  • Circuit training (including mixing bodyweight work with barbells)
  • Rehab, prehab, tendon and ligament work
  • And, many, many more ideas involving equipment, movement and training
  • Oh…and the get-up

On page 154, we meet Otto Arco. He was the model for many of Rodin’s sculptures and we remember him for his skill in one particular exercise:

Arco, at a bodyweight of 138 pounds, could do a one hand get-up with 175 pounds. The get-up was his “secret” to all around body strength, body power and body composition. Arco wrote this in his book, How to Learn Muscle Control:

The main purpose of muscle control is self-mastery. Muscle control involves far more than the mere ability to make the muscles contract. It teaches you to relax, which is sometimes even more important than contraction. It gives you a selective control, and therefore the ability to single out those muscles necessary to the work to be done, and only those muscles; leaving the antagonistic, or non-helpful, muscles relaxed.

Arco, over a century ago, singled out the core and keys to the Hardstyle system: “selective control.” This is the ability to turn to stone when necessary and to relax…when necessary! It is the secret behind Bruce Lee’s one-inch punch and the ability to hit a golf ball far. We find the get-up in Jesse’s chapter 13, “All Around Strength and General Power Exercises,” where we also discover the ballistic exercises like the swing, the jerk and what we would now call “snatches” in the kettlebell world.

Arco maintained a honed physique that he modeled well into his sixties by focusing on an understanding of muscle-control. While the swing and goblet squat will illuminate the role of flicking the switch of hard/tight and fast/loose, the get-up will demand something best summarized by Jesse (155):

The athlete, in projecting his total body strength in competition, must mold the strength of localized areas into a total coordinated body effort.

The get-up, sometimes called the Turkish get-up was named after the great tradition of Turkish wrestlers using this move as an entrance test. It has enjoyed a rebirth in the new millennium due to the efforts of members of the RKC. At its simplest, the get-up is simply getting up off the floor with a load and returning back down. It can be done to exacting measures with fourteen or more separate steps up and fourteen or more back down. Somewhere in the middle is how we will teach the get-up.

Although the true benefits are “a total coordinated body effort”, when you observe the get-up, you find that many isolation movements are present, too:

Basic rolling

Press

Hinge

Lunge

Loaded carry (waiter walk)

We also find the “four knots”. The hips and shoulders must be both tight enough and loose enough to roll, slide and adapt through the positions as we move from the ground to standing. Both shoulders are engaged during the full movement at a variety of angles and loading parameters. One needs to be tight and loose throughout as we flow through the positions.

The get-up teaches the ability to remain stiff and tense through movement. When discussing reps of the get-up, I always err on the side of fewer. There are two reasons:

  1. Safety is part of performance.
  2. Trashing doesn’t help tuning.

The first point is the key to the RKC Code of Conduct. Don’t trip over a kettlebell haphazardly left on the floor. Don’t let go of a swing and hit someone in the face with a kettlebell. Don’t go out of your way to be stupid just to become (in)famous on the internet.

Those are all tenants of the “safety is part of performance” idea. With the get-up, a kettlebell is held directly above your skull. The kettlebell will win in a collision, so don’t drop it on your head.

More to the point, the get-up teaches total body coordination and total body strength. Like the Olympic lifts—the barbell snatch and barbell clean and jerk—it takes a level of focus to perform a get-up correctly. A single heavy get-up reflects the training base of perhaps months or years to get the movement “right.” Like the Olympic lifts, one doesn’t see the months of training and preparation that allow one to perform—and, yes, perform is the right word—a heavy get-up.

I keep the reps low to insure concentration, focus and optimal performance. As an Olympic lifting coach, I rarely get over ten reps in either lift with good lifters. With the get-up, I have found that few people can maintain the high levels of mental and physical coordination beyond about ten reps, too.

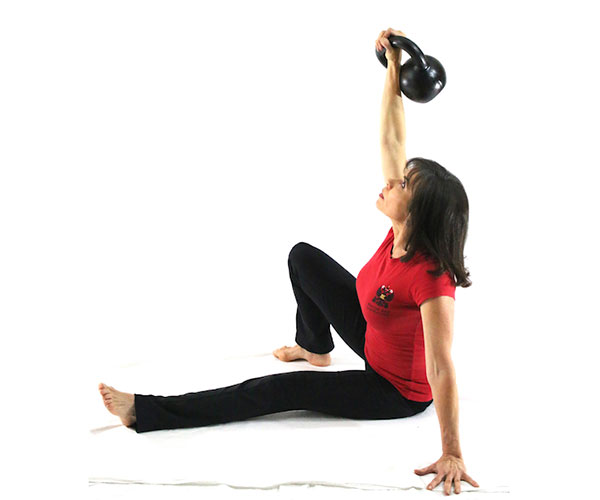
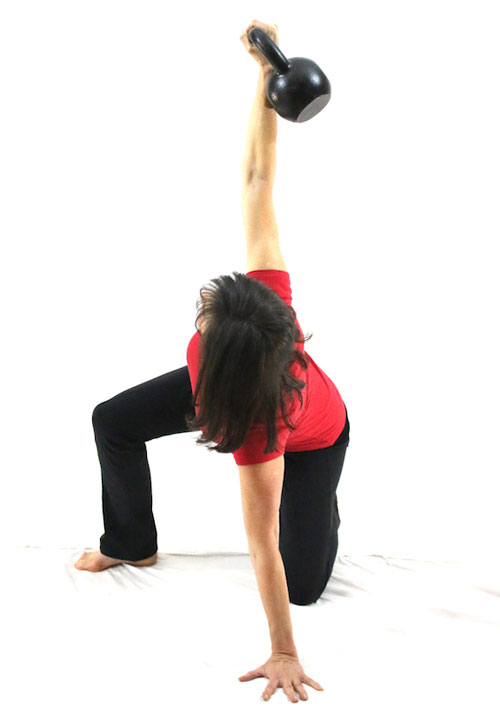
Get-up Kneeling Windmill

The second point is hard for many of our hard-charging brothers and sisters to understand: getting trashed is something a college freshman or someone who really doesn’t understand training does. I wouldn’t be surprised to see someone online doing Tabata get-ups some day (twenty seconds of get-up, ten seconds rest for four minutes) or some kind of “get-ups to failure.”

This kind of nonsense is an issue in the fitness industry. Sadly, it is what most people “hear” when we say the phrase “training session”.

Even though I want to make you move better and move more, most people’s ears tell them that I want you to puke in a bucket and lay in a sweaty mess on the floor.

No!

The get-up is all about tuning the body. The words “tune” and “tone” come from the same root. When we train people, we should be trying to tune them up. If you sit too much, stretching the hip flexor family and strengthening the glutes will do much more together.

When someone struggles in a get-up or cheats a position a bit, it tells us that something is going on today. I use the get-up and variations of it to access what is going on with a person that day. An unusual hitch in movement or a lack of mobility here or there can be addressed instantly if we see the get-up as a tuning exercise rather than a trashing movement.

Speed can mask problems. The get-up highlights weak links and poor linkage. My old training partner, John Price, used to always remind me, “An athlete is only as good as the weakest link.” The get-up is a different movement after a trip over ten time zones. The get-up is a different movement the day after an American football game.

But, a few minutes of intelligent corrective work, and tuning the body, allows us to get back into the game.

Stu McGill, the famous Canadian back specialist, offers trainers and coaches a challenge for every workout and program: after the exercises and rep scheme, write a column to explain why each exercise and rep is included.

When it is not included in a workout, we should ask why the get-up is NOT there.

***

Master RKC, Dan John is the author of numerous fitness titles including the best selling Never Let Go and Easy Strength. Dan has spent his life with one foot in the world of lifting and throwing, and the other foot in academia. An All-American discus thrower, Dan has also competed at the highest levels of Olympic lifting, Highland Games and the Weight Pentathlon, an event in which he holds the American record.

Dan spends his work life blending weekly workshops and lectures with full-time writing, and is also an online religious studies instructor for Columbia College of Missouri. As a Fulbright Scholar, he toured the Middle East exploring the foundations of religious education systems. For more information visit DanJohn.net

Filed Under: Kettlebell Training, Mobility and Flexibility Tagged With: Dan John, get up, get-up programming, Hardstyle, hkc, kettlebell get-up, Master RKC Dan John, RKC, teaching get-up

The Get-Up—The Ultimate Triplanar Exercise

December 7, 2016 By Ashoka McCormick 3 Comments

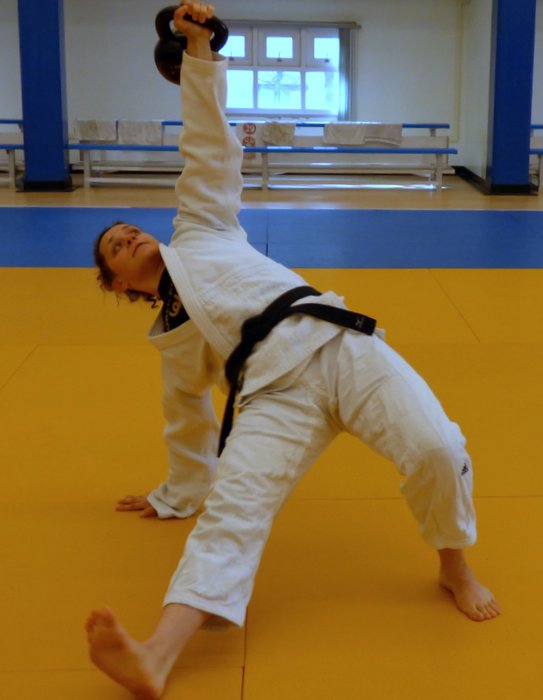
training get-ups for judo athletes

When we think of Bruce Lee throwing a kick, Muhammad Ali dodging a punch, or a great wrestler like Dan Gable swiftly shooting in for a double-leg takedown and dumping his opponent on the mat, we can easily imagine strength exerted on multiple planes.  This multi-dimensional strength and stability is achieved through specific strength conditioning. It is the key for optimizing body movement and power for a combat athlete’s knock-out punch. It also provides incomparable groundwork for other athletes, too.

The majority of today’s programs favor traditional strength and conditioning approaches which are often heavily biased towards sagittal plane (forward and backward) movements. We definitely need strength in the sagittal plane, and many of the big-bang-for-the-buck exercises like squats and deadlifts occur in this plane.

But in designing our training, it is important to understand that the human body does not move in just one direction. We can also move side-to-side, forward, backward, and in rotation. Training in multiple planes, or multiple directions, helps us achieve higher levels of body awareness, balance, and coordination. This improved programing allows for quicker reaction times and more efficient neuro-motor function. Training in all the planes can help athletes and clients avoid injury and enhance their performance. It’s a required practice for any athlete determined to consistently perform on an elite level.


The Three Planes:

Sagittal Plane:

Movements in the sagittal plan move forward and back, or through the mid-line of the body. Common examples of sagittal plane movements are a biceps curl or a sit-up.

Frontal Plane:

Movements along the frontal plan can be described as side-to-side, such as abduction and adduction. Exercises that work through the frontal plane are side lunges and jumping jacks.

Transverse Plane:

Movements in the transverse plane include horizontal abduction, adduction or rotational actions. Exercise examples include the Russian twist or a cable woodchop.

One major reason most sports injuries occur in the frontal and transverse planes is that most athletes are only training in the sagittal plane. Athleticism depends on a tremendous amount of movement in different planes of action. Strength and conditioning programs for athletes should strive to include as many variations of movement as possible to train muscles in as many planes as possible (Kenn, 2003).

As trainers and coaches, we must prepare our athletes by strengthening their bodies in all three planes. If your athletes understand the difference between these three planes of movement and can develop their ability to efficiently weave their movements together, then they will be well-rounded and less prone to injury.  For example a fighter in the ring or cage spins, moves left and right, dodges kicks, pivots, punches, and is constantly tackled.  If his or her body is weak in a particular plane, the likelihood of an injury is much greater.

Most popular training methods do not use multi-planar movements. Powerlifting, Olympic lifting, CrossFit training, and bodybuilding tend to primarily work in the sagittal plane. Very few movements are in the transverse or frontal planes. Additionally, most of these training methods do not include multi-planar movements—combinations of frontal, sagittal, and transverse planes of motion. These popular training methods are still valid for training athletes, but coaches should also consider ways to train sport-specific movements that athletes will perform on the field of play (Brown, 2013).

Ashoka McCormick at the whiteboard

As strength coaches and trainers, we can create workouts that hit all of these planes, or we can select compound exercises—triplaner movements—that hit all three planes in one rep. One of the best triplanar movements of all is already a staple among RKC and HKC Instructors: the get-up

In the kettlebell community and the strength and conditioning world, the get-up is highly regarded, and with very good reason. It’s a highly functional movement and total body exercise. Its benefits include improved shoulder stability and strength, correction of left-right asymmetries, overall mobility, core strength, improved movement skills, overall proprioception / coordination, and time under tension. The get-up also teaches athletes to stabilize themselves and create whole body tension in a variety of positions.


Truly Triplanar

The above-mentioned list of benefits is more than enough justification to include the get-up in our workouts. But, I think that one of the most valuable benefits provided by the get-up is that it passes through all three movement planes from the ground up, and again on the way back down to the ground. For that reason alone, the kettlebell get-up is one of my favorite options—it forces you to work in EVERY plane of motion.

Body Awareness

The get-up provides a variety of functional movement patterns and an unmatched stimulation to our vestibular and nervous systems. Once they have mastered all the steps of the get-up, you can even lead your clients and athletes through the movement with their eyes closed for a greater nervous system challenge. The body awareness developed from practicing get-ups provides tremendous value for athletes and the general population.

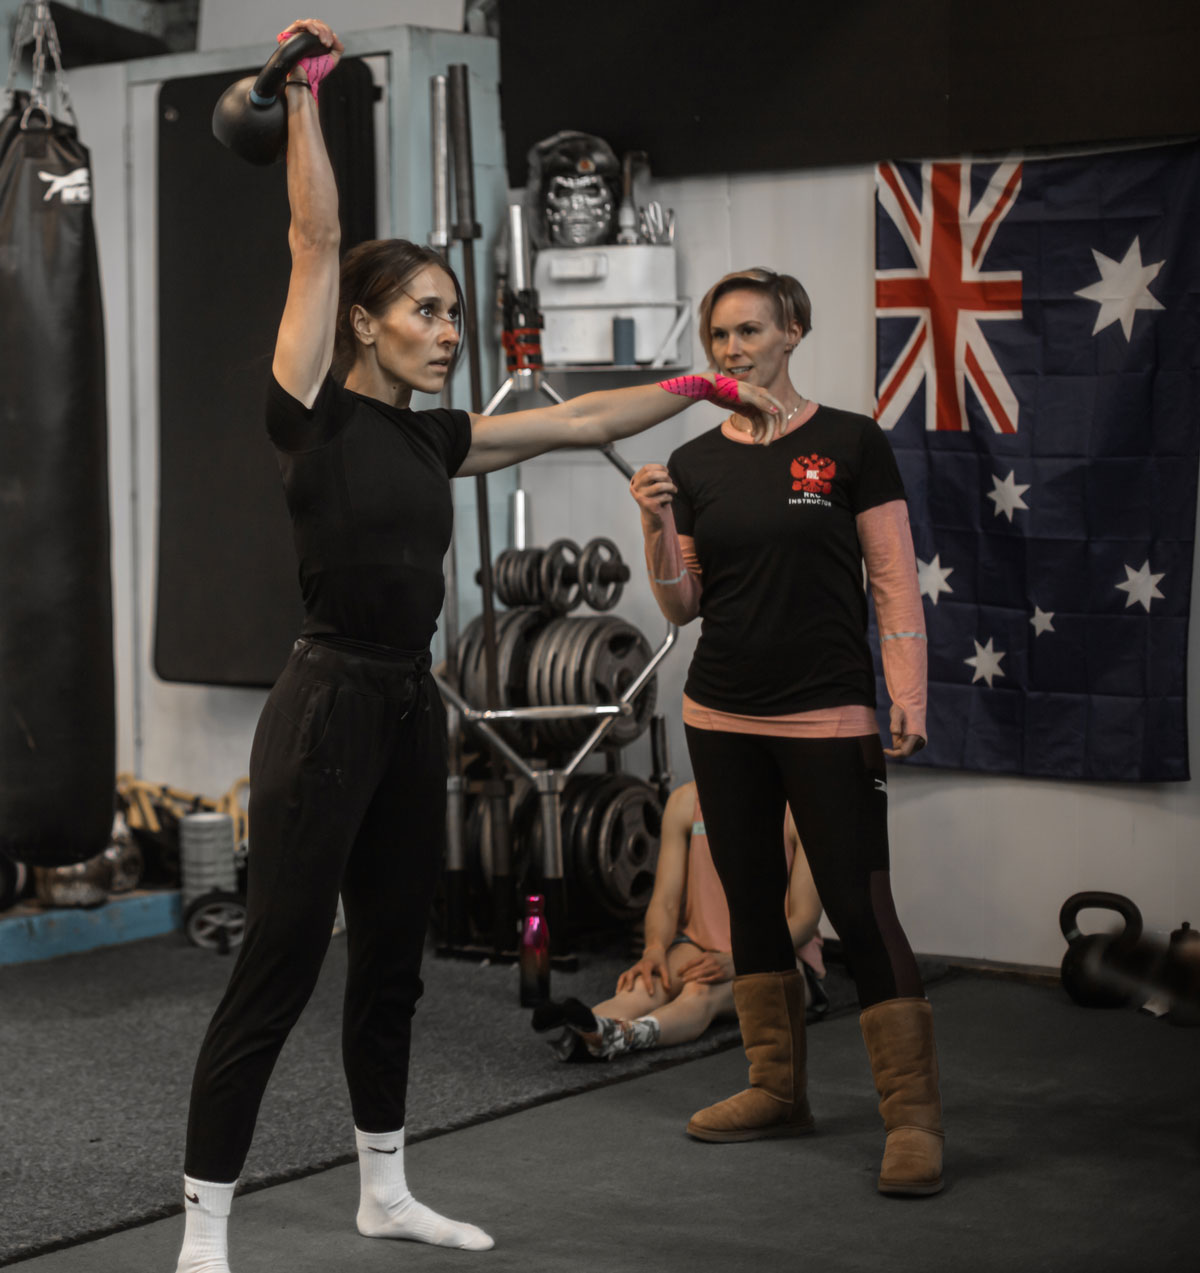
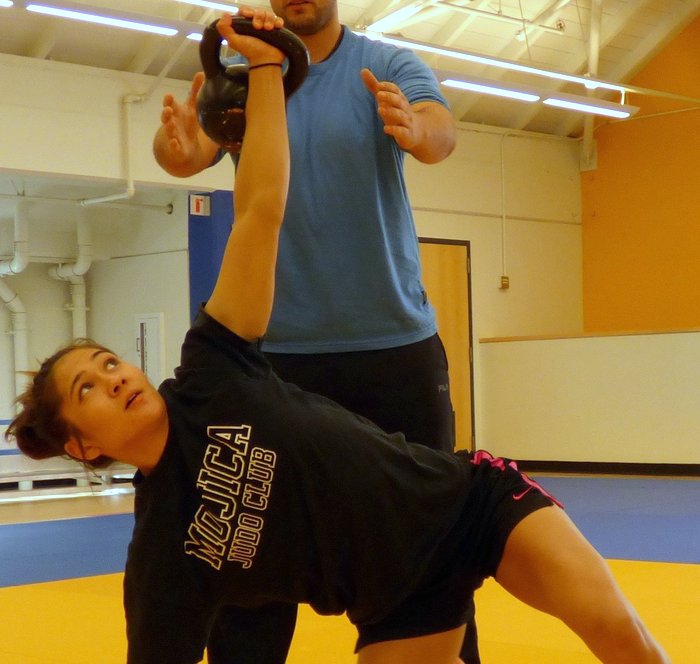
Ashoka McCormick spotting kettlebell get-up

Five Minute Get-Ups

At my HKC certification in April, RKC Team Leader Chris White mentioned doing “Five Minute Get-Ups.” Since then I have added this drill into many of my programs for Judo athletes. At first, they should be practiced without weight, then balance a shoe on the fist for added challenge.  I tend to use the “Five Minute Get-Up” protocol at the beginning of our workouts, it serves as a good warm-up, and a great opportunity for skill development.

During the drill, we focus on one quality rep at a time. I encourage the athletes to take their time. You can incorporate “Five Minute Get-Ups” at the beginning of your workout, on a recovery day, or even as a stand-alone skill practice session. Advanced athletes can try it with weight. But, with or without a kettlebell, the main focus is on the fluidity of the movement.

When designing a strength and conditioning program, we need to include multi-planar movements, multi-directional movements, and various stances which are appropriate for our athletes. Exercises like the get-up will help athletes move more efficiently and will decrease their chances of injury while increasing their overall functional strength.

Winning Athletes At the podium

References:
Brown, T. (2013, September). NSCA’s Performance Training Journal, Issue 12. Retrieved November 18, 2016
Kenn, J. (2003). The Coach’s Strength Training Playbook. Monterey, CA: Coaches Choice.

****

Ashoka McCormick, HKC is a performance coach in Santa Cruz, California.

Filed Under: Coaching, Kettlebell Training Tagged With: Ashoka McCormick, Athletic Training, fitness training, get up, hkc, kettlebell get-up, kettlebell training, stength and conditioning for sports, tri-planer training, triplanar exercises, triplanar movement, triplanar training

Primary Sidebar

Featured Products

previous arrow
BOOK-RKCBookofSnC
HardStyleKettlebellChallegeDanJohn700
BookCoverMasterTheKettlebell1
RKCiconKettlebell512
KettlebellGoddessdv040
next arrow

Recent Posts

  • Key Kettlebell Exercises To Help You Create Better Balance
  • How to Most Effectively Use Kettlebells to Meet Your New Year Goals
  • 1 Exercise That Checks All The Boxes
  • Kettlebells in the Clinic
  • How Breathing Can Improve Your Kettlebell Training
FOLLOW US ON TWITTER!

Archives

Copyright © 2023

Dragon Door Publications / The author(s) and publisher of this material are not responsible in any manner whatsoever for any injury that may occur through following the instructions or opinions contained in this material. The activities, physical and otherwise, described herein for informational purposes only, may be too strenuous or dangerous for some people, and the reader(s) should consult a physician before engaging in them.