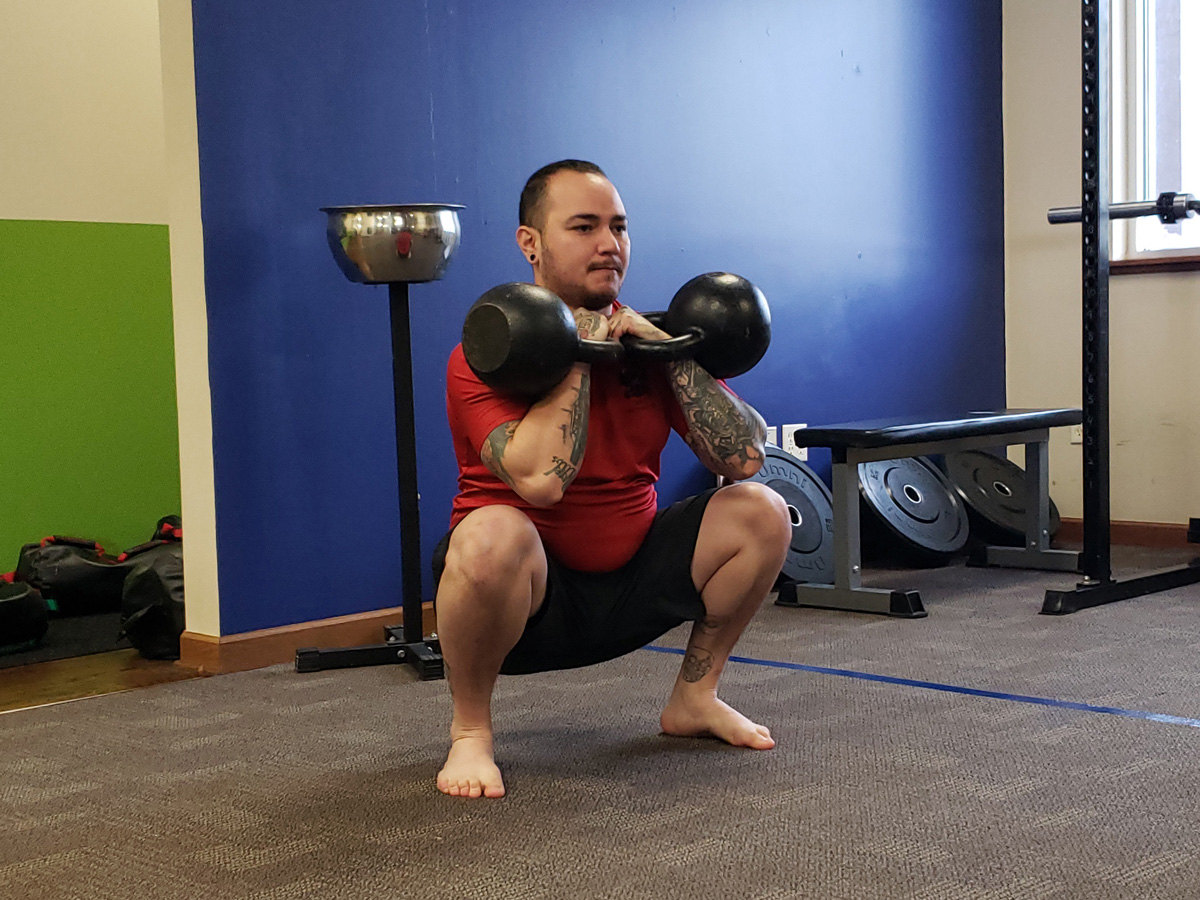
If you’re doing Kettlebell Turkish Get-ups, then you’ve clearly invested time and energy in your health and strength.
The get-up is one of the best exercises you can do for total body strength and to prolong your life. Studies have shown that older adults who can “get up” off the floor easily will more likely avoid falls and live longer than adults who need help getting up from the ground.
There are many steps to learn with the get-up, but once you’ve learned the basic movements you can dive deeper and fine tune the exercise for greater strength and safety.
In order to communicate all of the information I want to share with you, I’ve decided to make this a 3-part series:
-
- Set-up, roll to elbow, tall sit (this post)
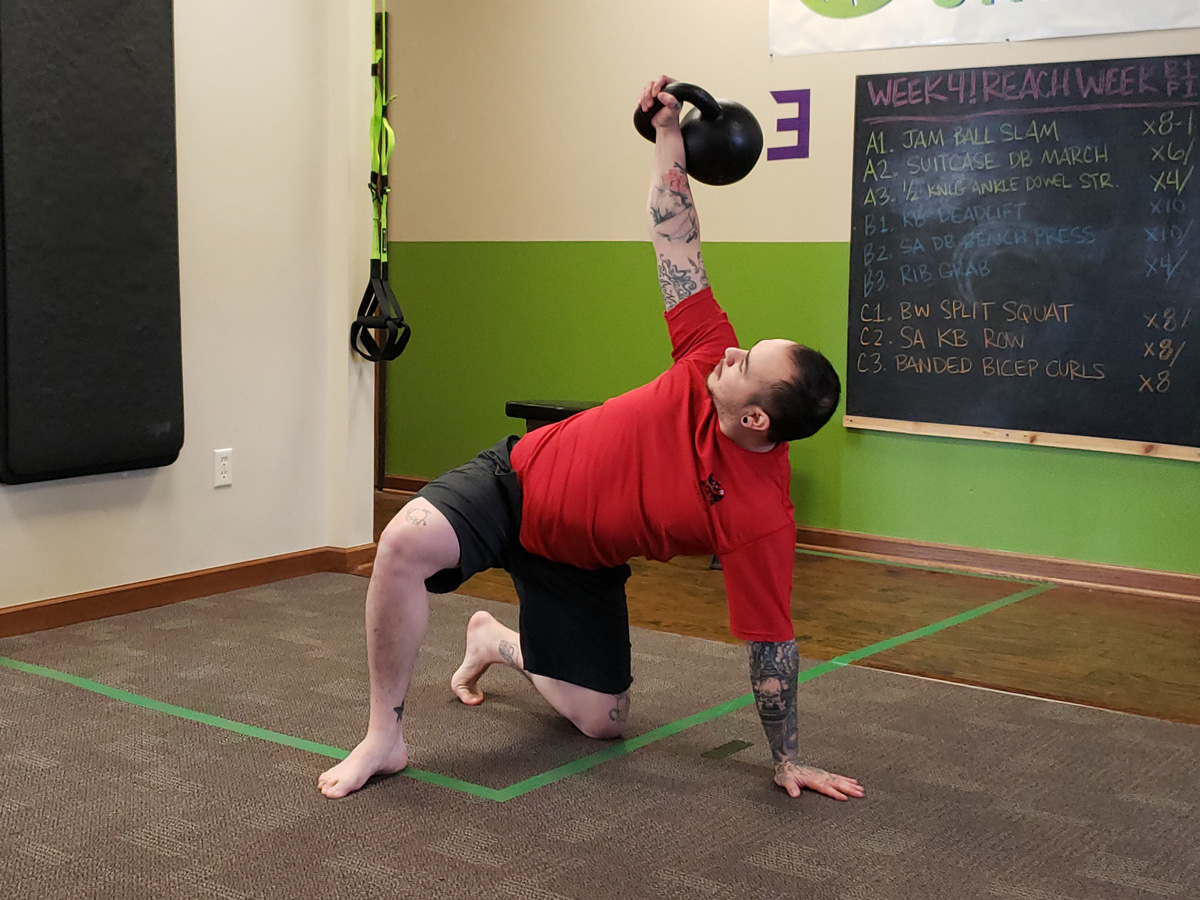
- Leg sweep to windmill and lunge, stand up
- Get back down through all transitions, parking the kettlebell, switching sides, and eye position
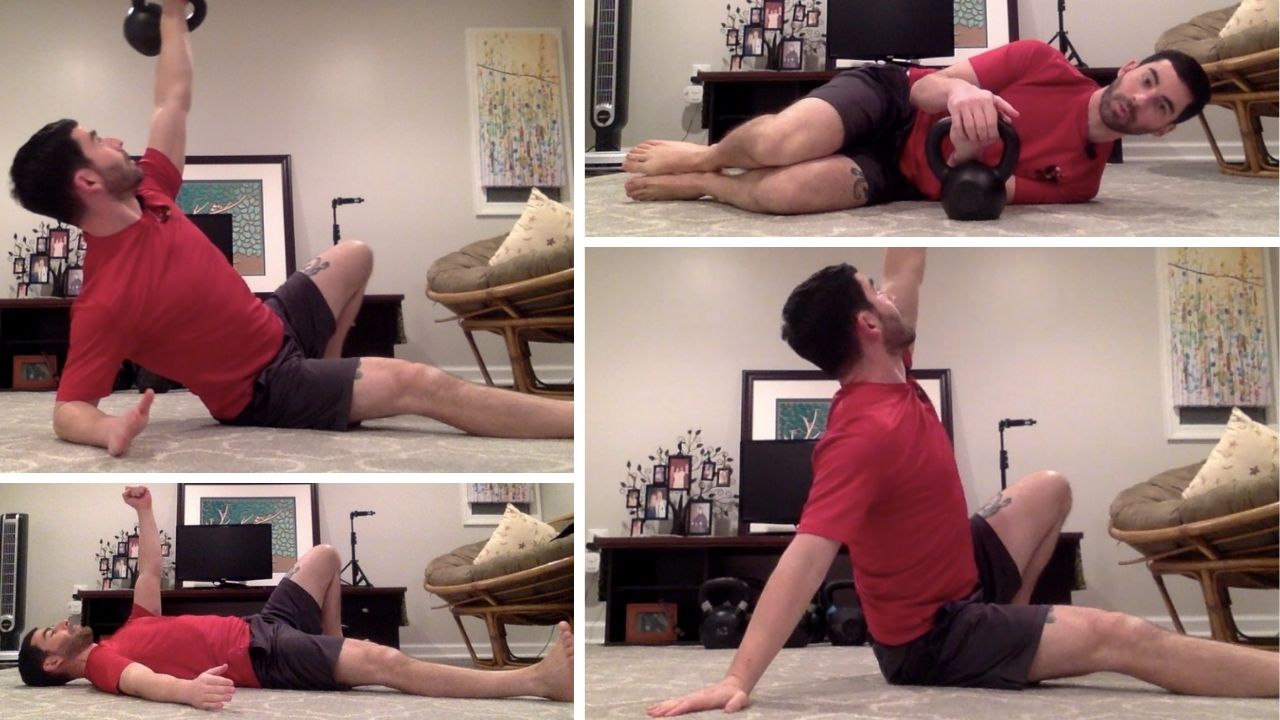
This post will be a dive deep into the set-up, rolling up to your elbow and the tall sit position. Improving movements will help take your get-ups to the next level.
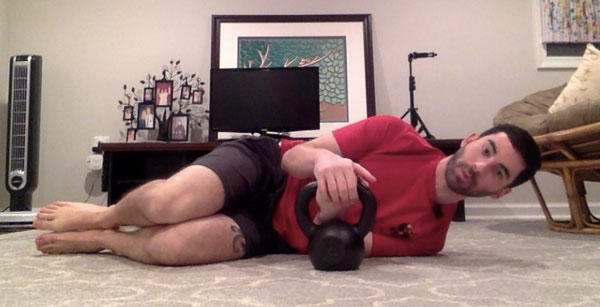
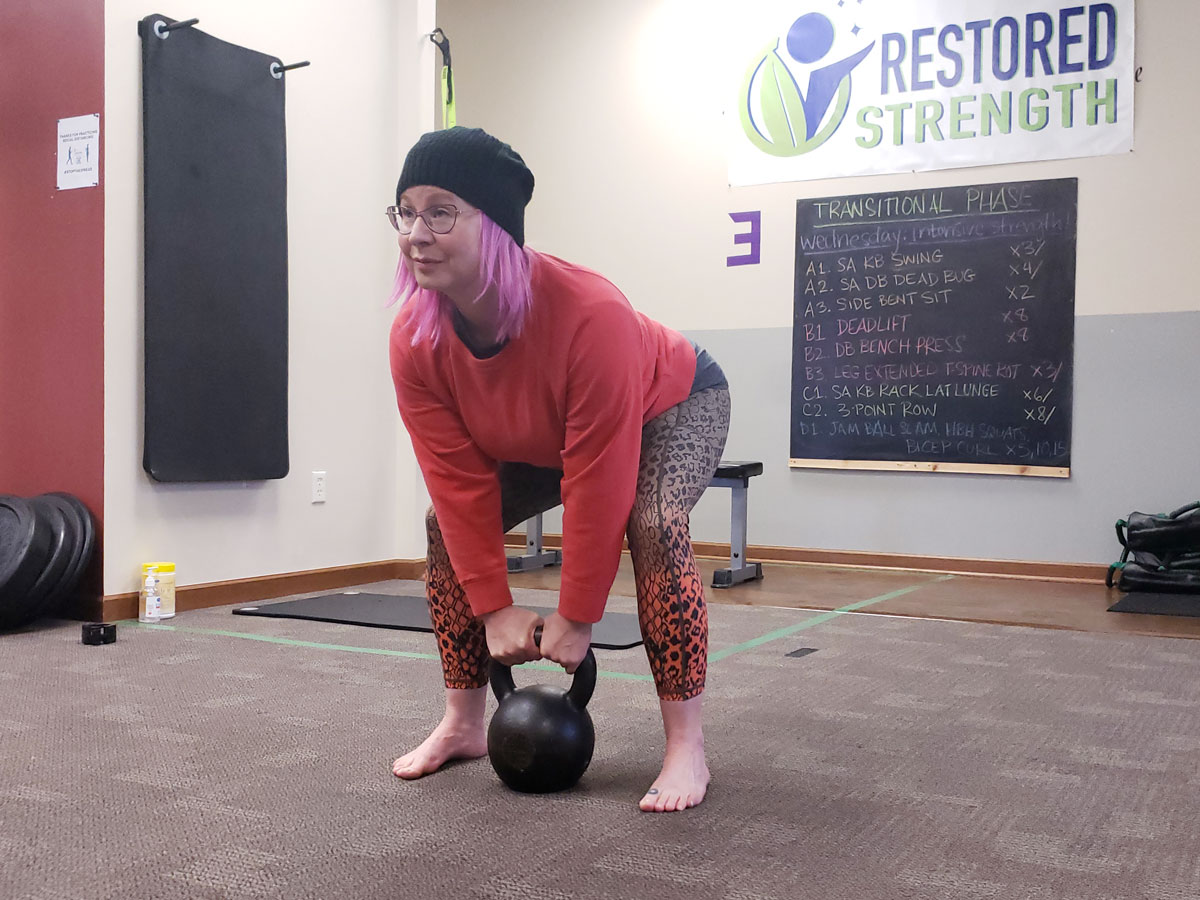
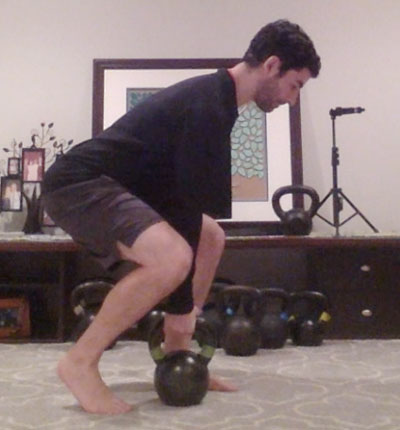
The get-up actually starts from the fetal position with both hands wrapped around the kettlebell handle. Use the weight of your body to roll into position while bringing the kettlebell with you. Don’t try to “arm wrestle” the kettlebell.
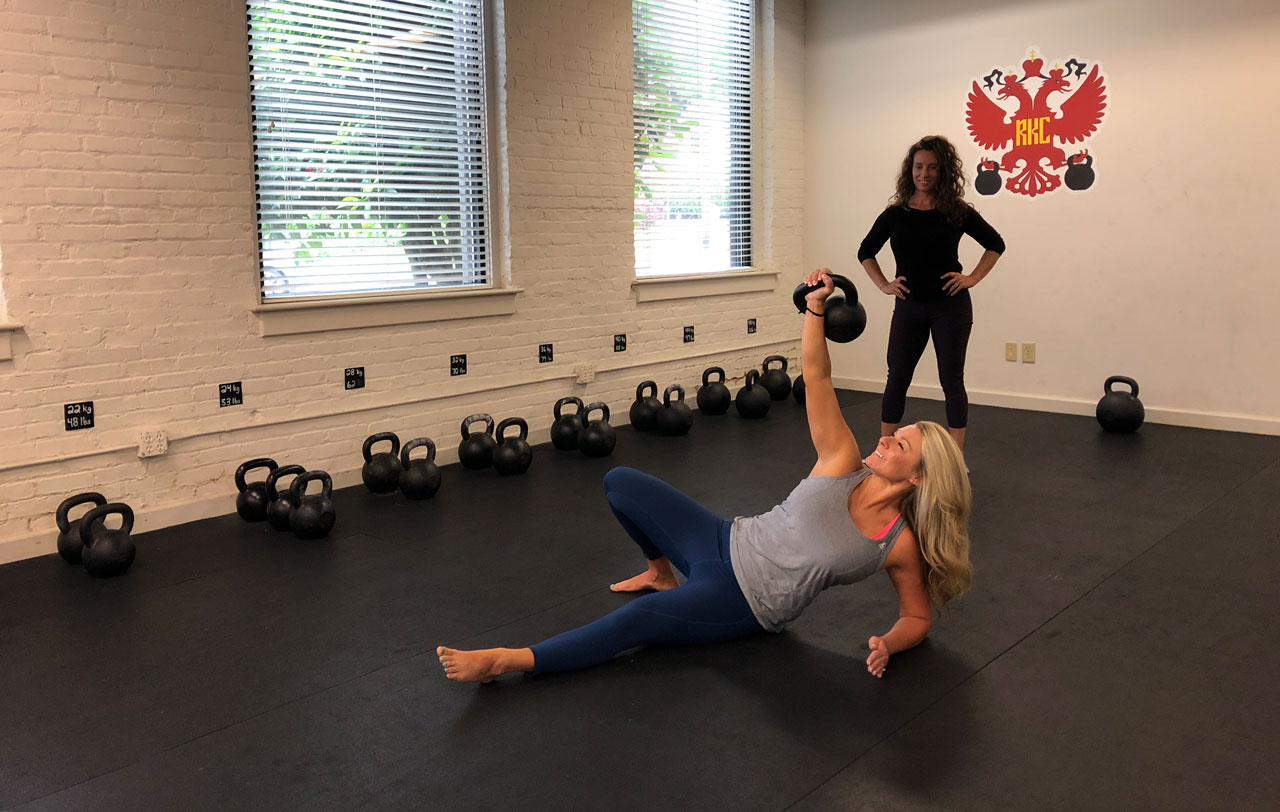
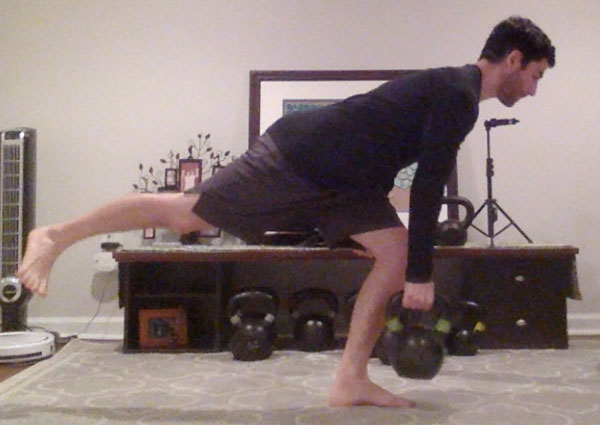
Once you’ve pressed the kettlebell over your chest and locked out your arm, you must put your limbs opposite the kettlebell in the right spot on the floor. Place your unloaded arm (not holding the kettlebell) on the ground about 45 degrees from your body. This will ensure that when you come up to your elbow, your elbow will be right under your shoulder. From there, you will give you a strong base to work from.
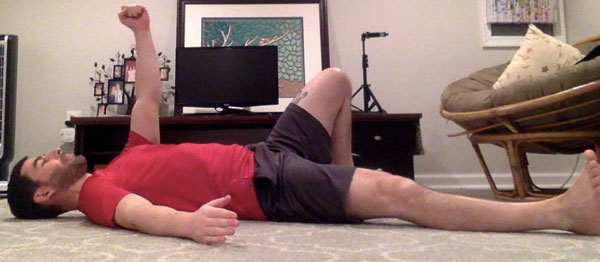
Your legs should form the letter “V”. Bend the leg that is on the same side as the kettlebell and place your foot on the ground.
Now that you’re setup, you can focus on generating tension. Most of the tension you create will be on the side of the kettlebell. You will pack your shoulder supporting the kettlebell by pulling your shoulder down away from your ear and squeezing your armpit. This will also keep the tension out of your neck.
Next, you will start to crunch your obliques on the side that’s holding the kettlebell. The bent leg can then start contracting the glute and hamstring as you push your foot into the floor—this will help roll you up to your elbow.
Finally, push through your heel and flex your quad on the straight leg, which will help keep the leg down on the ground as you sit up to your elbow.
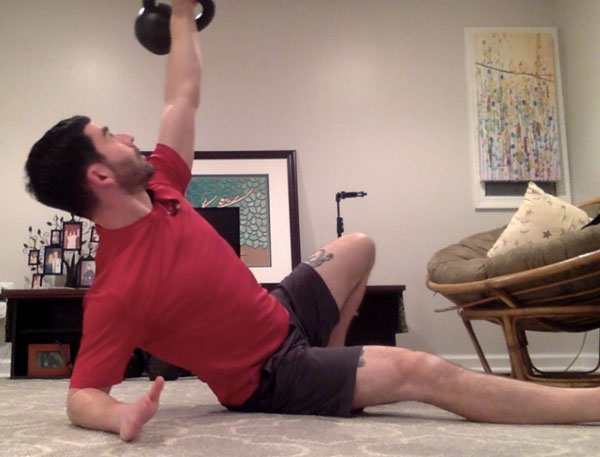
Okay, now that you’re set up, it’s time to roll up to your elbow. Think of this movement as a diagonal crunch where you’re trying to bring your shoulder closer to your opposite hip.
If you’ve set up correctly, then your shoulder should be stacked over your elbow when you roll up. This will give you a solid base to work from.
In this position, make sure to squeeze your shoulder blades together and push your chest up to the sky. This will help keep the tension out of your neck.
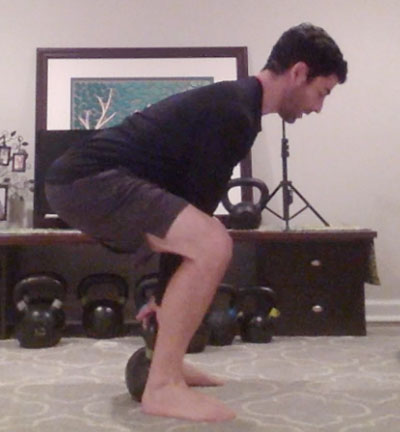
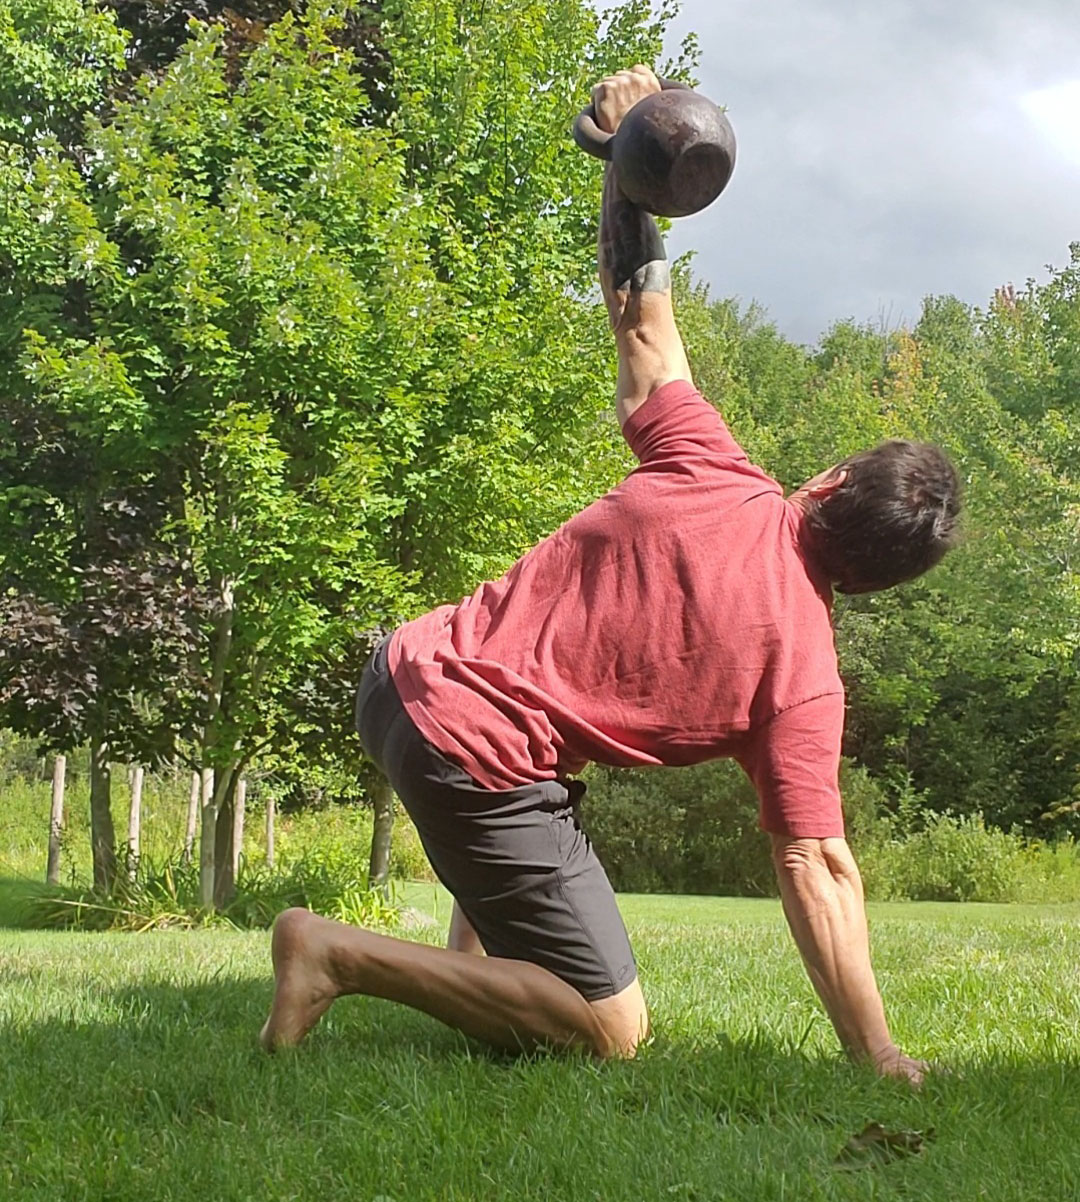
Once you’ve established a solid position on your elbow you can then sit up to your hand. This is known as the tall sit position.
I like to rotate my hand back slightly as I transition to my hand because it allows me to open up my chest and squeeze my shoulder blades together, which will prevent shrugging the shoulder up to the ear and putting tension in the neck.

Make sure to lock out your elbow. Imagine flexing your triceps and then pinching your triceps and lat together to create a solid base.
To see all these steps in action, please watch this video:
If you take the time to incorporate these tips into your kettlebell Turkish get-ups, then I know you’ll feel the changes taking place.
Stay tuned over the next few weeks for the next blog post in my get-up series.
Stay Strong,
Ryan Jankowitz, RKC II
***
Ryan Jankowitz, RKC-II and owner of RJ Kettlebell, lives in Maryland with his wife and two dogs. They love to go hiking and spend time on the beach. When he’s not telling his dogs to stop chasing squirrels, Ryan enjoys spreading the RKC message and teaching others how to train with kettlebells. Try his 2-week advanced kettlebell plan: https://rj-kettlebell.ck.page/b59325e156
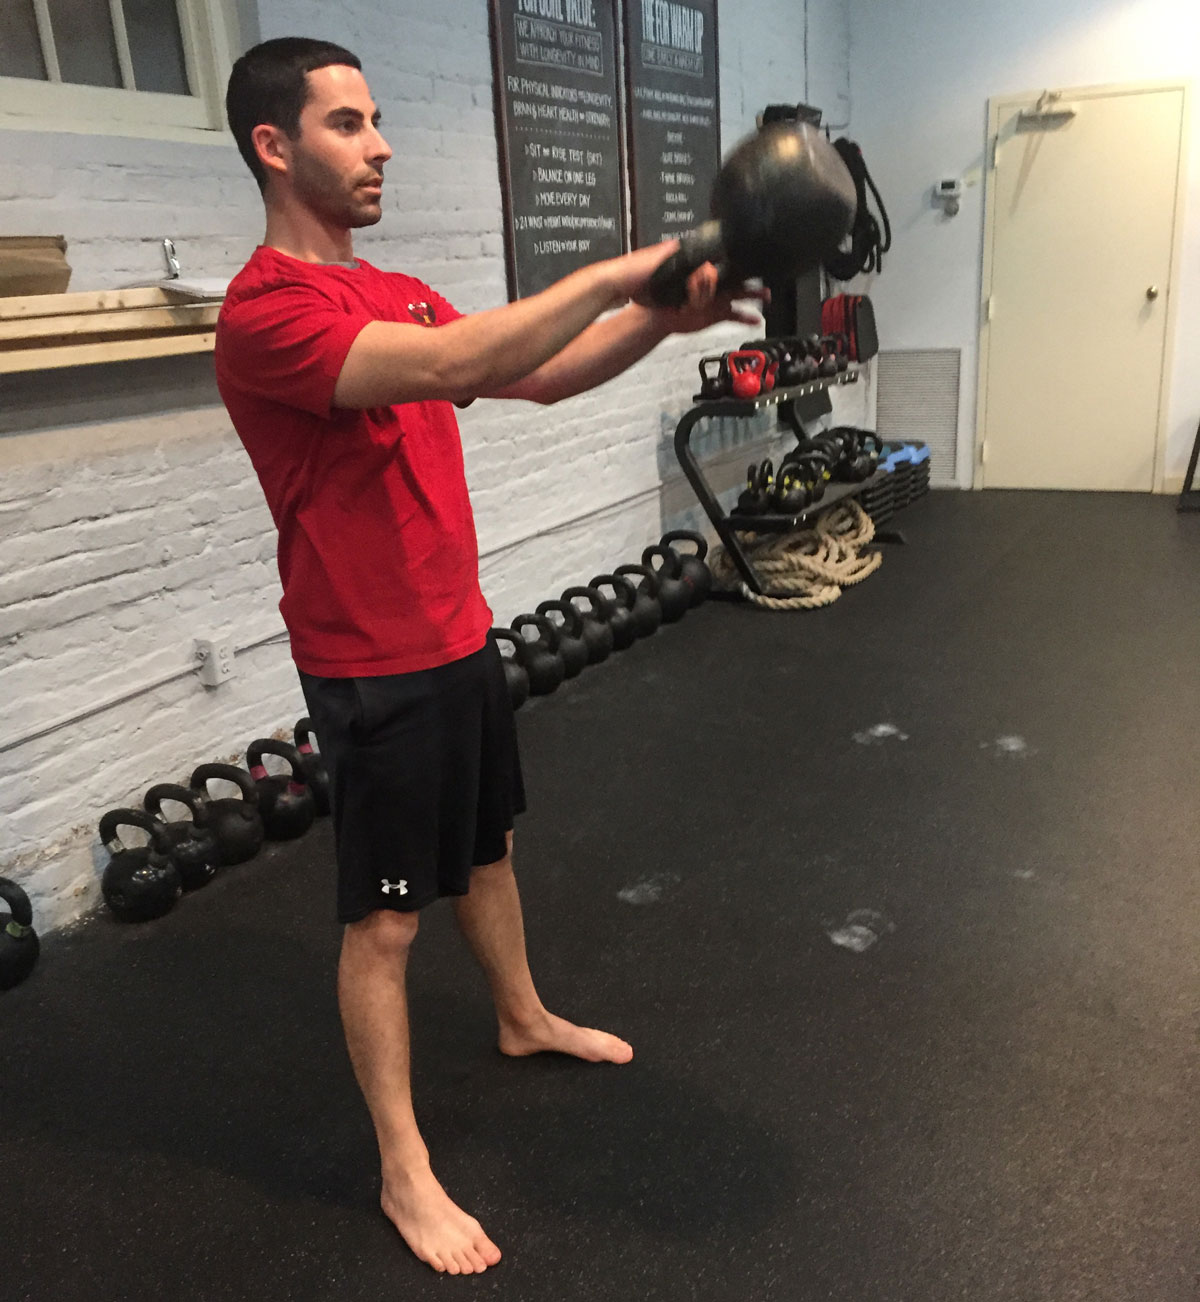
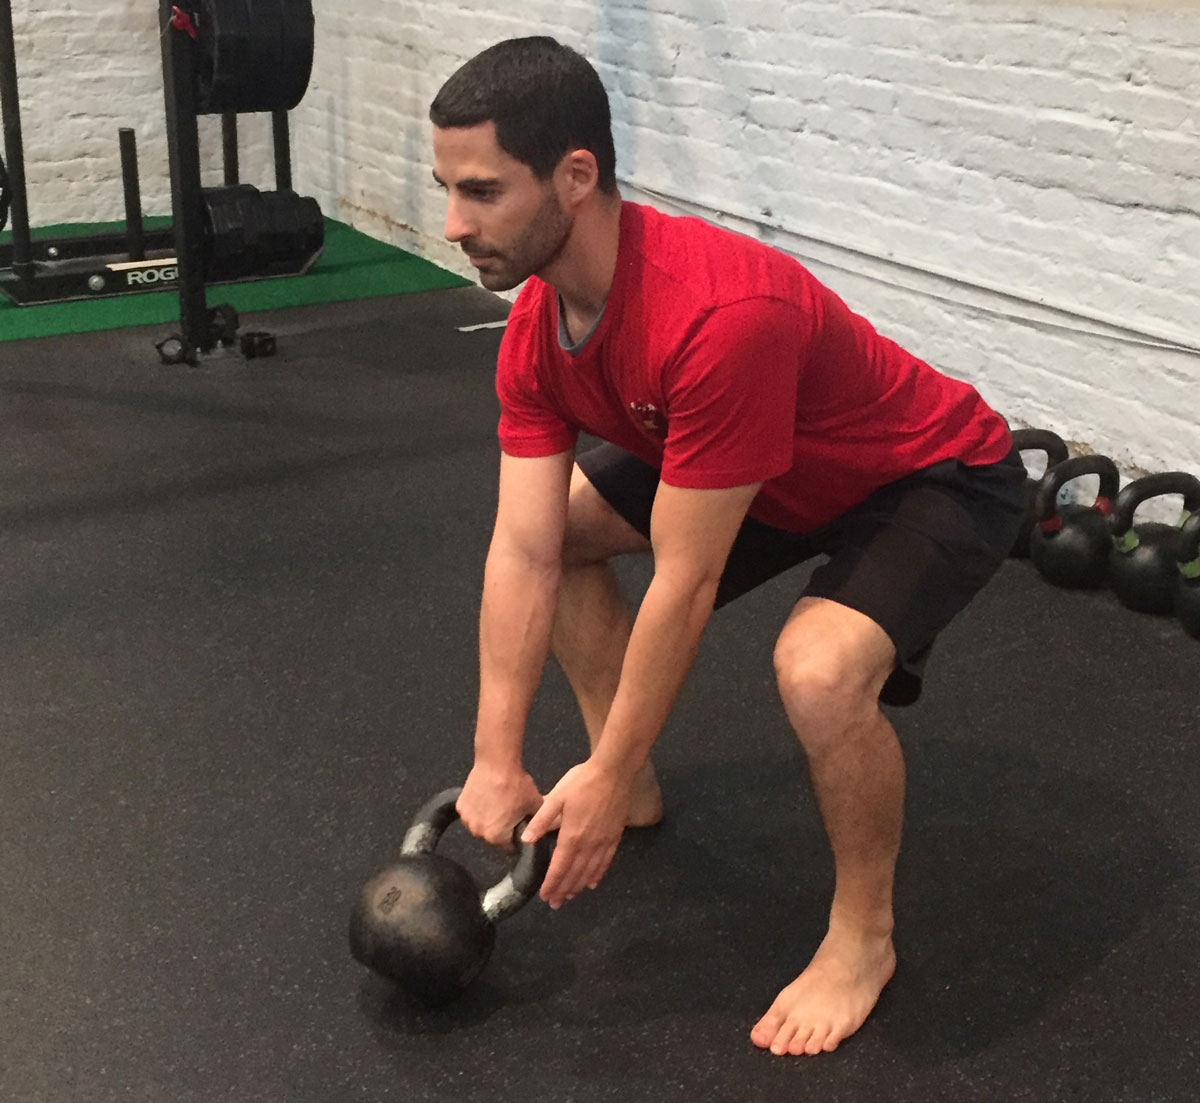

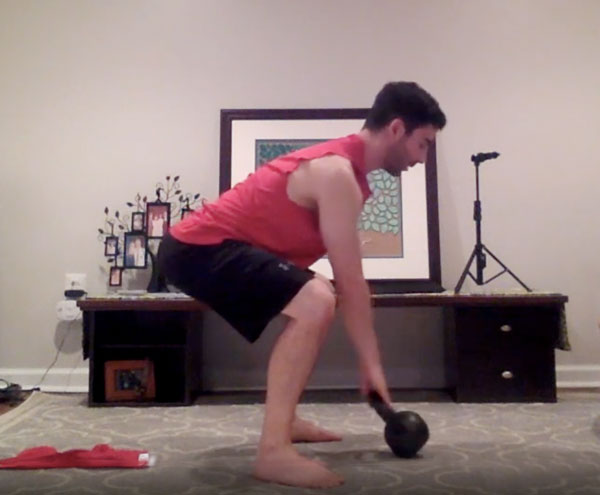
 he deadlift is arguably the king of strength building exercises. Not only is it great for getting stronger, but it can improve your posture and strengthen your hips. When performed correctly, the deadlift can alleviate back pain.
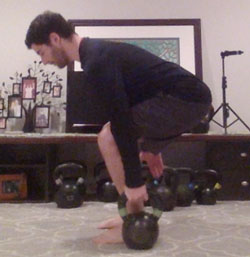

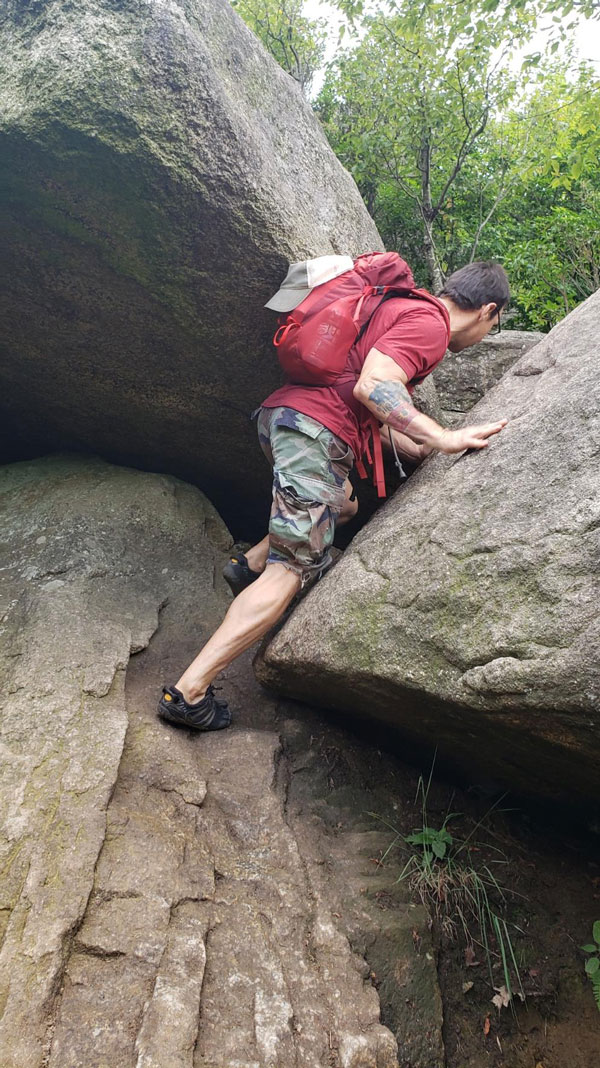
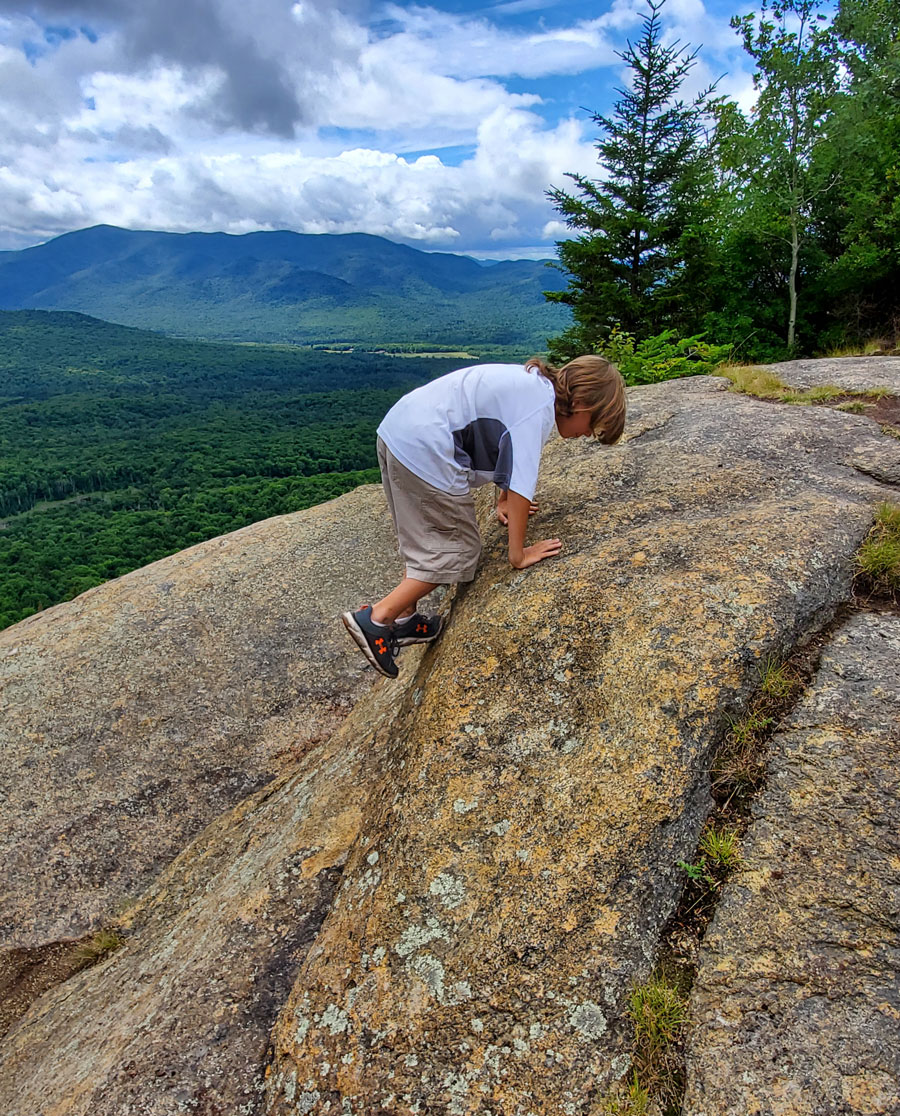
 When we step up vertically while hiking, the quadriceps enter the scene. The quads act as shock absorbers, aid in speed control, and injury-proof your knees during all aspects of hiking, but especially when descending a mountain. The quadriceps are also prime movers for hopping around difficult terrain and help maintain stability when doing so. Practicing