If you’re an RKC candidate or someone who enjoys kettlebell training you know that training for your RKC or doing a high volume of repetitions can be both physically and mentally exhausting. Typically, the first thing that gives out when working high levels of intensity is your ability to breathe properly.
Once you’ve lost your breath everything gets harder, technique becomes less than ideal and your body begins to shut down. This is to be expected because of the biology of our body and how our nervous system works. But what if we could prolong this exhausted state by managing early onset of fatigue, reduce exposure of injuries, and maintain mindful awareness?
This is where breath-work can help you reduce these symptoms of inhibited breathing by increasing your endurance, enhancing core strength, and regulating your cognitive function. Breathing is one of the most underrated exercises, but it’s the most critical to your foundation for life. There are 1,000 ways you can breathe. I’ll only cover a couple in this article to get you started with increasing your performance, reducing your stress, and improving your strength.
I’ve always been fascinated with learning more about how to breathe and regulate your nervous system to improve your mental and physical health. Last month I attended a Wim Hof Method workshop taught by Breathe & Believe where we did some extraordinary things such as cold therapy.
They taught us a combination of breathing, mindset, and cold therapy to help keep the body and mind in its optimal natural state. In this workshop they went into the physiology and neurology of how this methodology works. We learned the skills and then put them into practice right away, very similar to what we do at HKC and RKC workshops.
Here’s how breathing can improve your kettlebell training
Increases Endurance
Most of us have a tendency to breathe improperly, where the breath stays stuck in the upper chest due to high levels of stress and prolonged seated positions limiting full expansion of the ribs and under-utilization of the diaphragm.
When you breathe improperly the ribs begin to become inhibited meaning that they are going to be tightened up and restricted. When your body is in a prolonged flexed position for too long your upper back becomes more kyphotic (rounded) which leads to a more forward head posture (text neck) also known as upper cross syndrome. This will lead to tight muscles in the neck, chest, and upper back which will limit your ability to breathe properly.
In order to increase your endurance, you must learn how to first properly take in oxygen. Oxygen is a source of energy, it helps provide nutrients to the muscles, and helps promote blood flow throughout the body. When you are able to breathe properly you’re then able to increase your endurance which will reduce early onset of fatigue.
Think about when you’re training for your snatch test; most candidates will fail this test due to their lack of physical strength or endurance. If you can train the body to be better at utilizing oxygen then your ability to sustain greater work capacity will increase.
Here are a few different ways of breathing to start your practice:
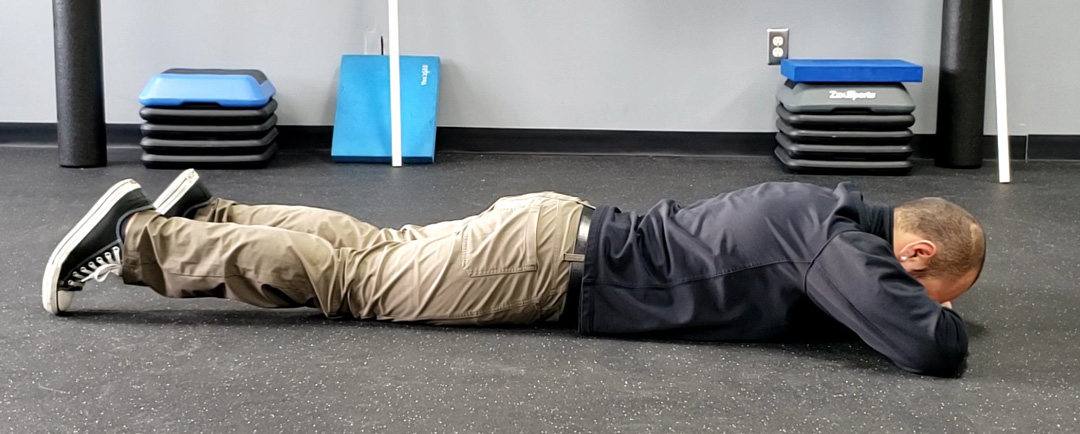
- Crocodile breathing – This is a great entry into breathing because it helps you or your client learn how to breathe through your core by getting feedback from the ground. The ground is a hard surface which acts like a focal point for you to push your core into as you’re breathing in through the diaphragm.
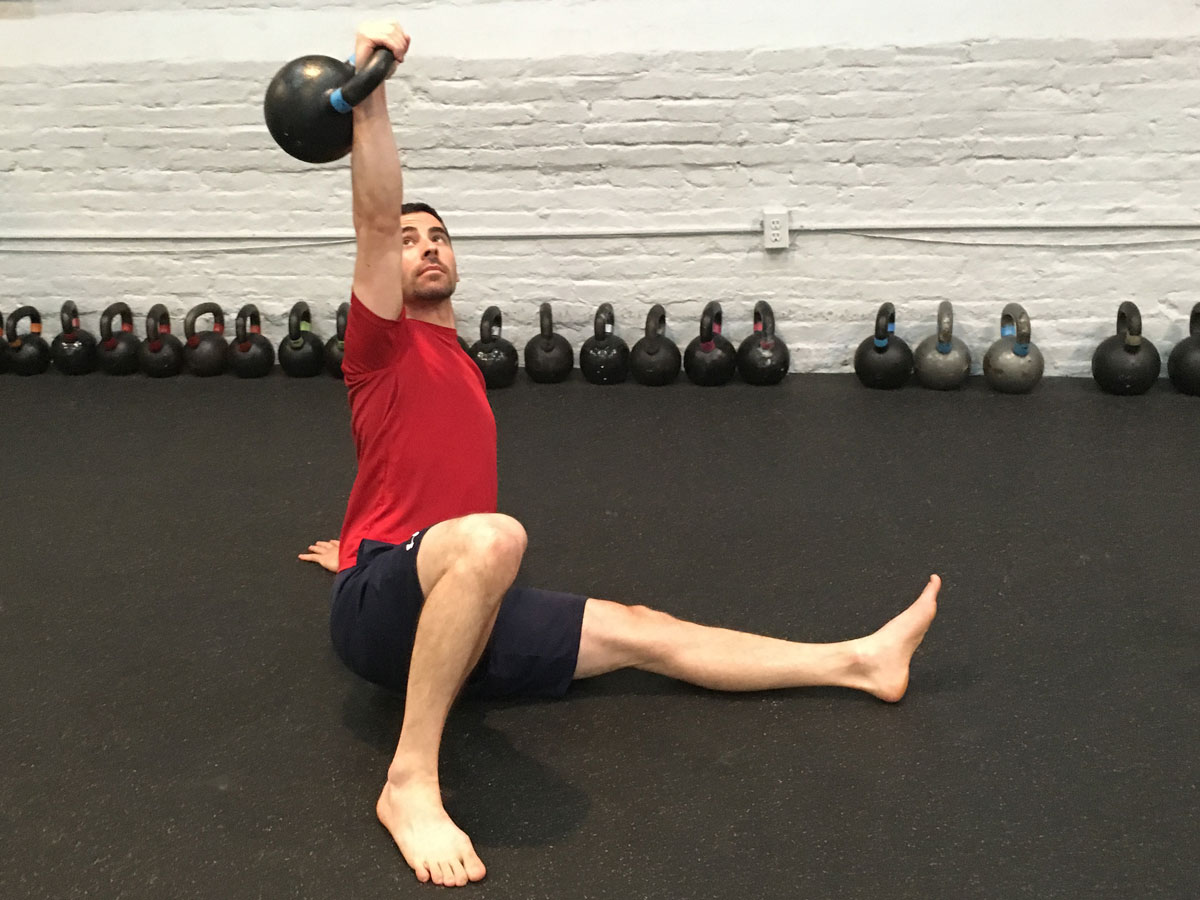
- Feet elevated breathing – This puts the pelvis in a more posterior tilted position which allows the pelvis floor and diaphragm to be in proper alignment for breathing. Having a light pull into the heels will activate the hamstrings which will assist in pulling the pelvis into a posterior tilt. Having the arms raised will assist with widening the scapula by activating the serratus anterior which is another muscle associated with breathing because it elevates the ribs.
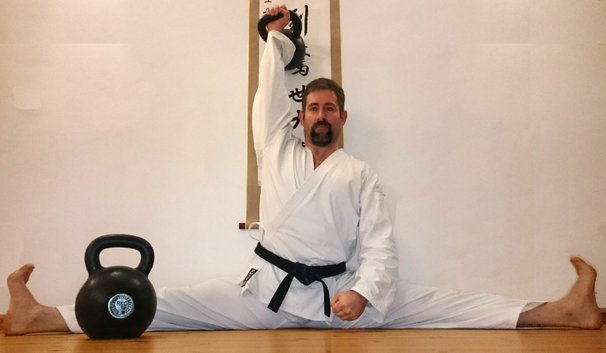
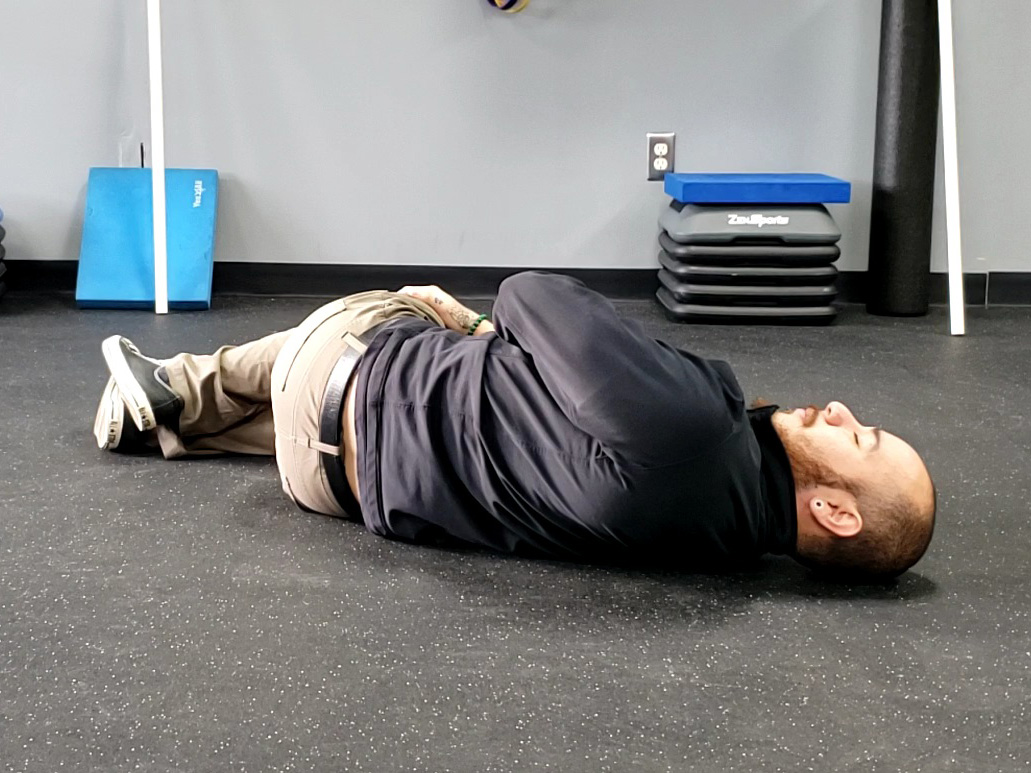
- Side lying position – The side lying position is great for thoracic rotation and also widening the ribs and opening the upper chest muscles. When you are in the side lying position you are using the floor as a tool to give you feedback into your bottom side ribs in order to help with full expansion.
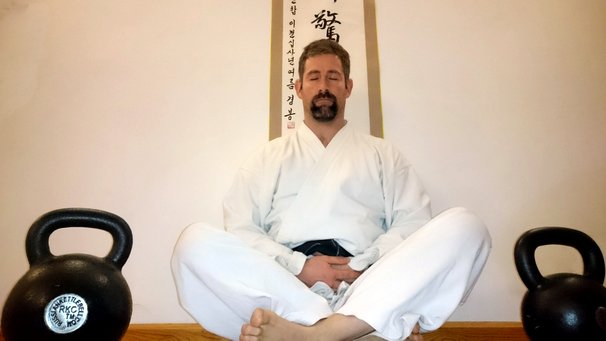
- Power Breathing (Wim Hof Breathing) – This is a more advanced variation of breathing that has some pretty tremendous benefits. Using the Wim Hof Method will help you by teaching your body how to optimally utilize the oxygen.How this works is you take 30 deep breaths through the nose and out the mouth and on your last breath you fully exhale and hold for as long as you can. What is happening here is that you are flooding your body with oxygen and the nutrients you are taking in with it.
From there when you fully exhale your body begins to be filled with carbon dioxide. This is an uncomfortable feeling for many at first because they are not used to their body being without oxygen, but if we can begin to learn how to be comfortable with the uncomfortable it lessens its intensity. The reason you would want to train this style of breathing is because it’s teaching the body how to regulate itself under a controlled stressor.
Strengthens core
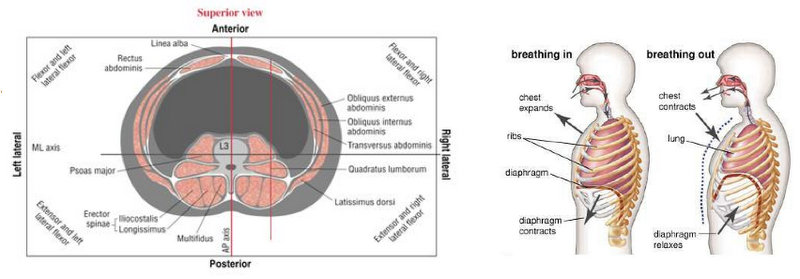
Breathing can strengthen your core by teaching the deep core muscles how to work together to provide spinal stability. These muscles are your diaphragm, intercostals, serratus anterior, psoas, transverse abdominis, internal/external obliques, rectus abdominis, quadratus lumborum, erectors, and your pelvic floor. When you look at a diagram of the human anatomy you will see a lot of deep red muscles in these areas. What that signifies is that they are slow twitch fibers which means that they need oxygen as a main energy source to do their jobs.
When you learn to breathe properly you will begin to feel your stomach, ribs, and chest raise up and widen as you inhale, then begin to create tension and pull together as you exhale. The better you become at feeling your breath and intra-abdominal muscles, the greater your pelvis and spinal stability will be because you have trained the muscles to properly do their job as stabilizers in which you will create greater strength.
How this relates to your kettlebell training is having a greater base of support aka your trunk, you will have a lower likelihood of injuring your low back or shoulders. The Hard Style Plank does a great job at teaching us how to create tension and how to breathe behind the shield which means how you are able to maintain stability under load.
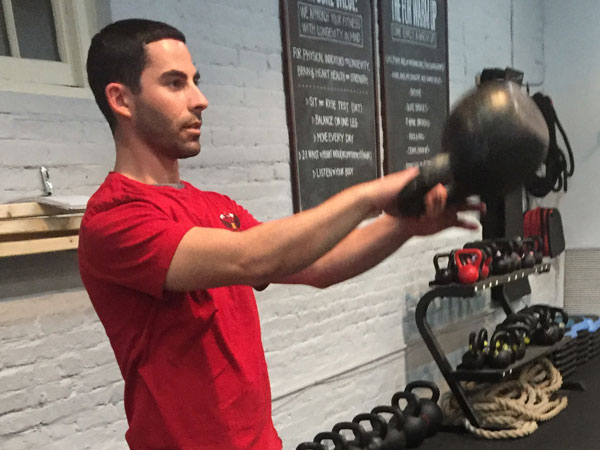
When you think of kettlebell swings, there is a great amount of hip flexion and extension that is created in which the core should be strong enough to stabilize the lumbar spine to reduce hyper extension at the top of your swing or flexion at the bottom of the swing.
Another example would be to look at the Turkish Get-Up one of the best exercises that trains the body and core in a variety of different planes of motions in which the core must be able to work together with the moving limbs to move properly.
Regulates cognitive function
Cognitive function means your ability to learn, think, reason, remember, problem solve, make decisions, and center attention. When you’re unable to breathe properly all of these functions begin to slow down because of the lack of regulation in your autonomic nervous system, specifically an out of controlled sympathetic nervous system.
The autonomic nervous system is the part of your nervous system that controls involuntary actions like heart rate and blood vessels widening or narrowing. Within your ANS you have your sympathetic nervous system which is responsible for your fight, flight, freeze or fawn response in your body.
You also have a parasympathetic nervous system which is responsible for your rest and digest system. Think of this as stress from sympathetic and passive from parasympathetic; one means to cause stress and alertness while the other is for relaxation and calmness. Both are greatly needed for different activities in your day, but mainly we should be placing greater focus on our parasympathetic nervous system.
The reason you should be placing greater focus on your PNS is because that’s where your cognitive function can be greatly improved upon. When your nervous system isn’t always hijacked by stress you’re able to be calmer and more relaxed which helps improve your cognitive functions. You do this by practicing the breathing skills above to learn how to lower your heart rate and reduce your physical symptoms of stress.
When you’re able to regulate your breathing, it improves your cognitive function meaning that you are going to able to retain more and understand movement better when it comes to learning some of the complexities to exercises like the kettlebell swing or the Turkish Get-Up.
In summary, your kettlebell training can improve tenfold by simply improving your breathing because it can increase your endurance, strengthen your core, and helps you learn.
***
William Sturgeon, RKC Team Leader, RKC II trains clients at his gym, Restored Strength. Contact him through his website at RestoredStrength.com or follow him on Facebook: facebook.com/restoredstrength