I started my fitness business, Boot Camp Fitness and Training in 2005, and I started Tallahassee Kettlebells shortly after my RKC 1 in 2009.
In that time, I have amassed many individual, partner, and group workouts. I still have the notebooks and binders full of workouts and exercises that I have used over the years. Even with these valuable resources, I still like to come up with new exercises or new ways to do old favorites. One of the things that keep my clients coming back year after year is the variety in our workouts.
In my experience, providing a variety of exercises and movements give my clients the results they want. Whether or not they come for fat loss, muscle gain, or to improve performance, movement, and health, the varied workouts and exercises we do fit the bill.
One of the things I pride myself on is creativity—I am very creative. Ask me for percentages or any other math and I’m going to look at you as if you were speaking Latin. But, give me a block of concrete and I’ll come up with ten different exercises.
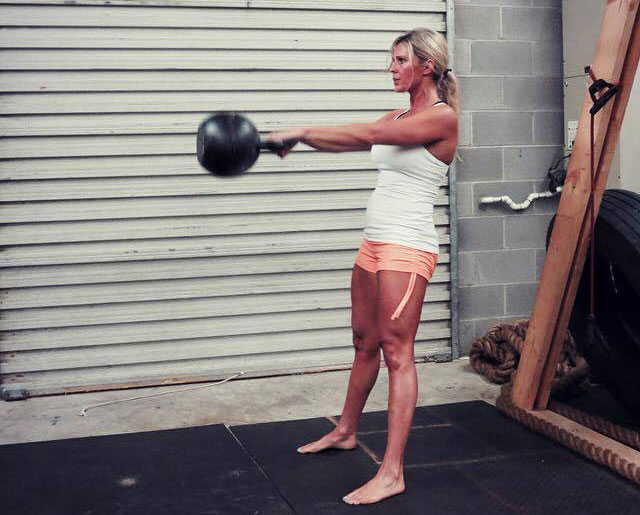
Give me a pair of kettlebells and the possibilities are endless.
I’m sure many—or even most of you have your go-to exercises and workouts, too. I occasionally find myself going back to the same workouts and getting in a bit of a rut.
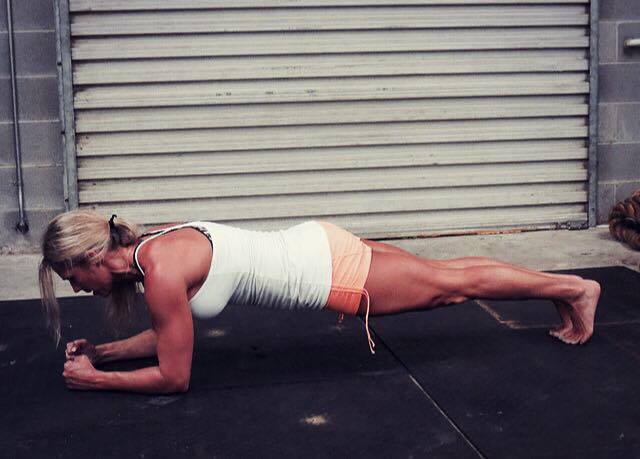
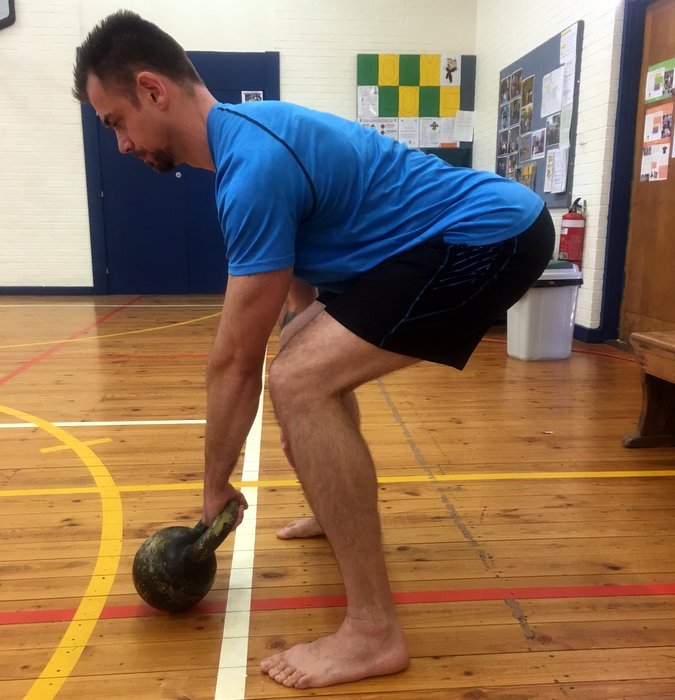
There is nothing wrong with the basics. You and your clients should be proficient with the basics like the deadlift, squat, and press variations before you get all fancy. You and your clients should also have good movement patterns and mobility before you start getting too crazy adding new things to our programs. Remember, everything is built on the basics.
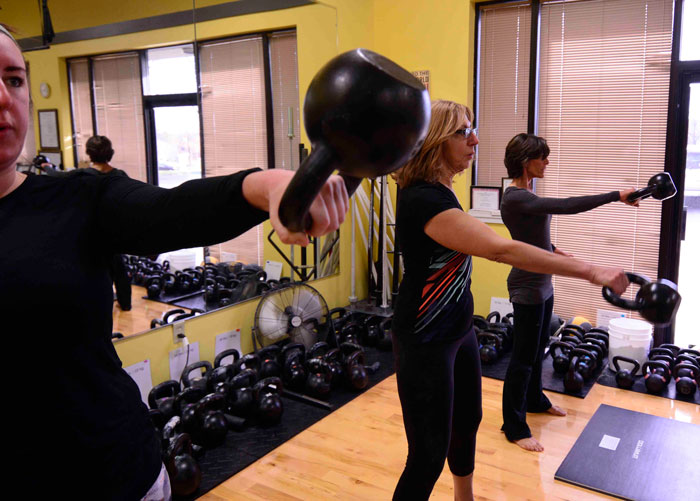
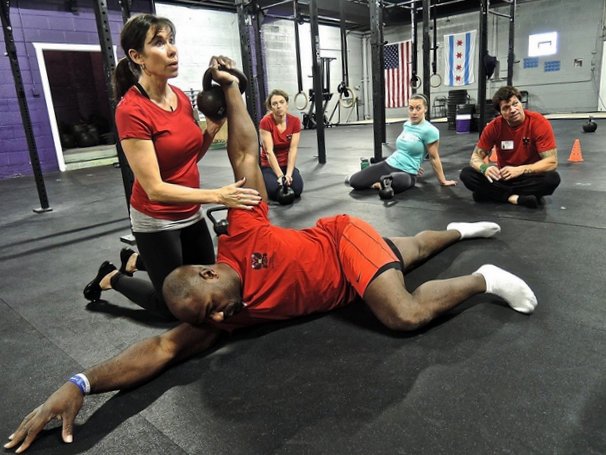
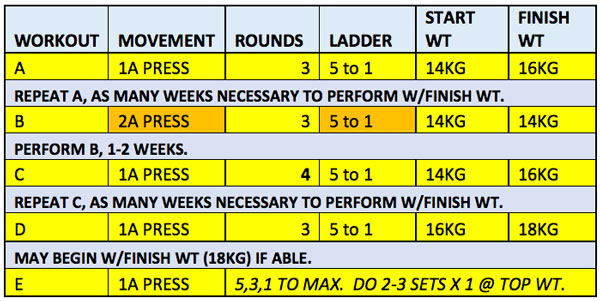
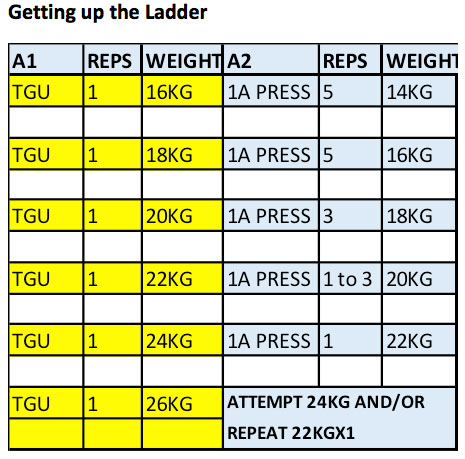
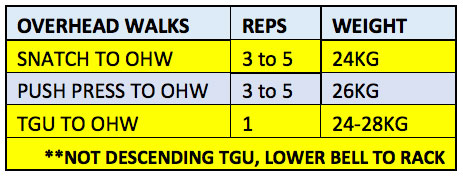
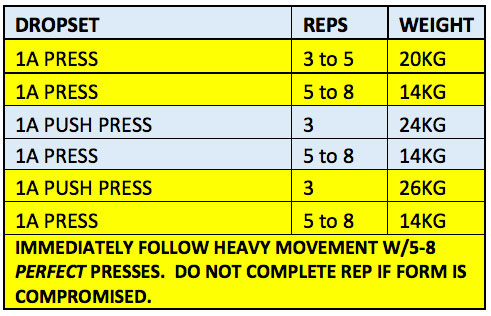
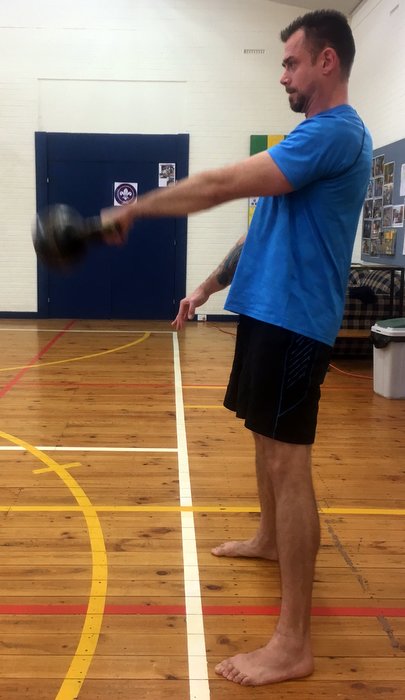
In the video at the end of this post, I give you several partner workouts you can use in circuit training with a group or an entire class. Use these exercises to jump start your own creativity. You can add movements, change the reps, add a timer, do ladders or anything else you can come up with.
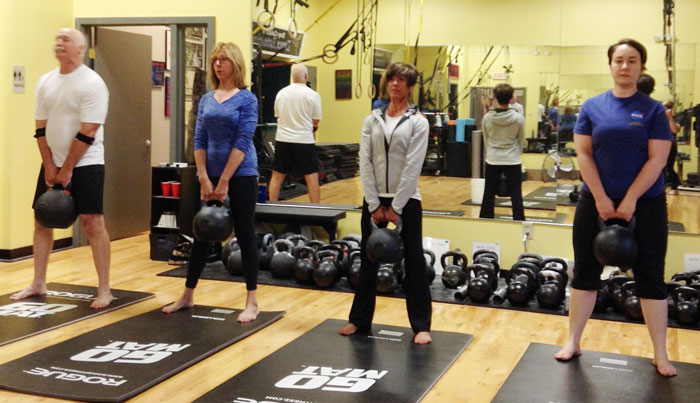
Partner Workout #1
Swing, Squat, and Pass
Partner A does one swing, one squat, and then uses a rotation pass to hand the kettlebell to partner B. Keep the abs tight!
Variations:
- Add a rep to the swings and squats up to ten and back down to one.
- Each person does a set number of reps before passing the kettlebell to their partner.
- Set a timer, and each partner goes for a set amount of time before passing the kettlebell.
- Add different movements each round for a chain. Example:
- one swing, pass kettlebell
- one swing, one squat, pass kettlebell
- one swing, one squat, one two-hand press, pass kettlebell
Partner Workout # 2
Pullover, Triceps Extension, and Pass
- Add reps each round
- Add a one arm chest press before the pullover. Make sure to switch sides at the start of the next round. It will look like this: Partner one does chest press or presses on the right, five pullovers and five triceps extensions and pass the kettlebell. Partner does the same. Next round partner one starts with a chest press or presses on the left side.
Partner Workout # 3
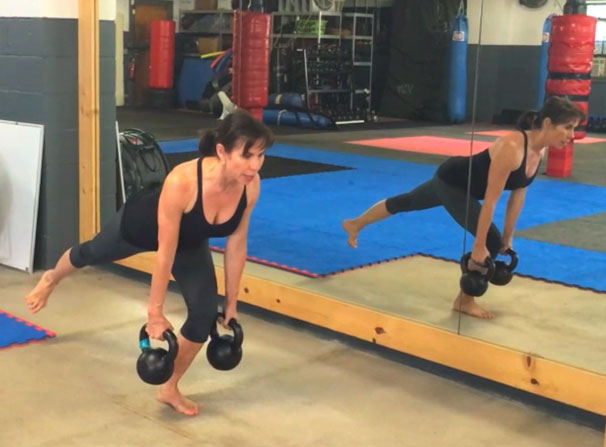
Renegade Lunges
- Do a forward lunge first before the reverse lunge pass.
- Add reps to each set.
- Partner on does a set amount of forward and reverse lunges before the kettlebell is passed.
- Use different holds for the kettlebell such as racked or overhead before the pass.
Get creative and use these few exercise as a platform to come up with some new stuff for your and your clients.
****
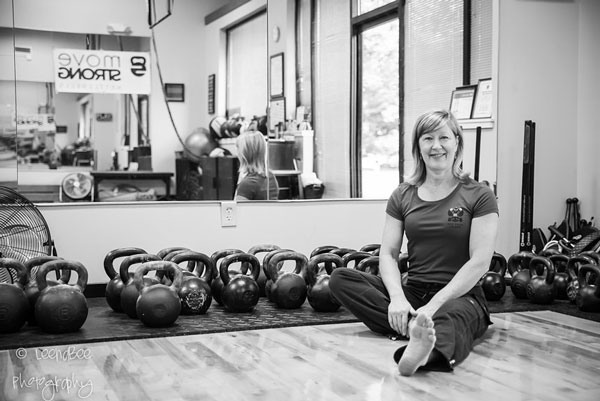
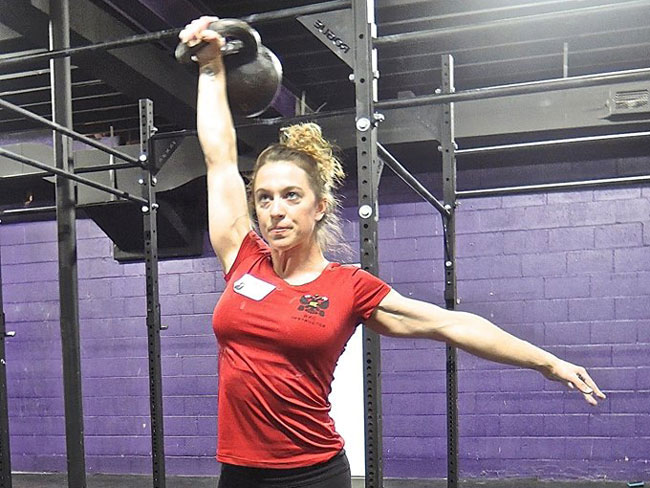
Senior RKC, Laurel Blackburn owns Boot Camp Fitness and Training and Tallahassee Kettlebells. Look for Laurel at www.bootcampstogo.com or www.tallahasseekettlebells.com.
In her early fifties, Laurel is out to prove that age is just a number. Her goal is to motivate and inspire people everywhere, both young and old that strength, flexibility and mobility can get better with age. Follow her adventures on her blog: www.SuperStrongNana.com.
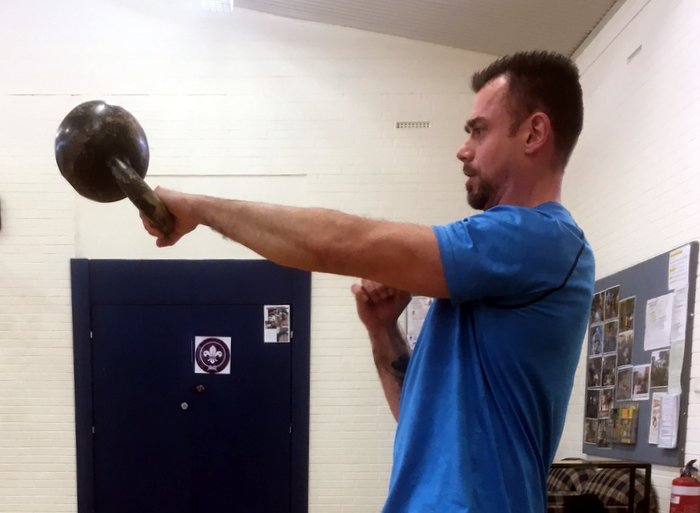
 Don’t Rush the Kettlebell Swing