What does the RKC mean to you in 2015? For me it’s a new chapter. A new year is often followed by new goals. Looking ahead to 2015 I have set some pretty lofty goals which will redefine what the RKC means to me. When I was first introduced to the RKC in 2009 I was misguided into believing that strength was the only thing that matters. I was told the only way to get stronger was to stop running. At the time I was running 60-80 miles a week and looking to pass the RKC weekend. I was extremely fit but struggled to meet the strength requirements necessary. When I was told running was the one thing holding me back, I took it to heart. I eliminated the one thing I knew I could do well and began to focus solely on getting strong. In 6 months I went from 153 pounds at my HKC to 163 pounds at my RKC and I got strong.
The next couple years following my RKC, I continued to focus on strength. The desire to run still existed but was held back by the idea that running was bad. I went on to compete in two power lifting meets in 2013. By January of 2014 I decided it was time for a change. Focusing strictly on strength had left me tight and “out of shape”. I was heavier than I had been in years and felt terrible. Running was back on the table.
In August of 2014 I competed in my first 50 mile ultra marathon. Running has always come naturally to me and I am good at it. It was an easy decision, by that point, when it came to spending an hour in the gym or 2 hours running the mountain trails of Colorado. I was finally finding my true self again.
No matter what goal I chose to go after, the RKC was with me the entire time. From power lifting to ultra running the skills we teach at the RKC have a place. I have big plans to compete in more ultra’s, including the Leadville 100 (provided I get in) this year. Although strength will not be the primary focus of 2015, strength training will still play a major role. Without it the risk of injury increases.
The first kettlebell skills we teach during the RKC weekend are the deadlift and swing. They are probably the most important set of skills we learn. The deadlift teaches the basic hinge pattern, builds strength and grooves our swing. The kettlebell swing builds general conditioning and is the foundation for everything we do.
The purpose behind each skill may have changed but the RKC principles remain. Now, instead of using the two leg deadlift to build raw strength, the single leg deadlift is used to improve stability and reduce the injury risk. When running 80 to 100 miles a week, swings for general conditioning are no longer necessary. Instead the swing is used maintain a strong back and CORE which is essential for running ultras.
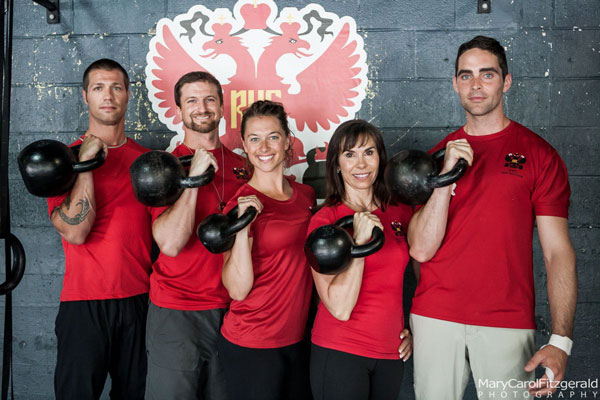
The RKC is a “School of Strength”. We teach strength as a skill which anybody can learn. This does not mean we are a “School of Strength Alone”. Being strong is not always about moving more weight. It’s being strong enough to perform the task at hand. The RKC provides the skill and the tools to be strong. It’s up to you to choose your path and determine what being strong means. So, I ask once again. What does the RKC mean to you in 2015?
 2014 has been good to me and my business. Precision Athlete has grown in clientele and notoriety far beyond what I could have imagined when we opened in 2011. I was also recently promoted to leadership in the first professional organization I had ever joined, the
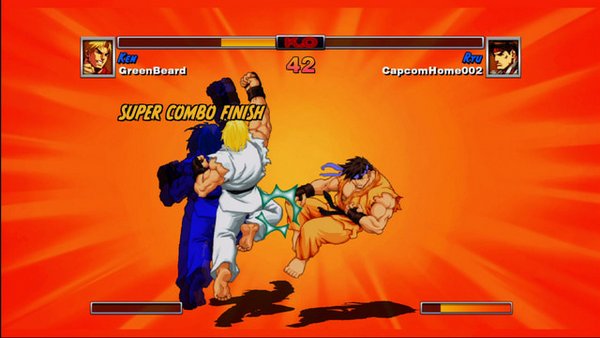
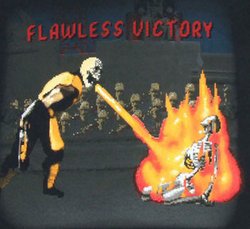 In a time when we are bombarded with fitness trends and certification chasing, it is easy to just “mash buttons” like you would on a video game controller. But, those button mashers usually don’t do too well in the long haul. The smart player, or strength coach, learns how the system works inside and out and then destroys his opponent. DVRT and HKC/RKC are for those that want to be the skilled player. That’s how you earn a flawless victory!