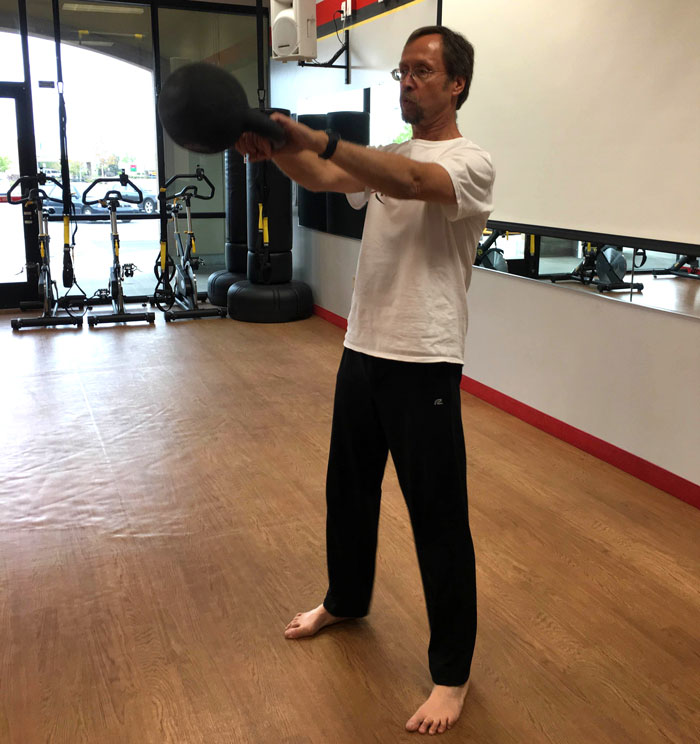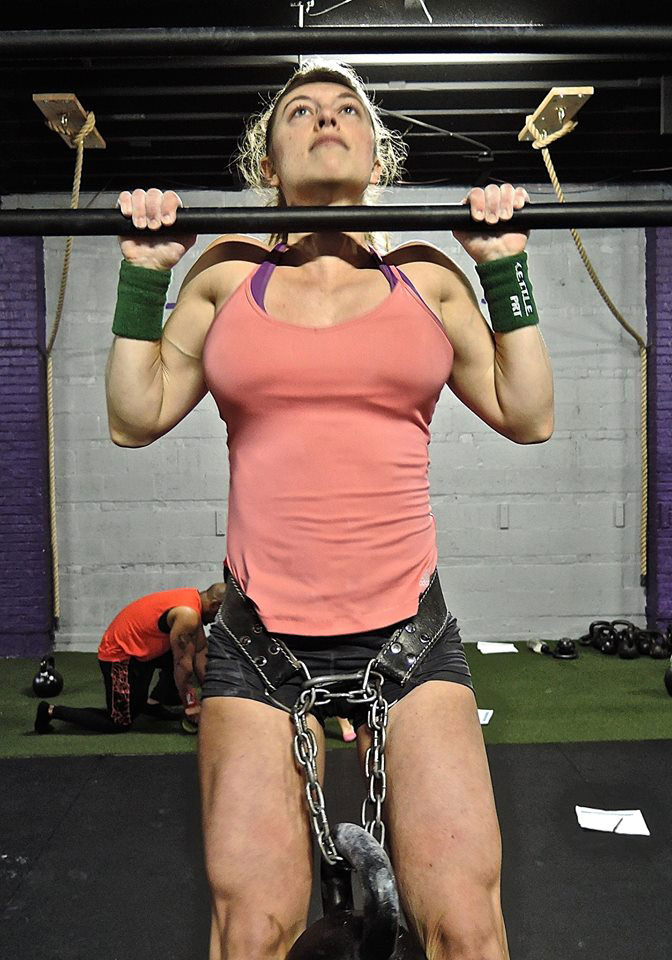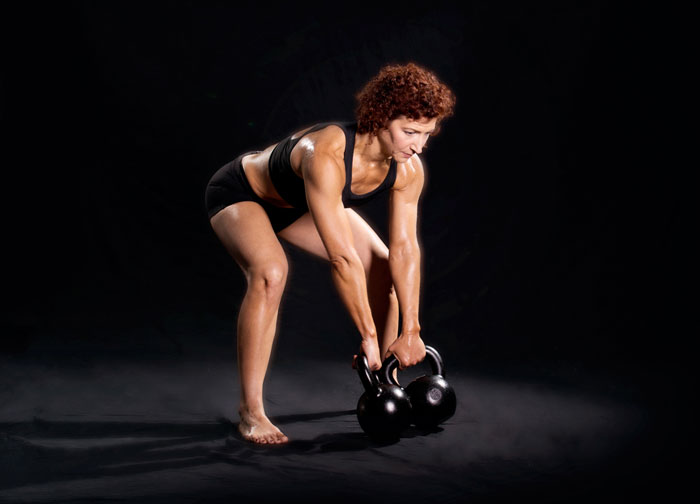
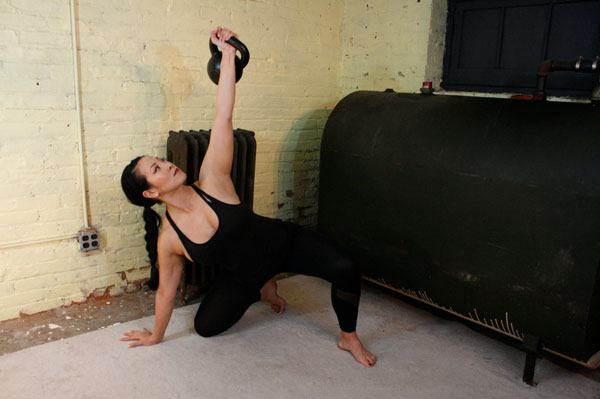
When I first learned to perform a get-up, I was unsure of its purpose. It seemed almost like a series of random movements, ultimately resulting in getting off the floor. Of course, being able to get off the floor safely has its advantages, but even when progressing with resistance, it was still somewhat of a mystery to me.
Sometimes in order to understand new information, it is helpful to liken it to something old. The use of analogies in teaching has been shown to have a positive impact on the way we process new data. Analogies foster learning by highlighting the similarities between what we already know and that which we seek. The mind is complex.
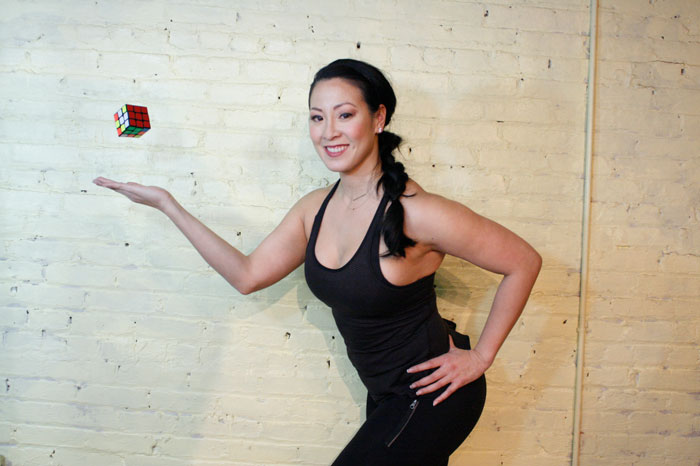
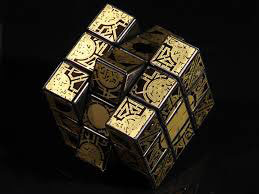
Over the years I have come to think of the get-up like a Rubik’s Cube.
The Rubik’s Cube is a 3-D combination puzzle invented in 1974 by Hungarian sculptor and professor of architecture Erno Rubik. Originally called the Magic Cube, the goal is to align all of the color-coded squares on each side through a series of pivots. The shifts of the cube are smooth, tracking on an internal core track until the final destination is reached. The cube is considered incomplete if the sides are not aligned appropriately.
Although it is widely misreported that Dr. Rubik created “the cube” to be a teaching tool to help his students understand 3-D objects, his actual purpose was to solve the structural problems of moving parts independently—without the entire mechanism falling apart! In many ways, the get-up has the same goal.
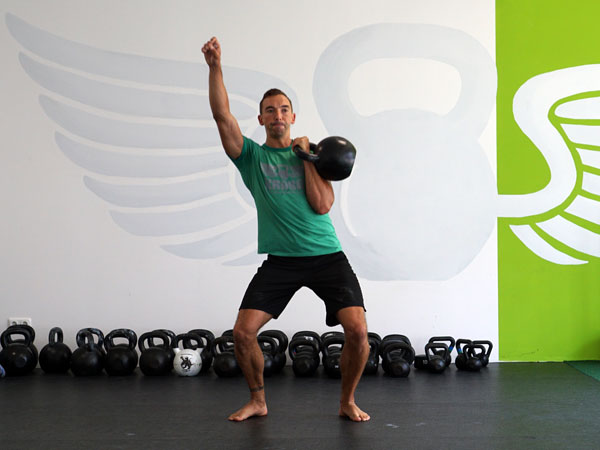
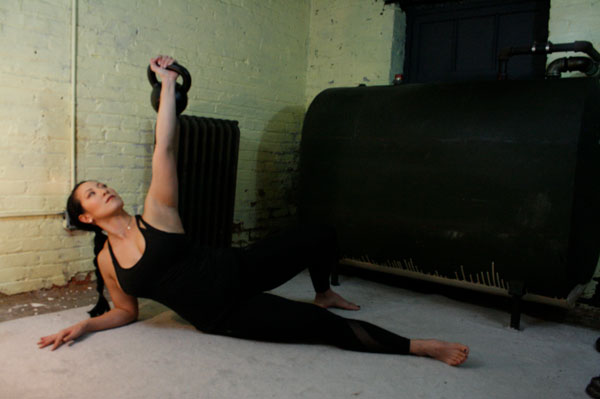
 Each movement in the get-up is a pivot from the body’s core joints—the hips and shoulders. The pivoting should be smooth. Once the position is established, all “sides” of the get-up cube should also be aligned. The spine must be straight throughout the get-up. The body’s center of gravity must be balanced between the limbs. The angles of the hips and shoulders positioned to provide maximum support and stability. Each limb, joint and muscle must be arranged and coiled underneath the weight overhead to create a solid foundation.
As you develop your technique, you are likely to discover information about how you move, including strengths and weakness, balances and imbalances, and which areas should be developed. Your get-up is your sculpture. It is constantly evolving. The way you perform each pivot, swivel and shift can reveal or obscure what is truly beneath the surface. If you rush it, then you’ll miss the point.
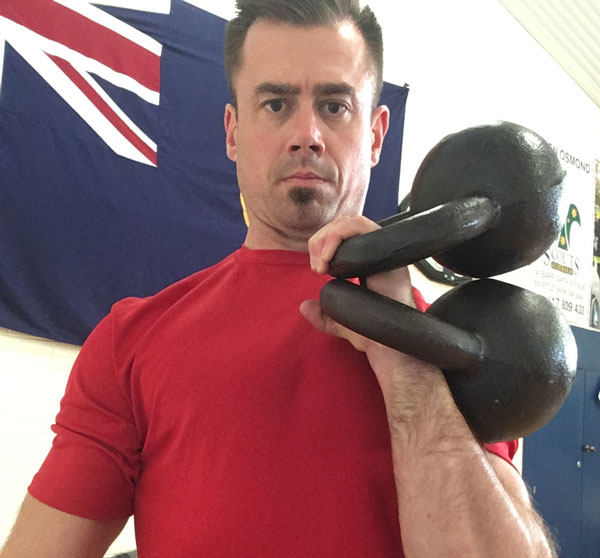
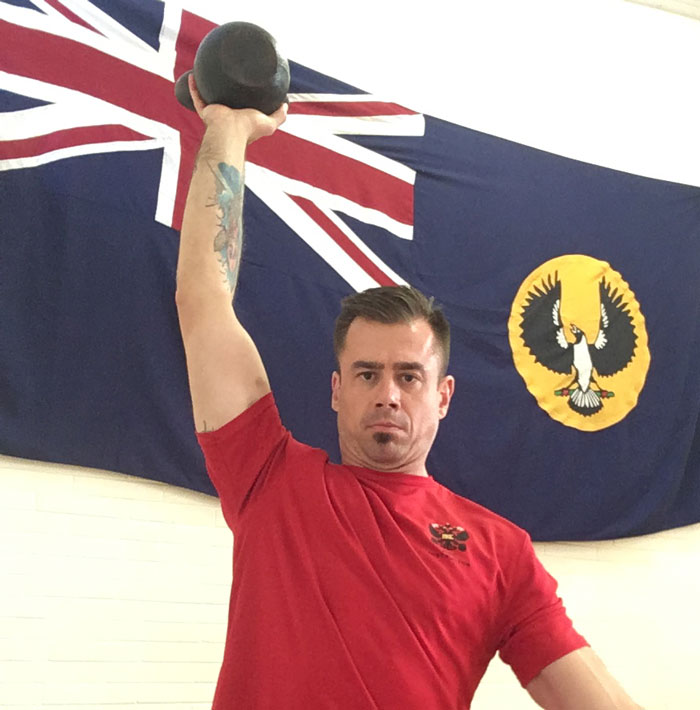
As a Senior RKC Instructor, I’ve had the privilege of teaching the get-up to hundreds of coaches and kettlebell enthusiasts, spanning a multitude of backgrounds. Throughout my tenure, I’ve noticed that there are three common places in the get-up where symmetry and alignment tend to get neglected, even among experienced get-uppers. Here they are:
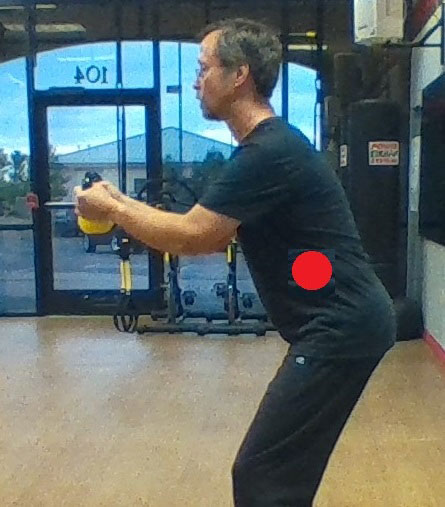
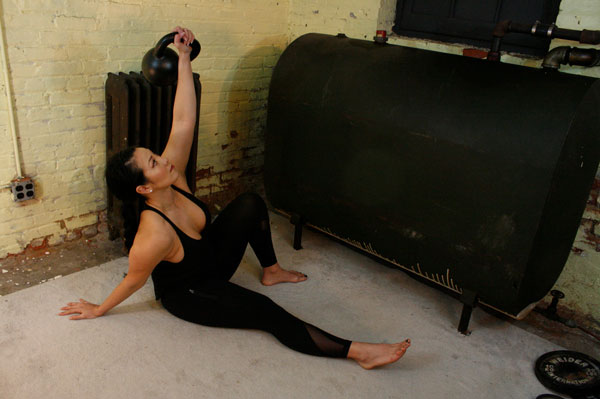
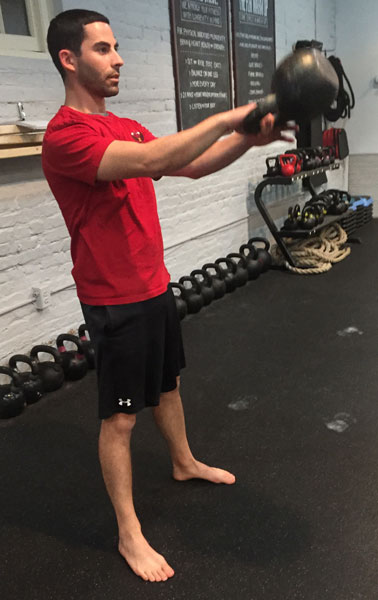
Initial Shift to the Elbow
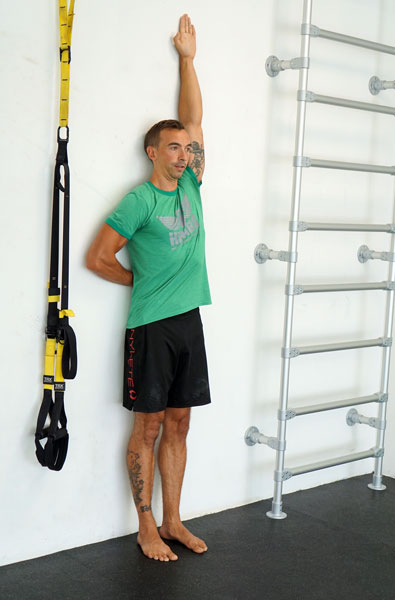
The get-up begins in a lying position and is initiated by rolling up to your (unloaded) side. It is to be performed without any jerking or momentum. Imagine your trunk is one unbending steel rod that must be adjusted by wedging between the hip and shoulder. The result is a straight, stacked vertical line from the ground to overhead—a track as clear as the pathway of a Rubik’s Cube’s axis.
However, often the shoulder of the planted arm is forgotten in the pursuit of this vertical line, and sags forward. This is usually the result of not knowing how to find the alignment, and overcompensating. In short, it may feel like it’s lined up but it isn’t. If this is the case, there is unnecessary pressure on the front of the shoulder. To avoid this, make sure to preserve your vertical line by employing the support of the greatest shoulder stabilizer you have—the lat.
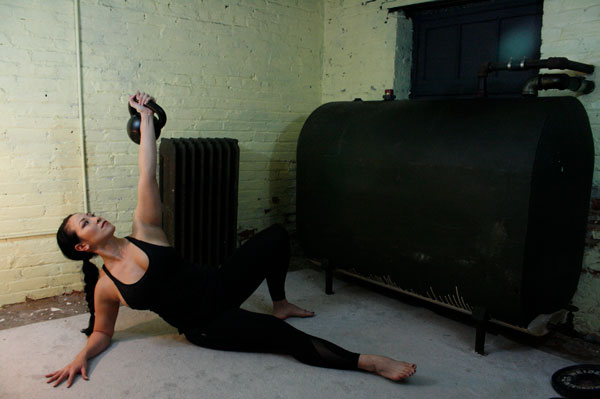
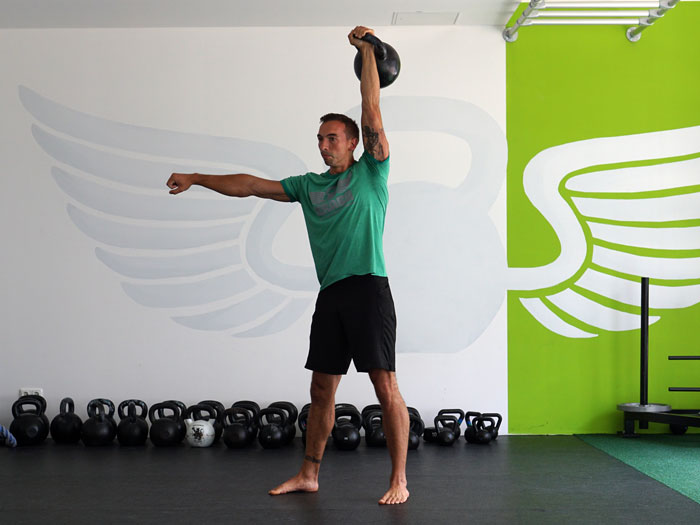
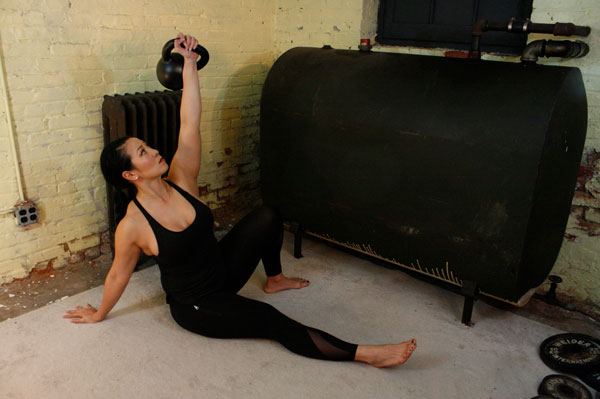
Shift to the “Tall Sit”
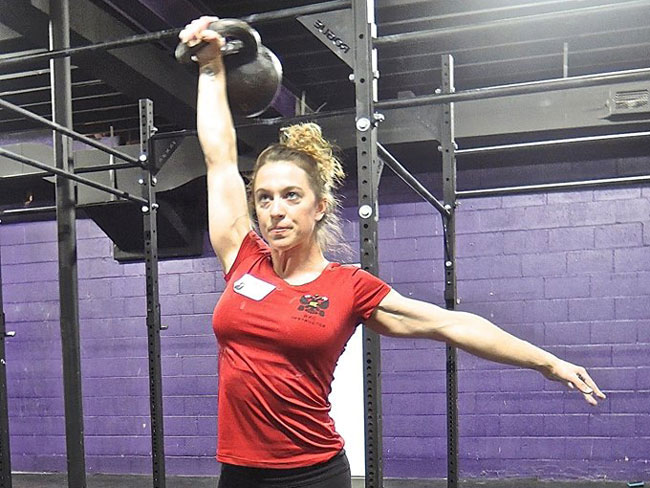
When moving from the elbow to the straight arm seated position, the support shoulder has a tendency to rotate forward, therefore “exposing” itself and falling out of alignment. The support arm is arguably the most important part of the “tall sit” portion of the get-up because it determines whether you will be able to support your overhead weight (and bodyweight) while your legs swing under you. The support arm (and opposite leg) are responsible for supporting the body as it is lifted and rotated like a Rubik’s Cube.
To perform this transition with the greatest mechanical advantage, make sure your shoulder is in line with your planted hand and also rotated back and down, to ensure that the lat muscle is engaged.
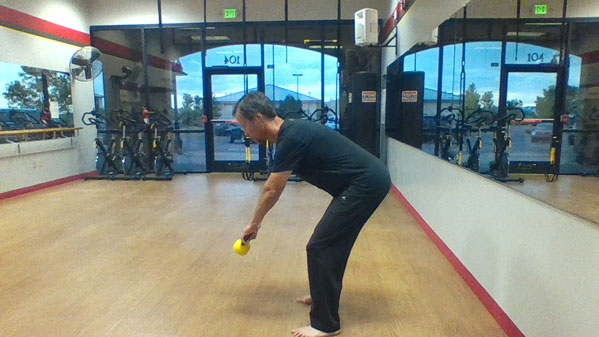
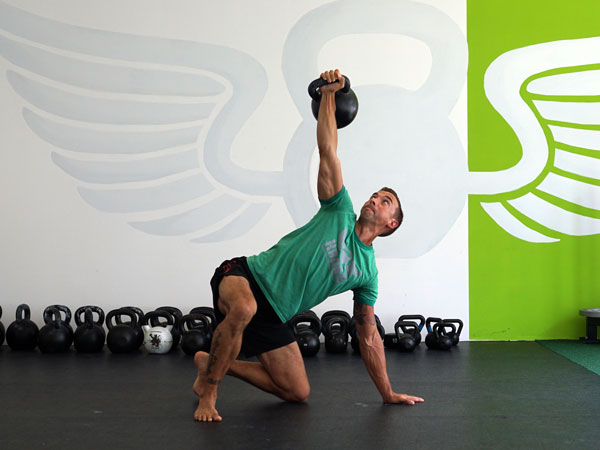
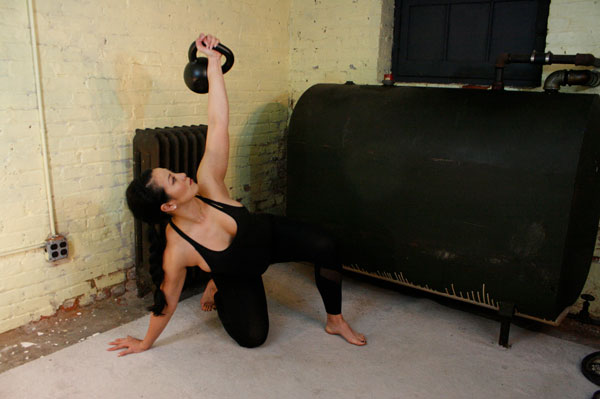
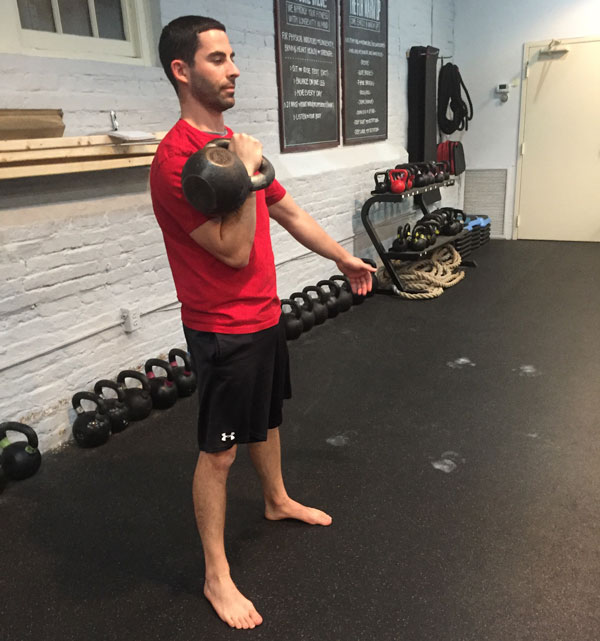
Leg Sweep (both directions)
From the “tall sit” position, rotate your leg under your body, and place your knee on the ground. Sometimes people don’t bring the leg far enough under, on the way up. Remember, the angle of your hips should be roughly 90 degrees. Picture how difficult it would be to twist Dr. Rubik’s contraption if its sides were unaligned.
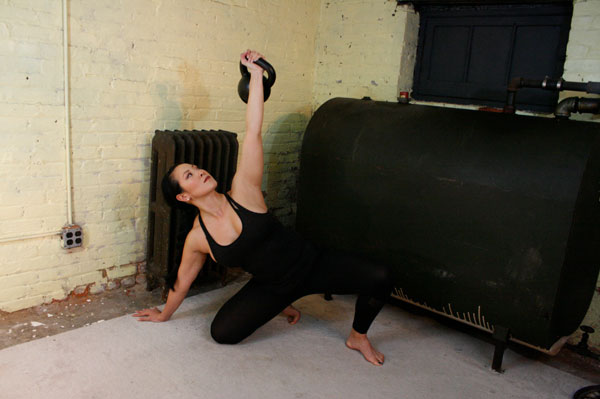
Conversely, a common mistake on the way down is to place the supporting hand (rather than the knee) out of alignment. It’s important to keep your grounded hand extended just beyond the knee. A visible, vertical line should begin from the grounded hand, up through both shoulders, and overhead, ending in the kettlebell held firmly at the top.
These are time-tested tips to help improve your get-up. You’d be surprised how often revisiting these basics can help improve overall performance. Do not lose sight of the fact that your training is constantly evolving and never be afraid to revisit your foundation.
***
Annie Vo, Senior RKC, PCC Team Leader is a personal trainer, fitness writer and presenter in New York City. Contact her through her website annievo.com.

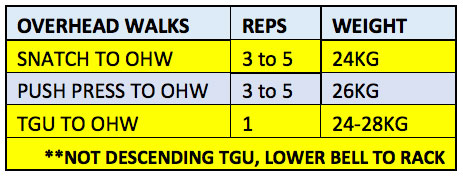
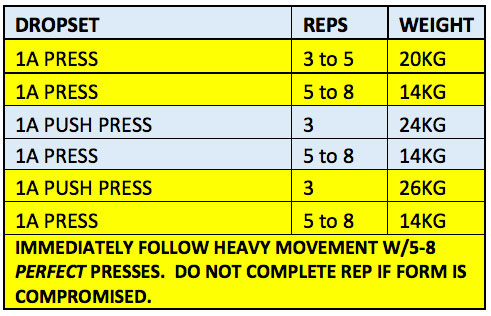
 While it can be exhilarating to learn new kettlebell drills or refine your technique, retaining so much new information—and then applying it to your training can be daunting!
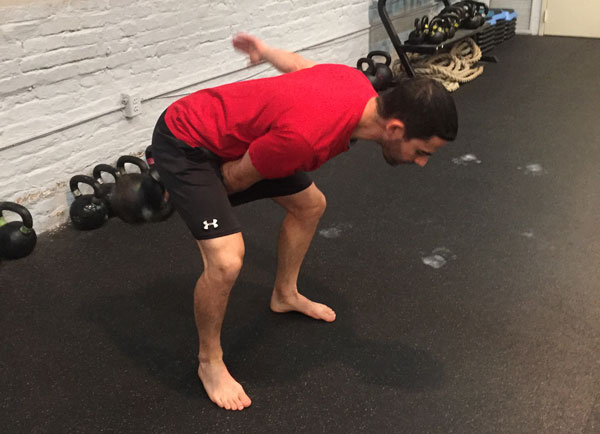
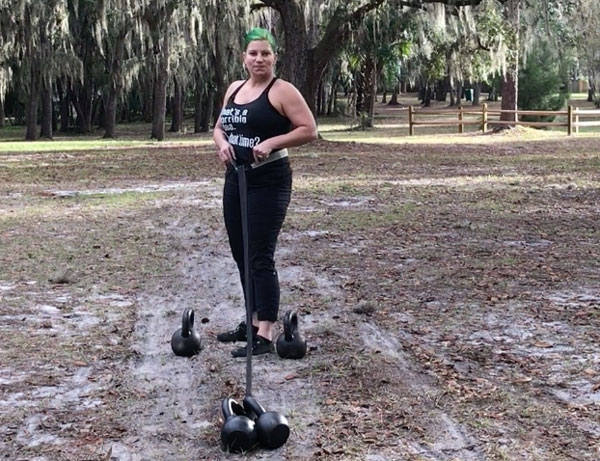
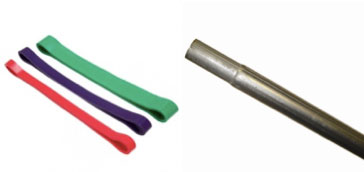 It’s an amazing, challenging tool and super simple to set up. You’ll need a fence post top. For a more challenging workout, get a pvc pipe.