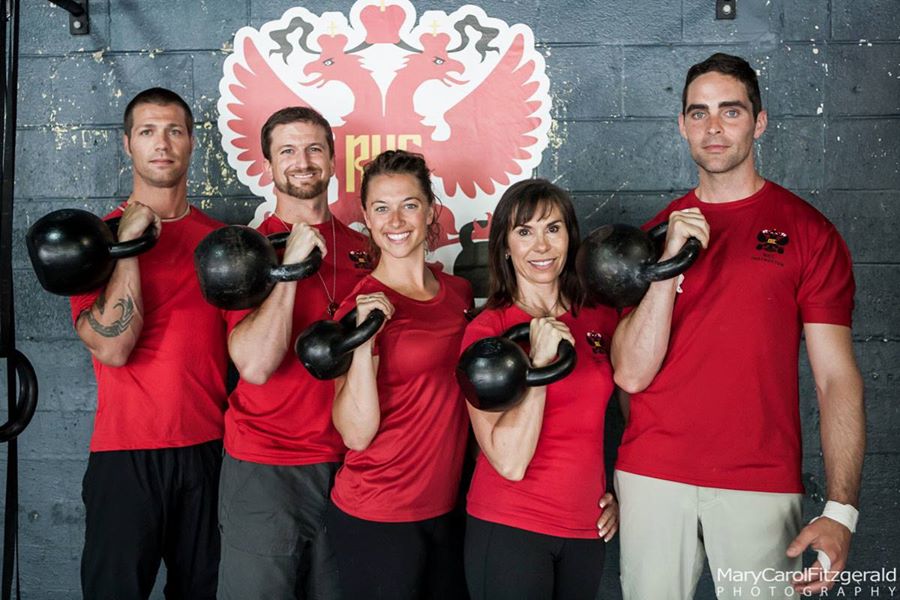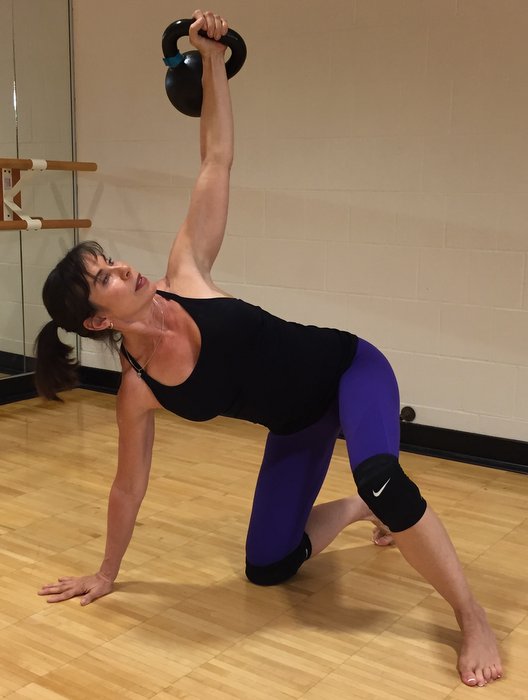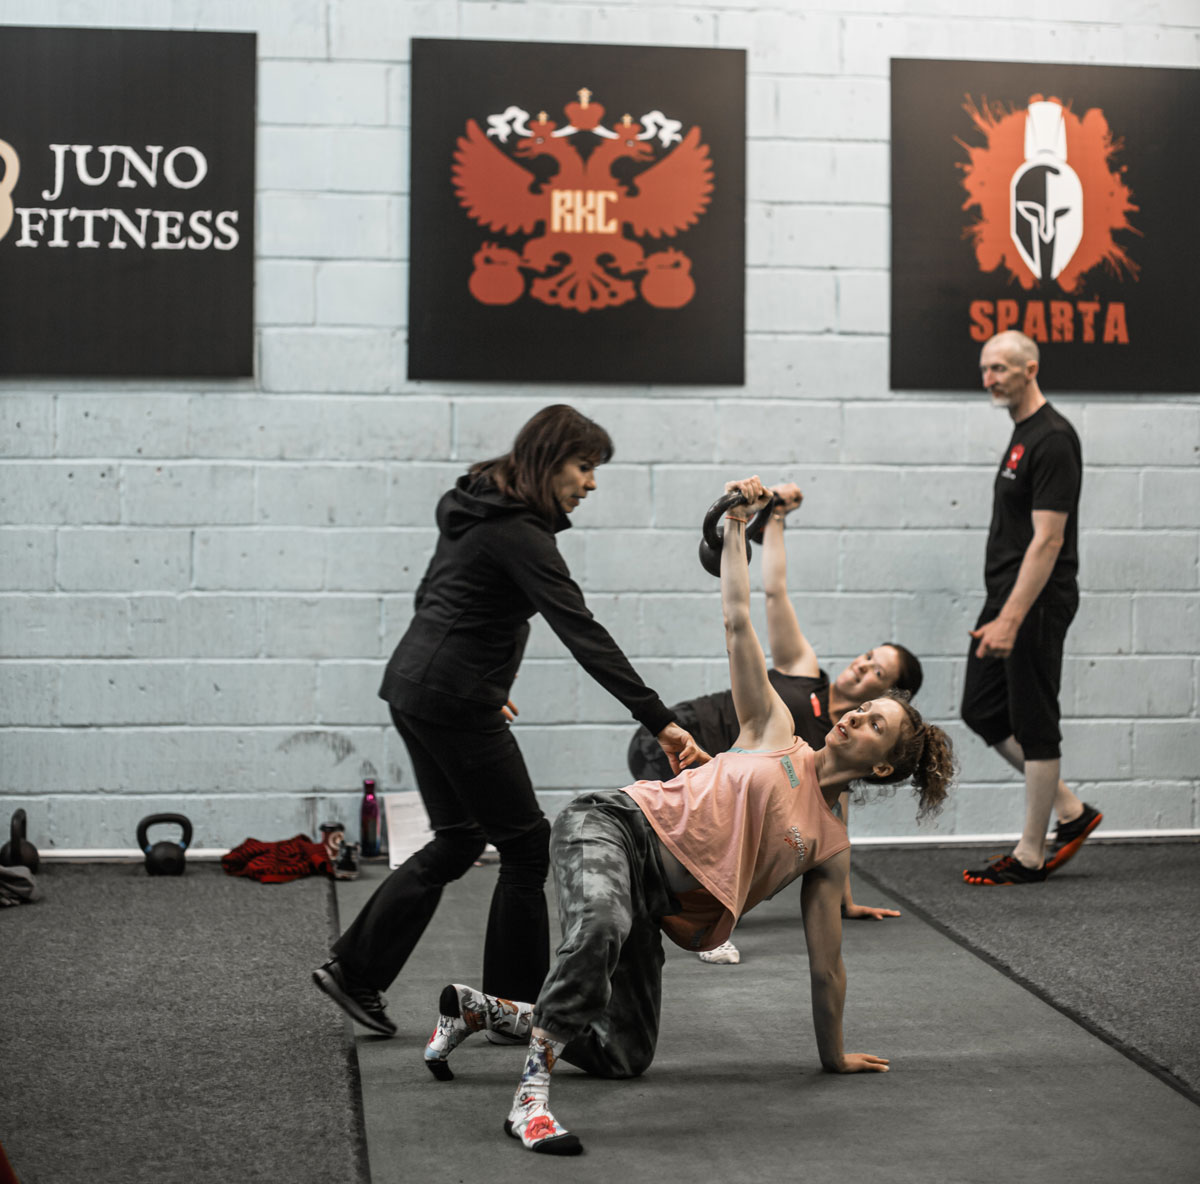
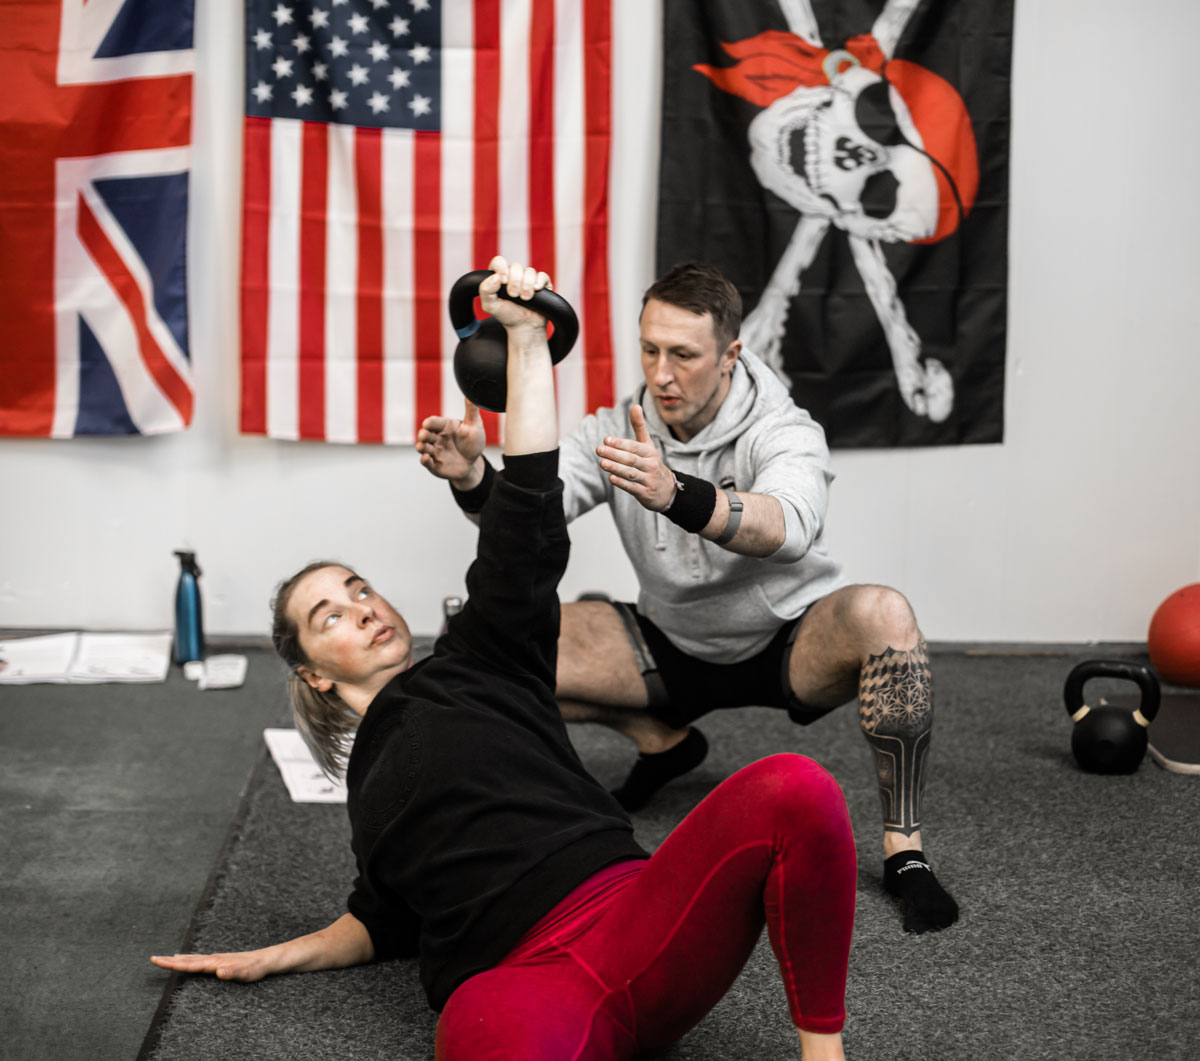
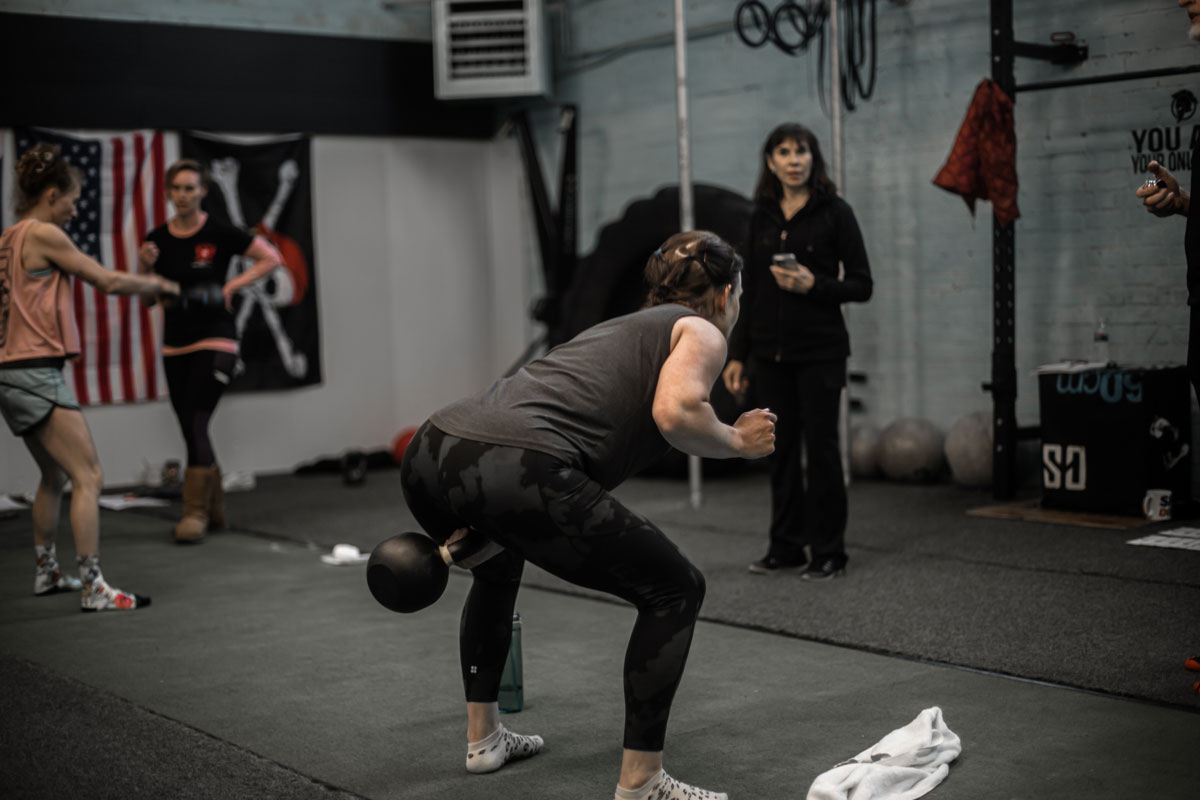
The RKC is based on six main exercises that are tested using kettlebells based on weight classes. They include the Swing, Get-up, Clean, Squat, Press, Snatch. There are many other drills and corrective exercises covered during the workshop, but for testing purposes the Big-6 are the star for a reason. These six exercises comprise full-body functional strength and conditioning, that is unparalleled using minimal time and equipment.
The RKC Big Six:
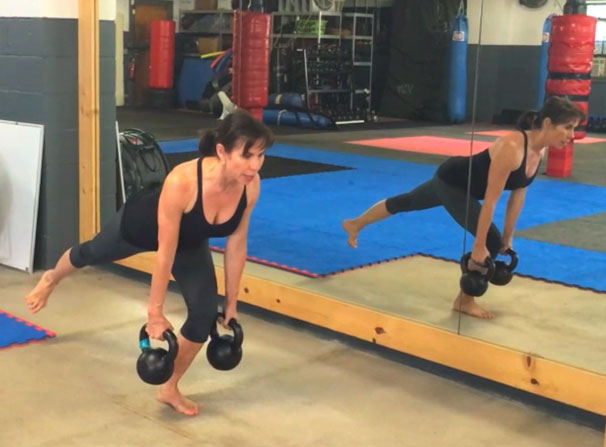
The Big-6 include exercises of pulling, pressing, squatting as well as functional movement patterns like hinging, lunging, rolling, as well as shoulder stability and mobility. Every exercise is presented within the context of the principles of hardstyle training, posterior chain driven, power breathing and full-body recruitment.
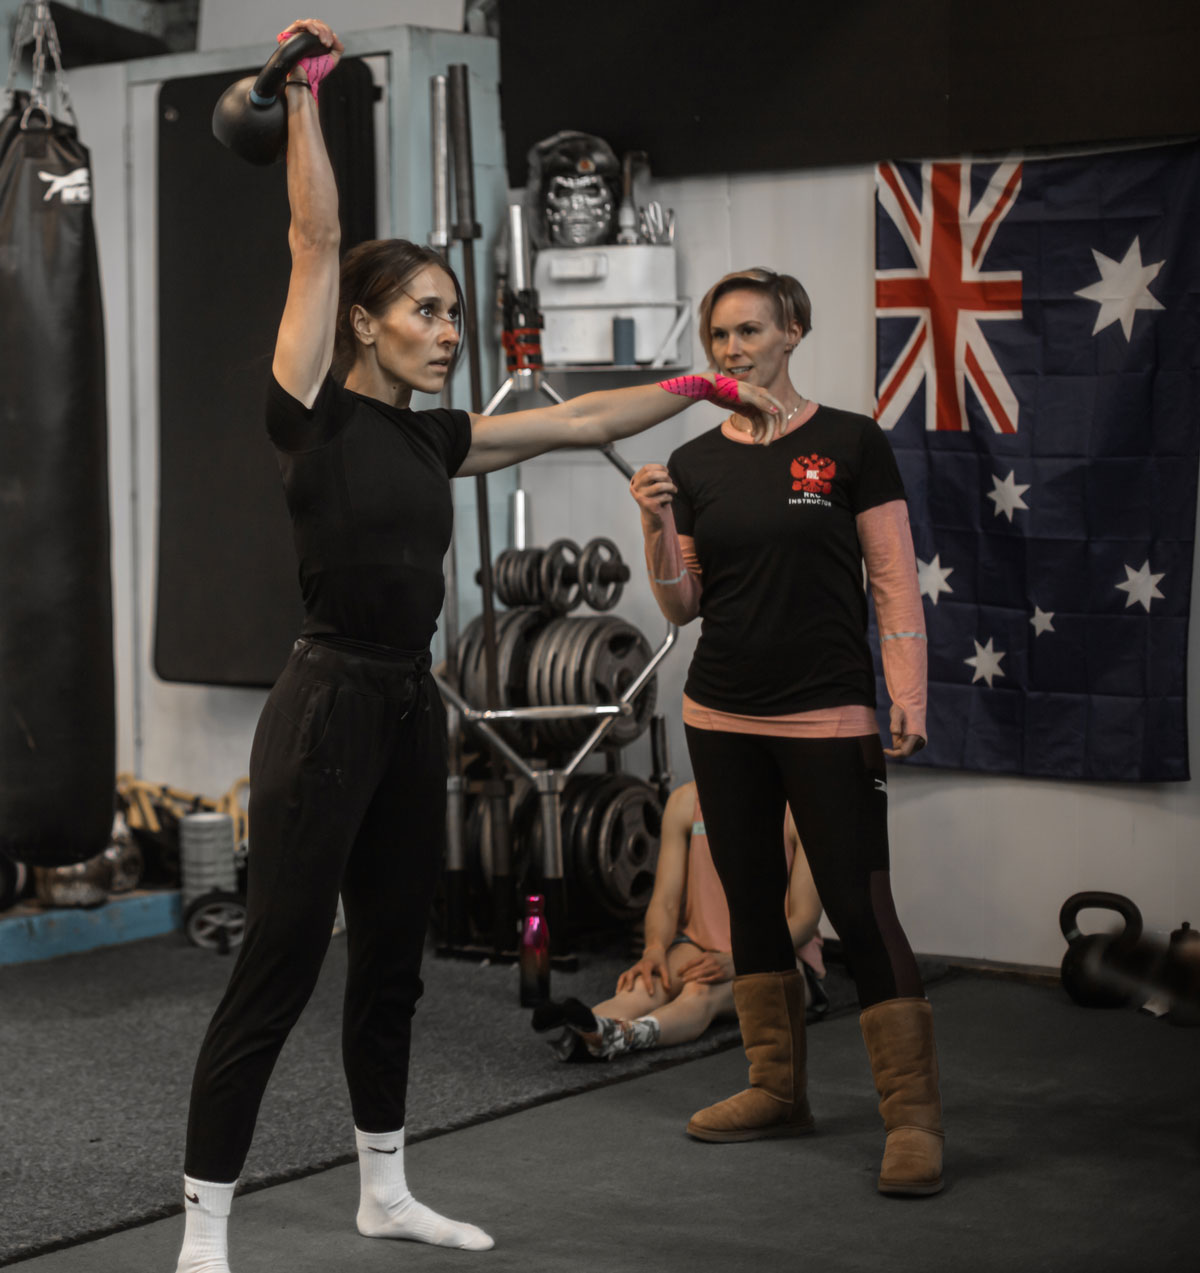
The purpose of the RKC technique test, is about performing each exercise with perfect technique. The rep range of each set of exercises is enough to correctly demonstrate each drill using the principles of hardstyle strength.
Why not take the full-body strength and conditioning focus of the RKC Big-6 and put it into a short circuit? It is not only a great workout, but a perfect way to practice for the test.
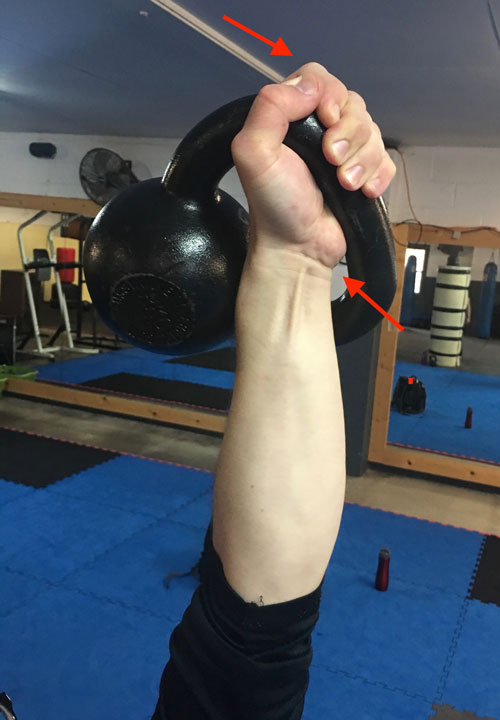
At the RKC, we require participants to use their snatch size bell for testing. However, sometimes it is necessary for certain people to go a bit heavier to elicit the right technique. For example, it may be necessary to have a strong athlete test with a heavier bell for cleans or presses. If the bell is too light, they don’t need to maintain high tension during the set and end up “faking” it instead of using the principles of hardstyle strength.
For casual kettlebell enthusiasts, pick a load that works to produce the best technique possible. For instance, maybe go a little lighter for the get-up and snatch, and a little heavier for the cleans and swings.
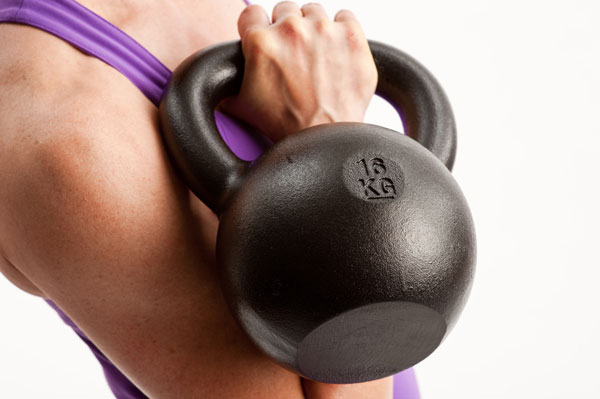
Choosing the Right Kettlebell
Here are some guidelines for kettlebells sizes:
- Men: 16kg to 24kg
- Women: 8kg (18lb) to 16kg
Rest as needed, however the less rest you take between sets the more metabolic impact the workout will have.
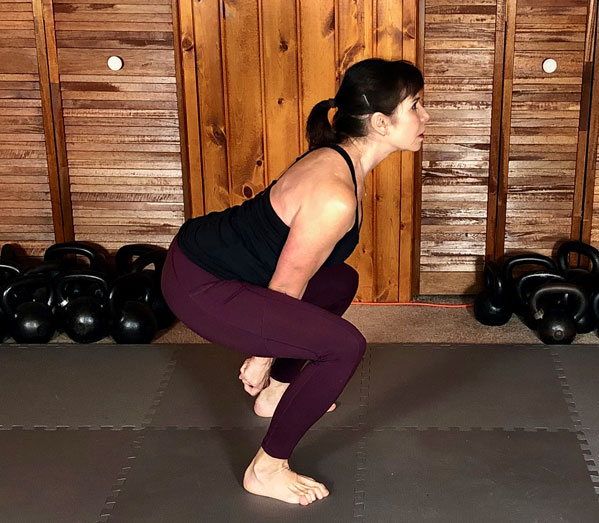
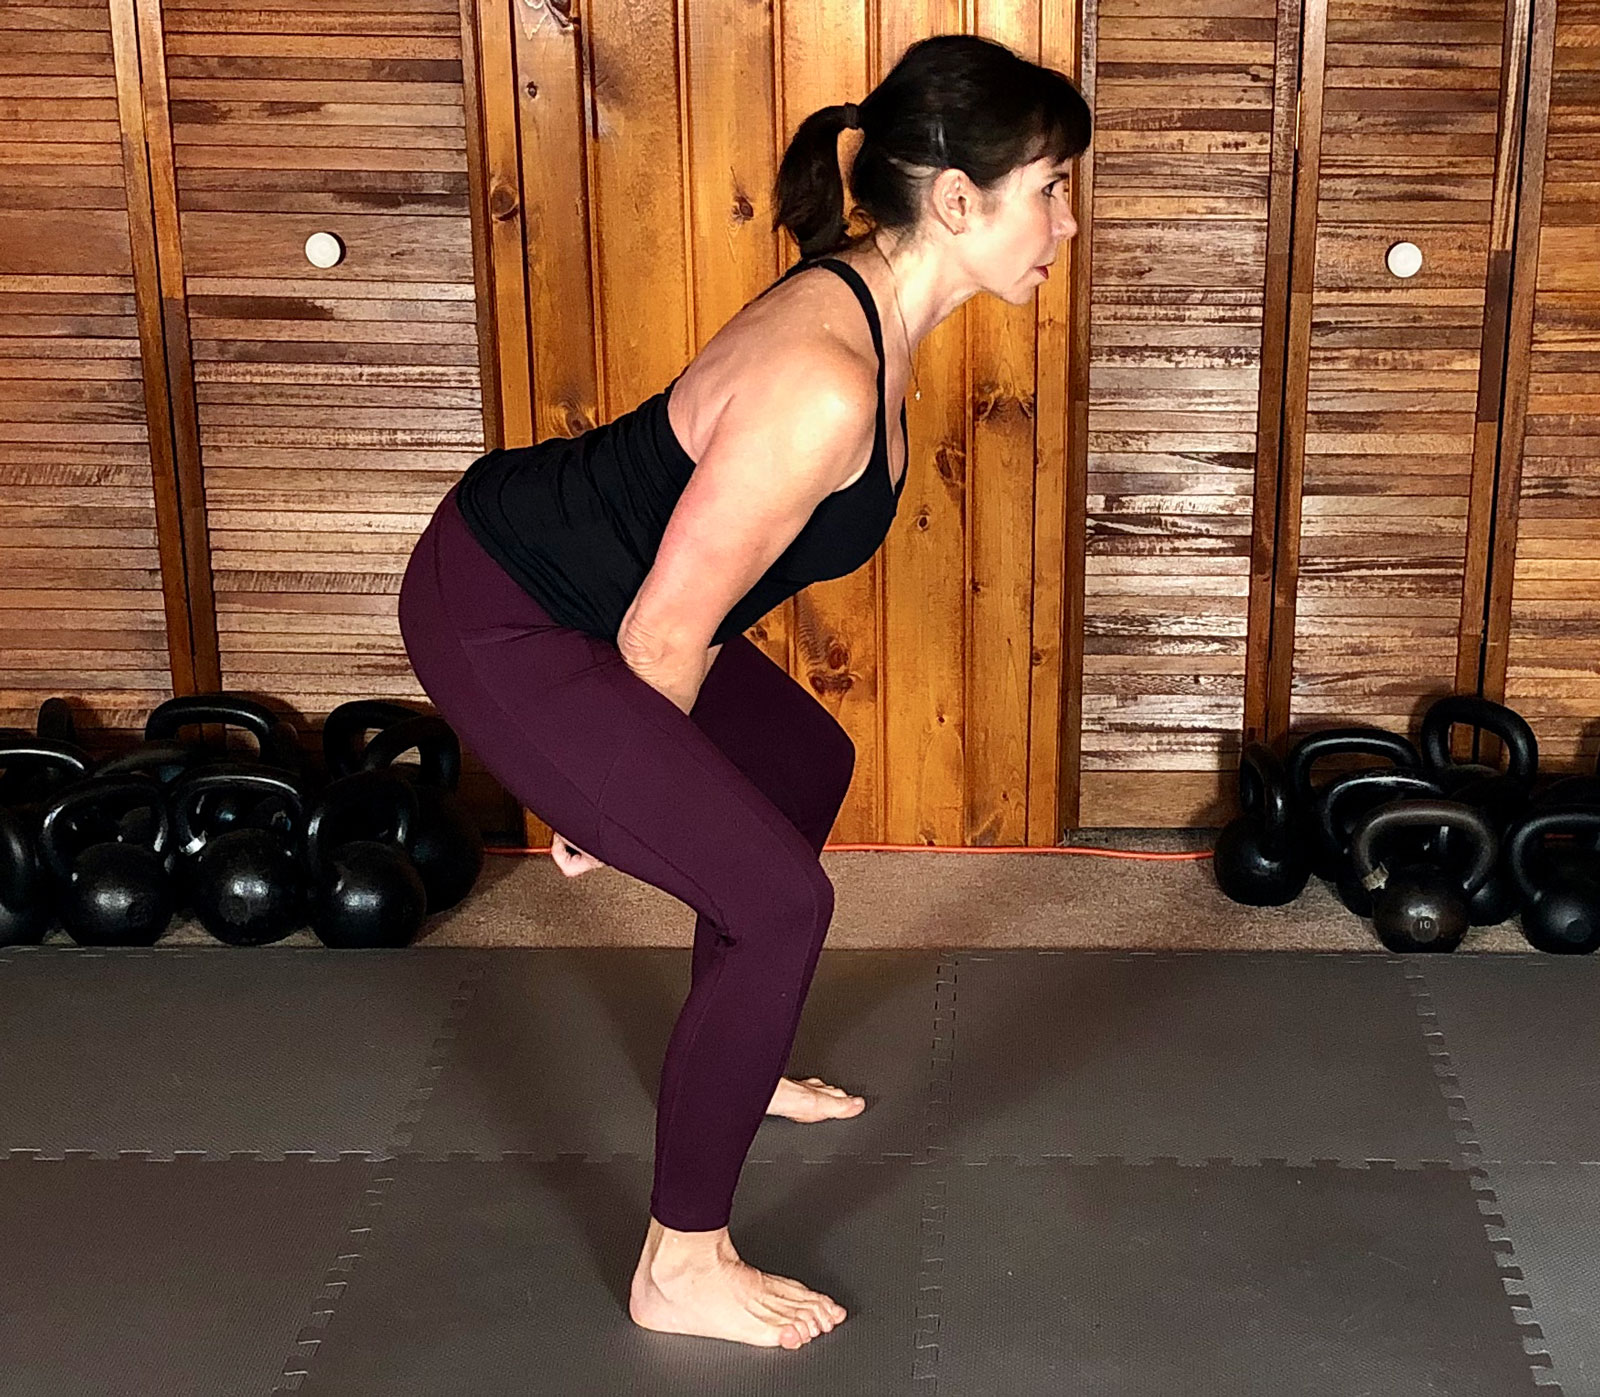
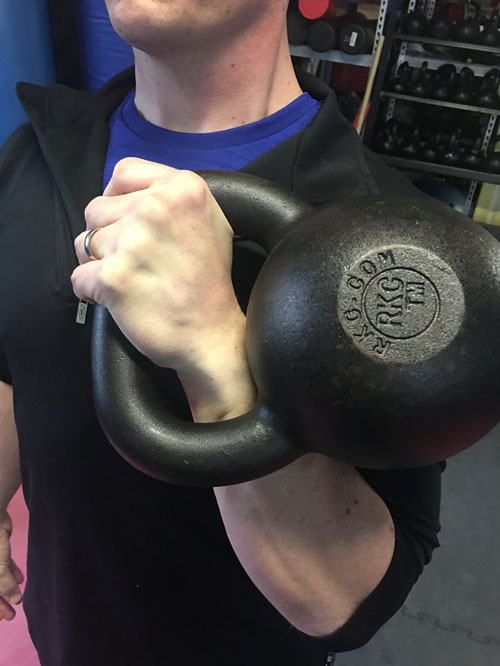
When performing the grinds; presses, front squats, and get-ups, take your time. Think of it as a set of single-reps. Don’t rush your grinds.
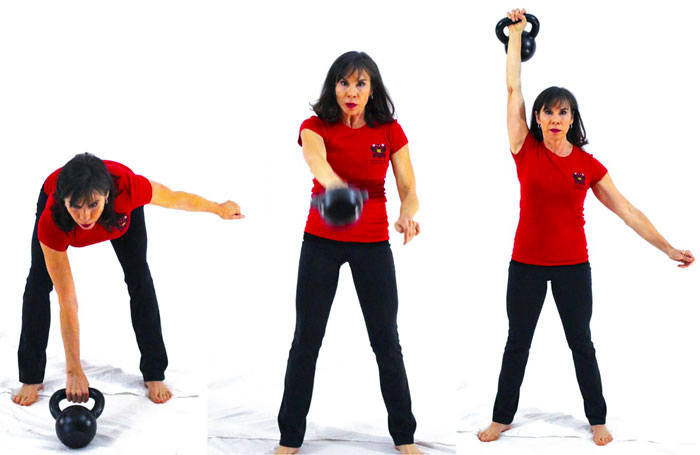
Conversely, on your swings, cleans, snatches, don’t slow them down. That doesn’t mean rushing through the top of the swing, or the rack of the clean or the lockout of the snatch. The top of each rep is your “rest”, and don’t slow down at the backswing, drive up fast to hip-extension.
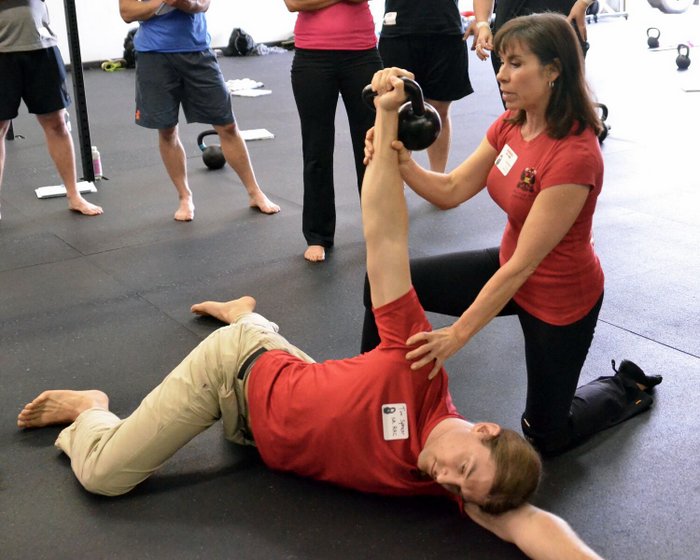
Starting with the get-up is a great strength and mobility warm-up and prepares you for the rest of the set. And I’ve added a set of double cleans for practice and conditioning.
The RKC Big Six Workout:
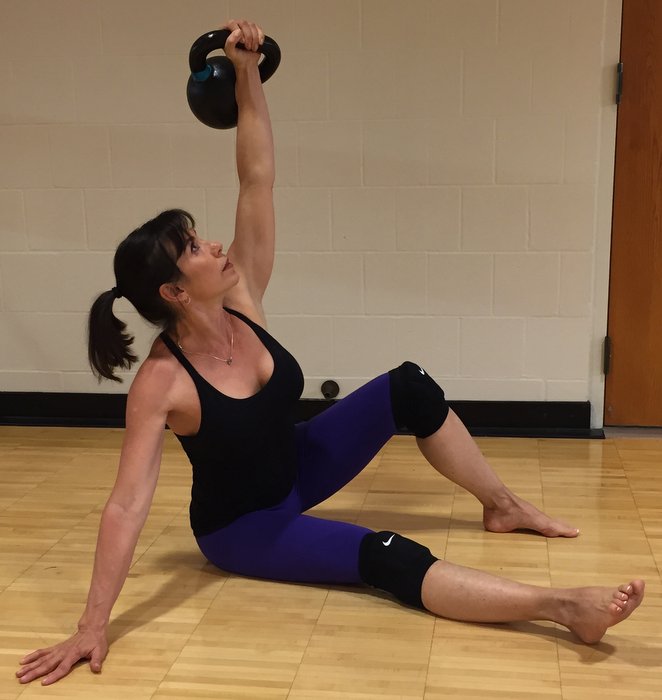
Get-ups: 1/1
Swings: 10/10
Cleans: 5/5
Presses: 5/5
Double Cleans: 5
Front Squats: 5
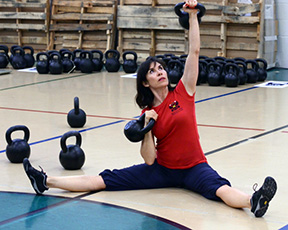
Snatches: 5/5
Repeat 3-4 times.
***
 Andrea Du Cane is Director of Certifications for Dragon Door Publications, a Master Kettlebell Instructor, ACE-GF, ACE Senior Fitness Specialist, CK-FMS certified, TRX certified, CICS certified, RIST- ZHealth certified, and has a BA in Psychology from the University of Minnesota. She has written and produced two DVDs: The Kettlebell Goddess Workout DVD, a top selling Kettlebell DVD on Amazon.com and The Kettlebell Boomer. Her DVD, Working With Special Populations, was filmed at the RKC Level II. Her Ageless Body Book was released fall of 2011. She is a contributor to Fitness Trainer Magazine and Breaking Muscle Website and Coach’s Only Podcasts. She has published articles on Russian Kettlebells for Best Body Magazine and for Oxygen Magazine. She was a featured presenter for the annual 2018 AFS conferences in China. She has presented for the EMPOWER! Conferences held around the U.S since 2014. She has presented at the Dragon Door Health & Strength conferences, in 2015 & 2016. Andrea travels around the world certifying HKC & RKC instructors in Kettlebell training.