• Skip to main content
  • Skip to primary sidebar
  • Home
  • Contributors
    • Matt Beecroft, Master RKC
    • Martijn Bos, Master RKC
    • Andrea Du Cane, Master RKC
    • Angelo Gala, Master RKC
    • Chris Holder, Master RKC
    • Steve Holiner, Master RKC
    • Dan John, Master RKC
    • Mike Krivka, Master RKC
    • Thomas Phillips, Master RKC
    • Robert Rimoczi, Master RKC
    • Phil Ross, Master RKC
    • Max Shank, Master RKC
  • Workshops
    • HKC Workshops
    • RKC Workshops
    • RKC-II Workshops
  • Find an RKC Instructor
  • Resources
    • Articles
    • Forums
    • Kettlebells
    • Products
  • Blogs
    • PCC Blog
    • Strong Medicine Blog
  • Archives

RKC School of Strength

Official blog of the RKC

Shari Wagner

How and Why to Practice Slow Motion Kettlebell Get-Ups

June 13, 2018 By Shari Wagner Leave a Comment

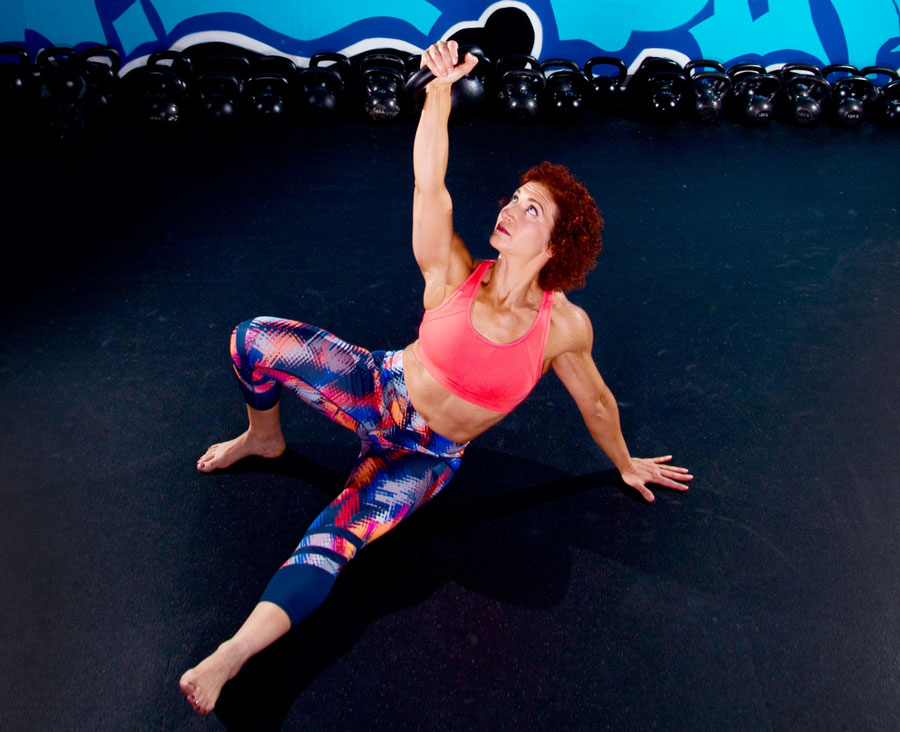
Shari Wagner Slow Motion Get-up

At a Dragon Door workshop back in 2010, a Senior RKC taught us how to do slow motion get-ups and my life was forever changed!

In theory, slowing down a get-up sounds simple enough—but you know what they say about “simple but not easy”! When I tried a slow motion get up for the first time, I noticed that I wanted to go through it way too fast. At the workshop, we were instructed to try and take a full minute to get from the floor to standing, and then another full minute to get back to the floor.

I was amazed. Simply slowing down the pace of the get-up amplified every nuance of each step and each movement. The weight is also amplified. At the time, I was able to do a solid get-up with a 16g kettlebell—and sometimes a 20kg. I scoffed when they told the women to use an 8kg kettlebell. Quickly, I realized that when moving slowly, an 8kg kettlebell is no joke! Time under tension is increased—and the whole move is much more difficult.

I found that certain parts of the get-up were excruciatingly had to do slowly—and that the steps requiring mobility in areas where I was tight were the most difficult of all. This slow motion drill was a great lesson. It taught me where I needed to improve my mobility, and where my strength and movement quality needed help.
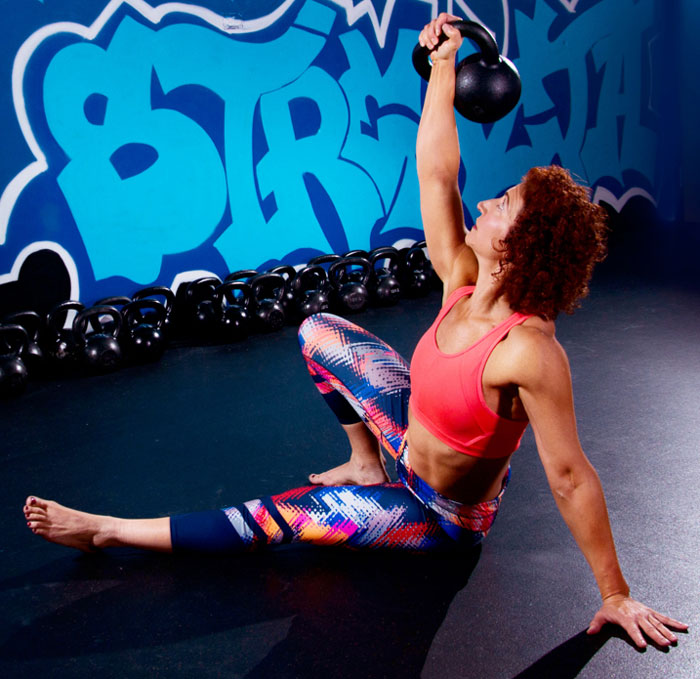
Shari Wagner kettlebell Get-upSlow motion get-ups are different than doing a get-up at a regular pace and pausing at each step. Perform a slow motion get-up as though you’re watching yourself on video, frame by frame. Definitely pause at each step to check yourself (just as you would in a regular get-up) but move in super slow motion from one step to the next. At first, you may want to try slow motion get-ups with no weight. It’s surprising how challenging this drill can be!

If you find a step where you aren’t able to move in slow motion or where you naturally speed up, then that’s an area that needs some work. You may need to mobilize your hips, shoulders, and/or your thoracic spine. Or, it may be that an area needs more strength and stability. Attack the issue from all angles, but if you feel like your body is stuck, then it’s usually because of a mobility issue.

Another way to improve your technique is to take note of asymmetries in your movements from left to right. These movement asymmetries can also be caused by immobility or lack of strength and/or stability.

Improve Mobility Challenges With These Drills:

When practicing the half get-up (at the elbow or posting to the hand) insufficient thoracic mobility can cause people to slump forward or be unable to get into a tight position with the shoulders packed and the side of the body straight. Another compensation for poor thoracic mobility is compensating by arching the lower back.

Here’s one of my favorite drills to improve thoracic mobility:

Rotational thoracic mobility is also important for the get-up, since the half get-up and half windmill phases are in the transverse plane. Here’s a helpful drill:

For shoulder stability, I love the simplicity of a good waiter’s walk. During the drill, really focus on using your lats to hold your arm overhead. Think about drawing your entire arm and shoulder down into the socket.

The “standing bird dog” is a great drill that delivers a double whammy of shoulder stability, core stability and strength in both areas. Dan John describes it in detail in the Hardstyle Kettlebell Challenge. Start by pressing the kettlebell overhead. Set the arm and shoulder in place, as in a waiter’s walk. Then, lift the leg on the same side (raising the knee up) and hold. When you can no longer keep your balance, put your foot back on the ground and then raise the other leg. Hold then switch the kettlebell to your other arm and repeat the drill.

Good luck with the slow motion get-up and these mobility drills. Please leave your comments below if you’ve tried them before, or if you try the drills for the first time now!

****

RKC Team Leader Shari Wagner, RKC-II, PCC, CK-FMS owns Iron Clad Fitness in Denver, Colorado. She can be contacted through her website at IronCladFit.com, email: info@ironcladfit.com or by phone 720-900-4766. Follow her on Facebook: facebook.com/IronCladFitness and Twitter: twitter.com/IronCladFitness.
Filed Under: Kettlebell Training, Mobility and Flexibility Tagged With: core stability, get up, get ups, kettlebell training, mobility, Shari Wagner, stability

Try This Solo Version of a Classic Kettlebell Corrective Partner Drill

December 28, 2016 By Shari Wagner 5 Comments

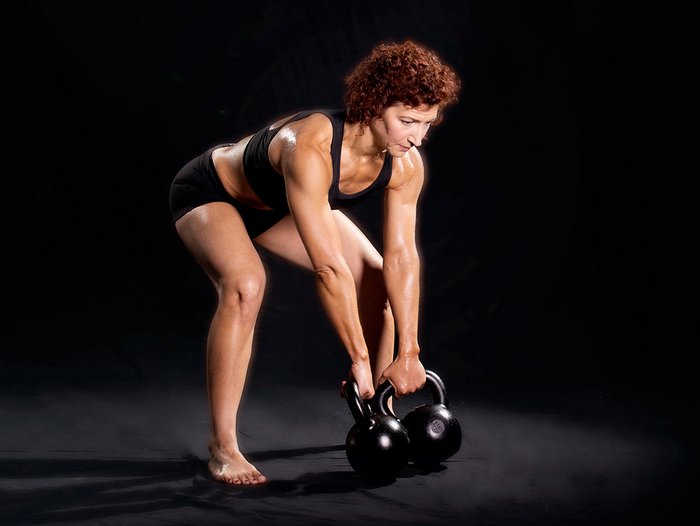
Shari Wagner RKC Team Leader Swing Setup

I was working with a personal training client who was having trouble packing his shoulder in the one-arm kettlebell swing, particularly in the hike pass position. He had no problems with this in his two-hand swing, it only happened when he switched to the one-arm swing. So, I used the RKC towel pull drill with him and voila! It taught him the feeling of properly loading in the hike position and it improved his shoulder packing when he went back to swings.

This client trains with me once a week to learn proper kettlebell technique, and the rest of the time he trains on his own at home. How could he duplicate this drill on his own when he didn’t have a training partner or qualified instructor to train with him at home? We needed a solution so that he could practice the drill prior to each set of one-arm swings, at least until he was able to groove the pattern in his swings.

The deadlift drag is a wonderful exercise and I use it quite often. In this drill, you set up as if to swing, but instead, you drag the kettlebell on the floor very slowly, keeping yourself in the hike position and loaded up through the posterior chain the whole time. However, I sometimes find that the deadlift drag doesn’t have the same carry-over into the swing itself. Not every drill will work for every person to correct the pattern they need to correct. In this case I wanted my client to be able to really load up in the same way we do with the towel pull drill since it really worked to help his one-arm swing. I wanted him to have his arm connected to his body as if the kettlebell were behind him like it is in the hike position of the swing.

I came up with a similar drill using a resistance band. I used a band that was about 1/2” wide, that provides about 15-30 lbs of resistance. Keep in mind that you’re using a double thickness of the band when you set it up as I have in the video below. The loading in this drill happens from the front as you are pulling the band behind you, rather than loading from the back in the towel pull drill. But, the drill still worked really well for my client. He got his shoulder packed in the hike position and felt the loading and support that comes from the shoulder position in the in the swing.

We did one set like you’ll see in the video below and it had the same positive effect on his one-arm swing technique as when we did the towel pull drill together at the gym. The best part is that he can now do the resistance band drill when he trains by himself at home. I prescribed for him to do about five pulls of the band, followed by one 10-second static hold before every set of one-arm swings.

https://youtu.be/9Ac8T1bpdpo

I did experiment with this same idea, and we turned around to try and load up from the back, in order to really try and emulate the towel pull. I personally didn’t like this as much as pulling from the front, because I felt like the resistance of the band wanted to pull me backwards and without a partner to brace against in the pull, I didn’t feel like I was in control of the movement as much. I also didn’t feel like I could engage the lats and the hips in the same way or to the same extent.

I invite you to try this drill both ways and let me know what you think in the comments section below!

Here’s a quick workout you can do using this resistance band drill, the deadlift drag, and the all-important single rep swing. Hopefully the combination will really help your one-arm swings.

  • 5 1-arm deadlift drags, left side
  • 5 single rep swings, left side
  • 5 band pulls, left side with :10 hold on last rep
  • 10 1-arm swings, left side
  • Repeat on the right

Repeat for 5-10 sets, resting as needed between sets

****

RKC Team Leader Shari Wagner, RKC-II, PCC, CK-FMS owns Iron Clad Fitness in Denver, Colorado. She can be contacted through her website at IronCladFit.com, email: info@ironcladfit.com or by phone 720-900-4766. Follow her on Facebook: facebook.com/IronCladFitness and Twitter: twitter.com/IronCladFitness.
Filed Under: Coaching, Kettlebell Training, Tutorial Tagged With: how-to, kettlebell drills, kettlebell training, kettlebell tutorial, RKC, Shari Wagner, video

The Journey Doesn’t End with the Title

March 30, 2016 By Shari Wagner 11 Comments

Shari Wagner RKC Team Leader
My RKC workshop was in April 2009, and I didn’t pass at the workshop due to a failed snatch test. I submitted a video one week later to earn my RKC title. I recently stumbled across that fateful video and of course, I watched it.

I watched it with a little bit of shock and awe at the poor technique I displayed. I also watched it with a lot of pride. Pride for the hard work I have put in to improve my technique since then and pride for all I have accomplished over the years.

When I first learned the snatch, it was in the days of first learning the high pull. This caused me to have a very significant corkscrew. I worked and worked at fixing this corkscrew before attending the RKC to no avail, and it was one of the biggest worries I had going in to the workshop. It wasn’t the typical worry of not completing the reps, my worry was all about the technique.

I did improve my technique at my RKC workshop, but I still had some of that darn corkscrew. At the time, while not ideal, it was still considered passable technique. I kept plugging away at the technique, but that corkscrew still remained.

I eventually sought out some additional instruction, which helped quite a bit. I also started watching videos of other instructors doing the snatch. I watched the timing very intently, along with the arm position and the path the kettlebell took. I noticed that when they snatched, you could see the bottom of the kettlebell as it flipped over and it looked so smooth and effortless. When I snatched with the corkscrew, my arm was turning out the side, therefore the bottom of the kettlebell was turning out to the side. It also looked anything but smooth and effortless. It certainly felt like a lot more effort too.

I took all of these visual and verbal cues and turned them inward, so I could feel it and visualize what it should look like. I snatched in front of the mirror because at the time I didn’t have a way to video myself. The short story is that it worked! I was finally able to snatch without a corkscrew. However…

I still had work to do to improve my technique. I was now keeping my arm a bit too straight and casting the kettlebell out a bit too much. More training and more work ahead, but I took it all in and worked hard because I was determined to get better. Being a type-A perfectionist and a Capricorn served me well in this case. Not only would this extra work help me get better, but it would help me help my students.

I later assisted at an RKC for the first time and it was the first time with the new RKC. When I tested my requirements for Keira Newton, she gave me a few additional tips that added to the improvements I had already made.

Then I witnessed how we now teach the snatch from the top down. I was amazed at its simplicity, yet it was extremely effective. It seemed so much easier to learn and to teach others this way. I even told the participants how lucky I thought they were to now be taught this way.

Each of these improvements I learned and made over the years has helped make the snatch feel more fluid yet more powerful. My big a-ha with the cumulative effects of each of these improvements is in how much it has helped the efficiency in my movements. I was expending so much additional energy in the way I was snatching before. Watching that video from 2009 now, I can see that so clearly. It honestly looks painful to me.

My moral of this story is that our journey of learning and improving doesn’t stop once we earn our RKC. The RKC helps give us our foundation and our starting point for teaching. But there is so much more to learn and so much more to do after we become an RKC. What makes us really good instructors is our quest to always do more, always be better and always serve our students.

Keeping our certification current is not about paying money to re-certify and keep the letters behind our name. We must improve our own skills, which in turn helps make us better instructors. We can only help our students improve when we help ourselves improve. We can also better help our students when we have access to the most current teaching standards, combined with all the tools we learned before.

If I had never learned the current way of teaching the snatch and if I had never corrected my own technique, I certainly could have still taught people. But I believe that I wouldn’t be serving my students to the best of my ability. That is, after all, the reason why we seek out those 3 letters in the first place, right? Never give up, never stop trying to improve and don’t let the journey end with the letters.

****

Shari Wagner, RKC-II, CK-FMS owns Iron Clad Fitness in Denver, Colorado. She can be contacted through her website at IronCladFit.com, email: info@ironcladfit.com or by phone 720-900-4766. Follow her on Facebook: facebook.com/IronCladFitness and Twitter: twitter.com/IronCladFitness.
Filed Under: Kettlebell Training, Motivation Tagged With: Kettlebell, kettlebell certification, kettlebells, RKC, RKC Workshop, Shari Wagner, Snatch Test, workshop experience

How to Become a Kettlebell Professional

December 16, 2015 By Shari Wagner 4 Comments

Shari Wagner Double Kettlebell Swing Setup

A recent conversation with a client went something like this, “Of course you can do [insert exercise]…you’re a professional.” A little while later, a prospective client asked, “Do you think I have the potential to be good at kettlebells?” Combine that with another amazing weekend hosting an RKC workshop, and this blog post was born.

Of course I can do all of these kettlebell lifts, I’m a professional. But how do you think I became a professional? I certainly didn’t come out of the womb able to do all of this stuff. I had to learn it and practice it, and be open to more learning and more practicing. Every. Day. Every day until I earned my RKC and every day since I earned my RKC.

I didn’t just pick up a kettlebell and magically start using it perfectly. I was once in exactly the same position as anyone who comes to my gym to learn kettlebells. I had to learn each exercise from square one, just as all of my clients do. Truth be told, it took me a long time to learn a proper swing! That deep hike and explosive hip snap was as foreign to me as it is to you. After lots of dedicated practice and consistency, it’s now feels so natural it’s hard to remember how awkward I once felt.

Even after 6+ years of being an RKC, I still don’t just pick up a kettlebell and magically start using it perfectly. Every time I pick up a kettlebell, I focus on all the components that I know make up proper technique.

I make sure I set up with proper form and I make sure I swing, clean, press, etc. with proper form. I think about making every rep the best I can make it. I concentrate on how each rep feels… “That one needed a little more tightness in my snap, I need to make sure I keep my back flat when I hike.” I video myself now and again to check and hone my technique. I never approach or pick up a kettlebell on auto-pilot.

I’m better able to recognize and make micro adjustments, but that certainly didn’t happen overnight either! It took a lot of time, patience, practice and consistency. It sometimes took losing my patience a bit. It certainly took lots of coaching and the ability to be coachable.

At an HKC workshop several years ago, after all the other participants and instructors introduced themselves and told about their vast athletic backgrounds, I said “I have a background in nothing.” I wasn’t an athlete and I didn’t participate in any sports. I had a history of being sedentary and inactive or yo-yo exercising, until I found kettlebells in my late 30’s. That is when I found the athlete inside me.

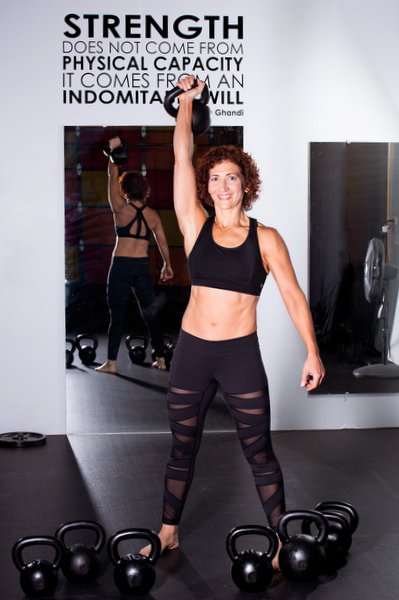
Shari Wagner Kettlebell Press and Strength Quote

Some people are more naturally athletic and can learn technique more easily than others. I’m not one of those people, but that doesn’t mean I’m not capable of learning a new technique. For me, it just means that it might take me a little longer to learn something new, and I might have to put in a little more time practicing a new skill but I’m okay with that. I allow it to leave me with a bigger sense of accomplishment.

I believe that anyone can become an RKC, and the recipe is simple. Start with a dedicated mindset to your training practice, add to it lots of hard (but smart) work and consistency, and sprinkle in some patience and time. Yes you; the one who picked up your first kettlebell today! Or you;  the one who’s been using kettlebells for a few years. ANYONE willing to put in the time and dedicated effort to good technique can achieve RKC status, or any goal you set for yourself. Some of you may be like me and might have to work a little harder or a little longer than others, but either way, I truly believe that anyone can do it.

The way the RKC course is structured, everyone learns the progressions and regressions for each exercise so that you are able to teach people of all fitness levels. In the process, you are learning what you need to improve your own technique. The structure of the course also allows you to constantly practice coaching others, so you can hone your teaching skills while you’re learning everything. Combine that with the plethora of valuable resources offered by Dragon Door, titles like Master the Kettlebell, Strong Medicine and Mental Muscle and you have everything you need to succeed.

Over the years I’ve participated in several RKC workshops. Whether the participants are seasoned athletes or new to training and whether they do or do not pass the requirements, the one common theme I see among them is that the RKC was the best course they have ever attended and many report that it was life changing. It certainly was for me!

So, what’s stopping you? Go sign up for those kettlebell lessons or for an RKC workshop!

****

Shari Wagner, RKC-II, CK-FMS owns Iron Clad Fitness in Denver, Colorado. She can be contacted through her website at IronCladFit.com, email: info@ironcladfit.com or by phone 720-900-4766. Follow her on Facebook: facebook.com/IronCladFitness and Twitter: twitter.com/IronCladFitness.

Filed Under: Coaching, Kettlebell Training Tagged With: becoming an RKC, Coaching, how to become an RKC, kettlebell training, kettlebell training principles, kettlebells, RKC Workshop, Shari Wagner

Primary Sidebar

Featured Products

previous arrow
BOOK-RKCBookofSnC
HardStyleKettlebellChallegeDanJohn700
BookCoverMasterTheKettlebell1
RKCiconKettlebell512
KettlebellGoddessdv040
next arrow

Recent Posts

  • RKC Big Six Workout
  • The Kettlebell Swing & Low Back Pain
  • Key Kettlebell Exercises To Help You Create Better Balance
  • How to Most Effectively Use Kettlebells to Meet Your New Year Goals
  • 1 Exercise That Checks All The Boxes
FOLLOW US ON TWITTER!

Archives

Copyright © 2025

Dragon Door Publications / The author(s) and publisher of this material are not responsible in any manner whatsoever for any injury that may occur through following the instructions or opinions contained in this material. The activities, physical and otherwise, described herein for informational purposes only, may be too strenuous or dangerous for some people, and the reader(s) should consult a physician before engaging in them.