Sometimes, I just want to do a quick workout and either can’t or don’t want to spend an hour to do it. That’s why I put together this series of efficient kettlebell workouts which can be done in a short amount of time with minimal equipment (a kettlebell, the floor, rings and a pull-up bar of some type). These workouts are also simple to modify. If you DO have an hour in the gym, you can simply multiply your sets. As you’re reading, I invite you to take note of any questions you may have and ask them in the comments section below this blog post. I’m more than happy to do my best when answering them. I hope you enjoy these programs as much as we do in Milwaukee!
1: “The Zen of Zane”
Frank Zane used to train chest, triceps and shoulders in one day. Compared to how his competition was training, his approach was totally bizarre. His competition was training opposing muscle groups such as chest and biceps. Frank was known for his amazing symmetry and muscularity. With a daily dose of this workout, I think you might start to look and feel like Frank Zane!
Set a timer for five minutes and repeat the following sequence of exercises until five minutes has passed.
- 5 push presses per side
- 5 pull-ups
- 5-10 push-ups
- 30 seconds break
- 1 push-up
- 1 push press per side
- 1 pull-up
- 5 push presses per side
- 5 pull-ups
- 5-10 push-ups
- 30 seconds break
Modification
Trade reps for seconds. For example, instead of 10 pull ups, perform a 10-seconds flex arm hang.
2: “My Favorite”
This workout is my personal favorite, let’s see what you think!
Set a timer for eight minutes, complete at least four full sets of the following:
- 5 ring dips
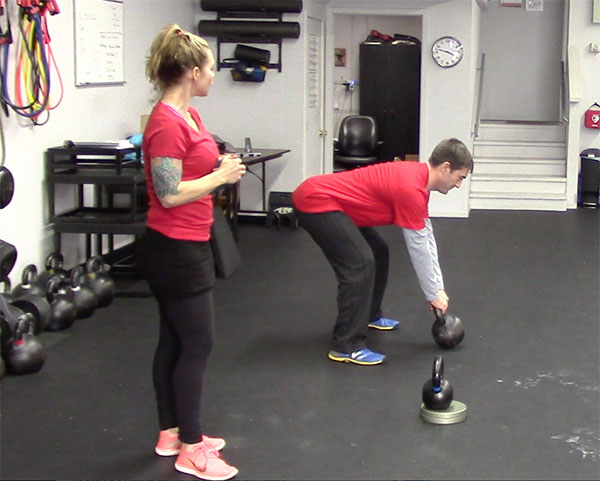
- 25 swings
- 1:30 minutes rest
Modifications
Option one: try putting your feet a raised platform for extra stability. Option two: perform bench dips instead of ring dips. Option three: forming a triangle with your hands, and perform 5 push-ups, be sure to use the entire range of motion, bringing your sternum down to your hands.
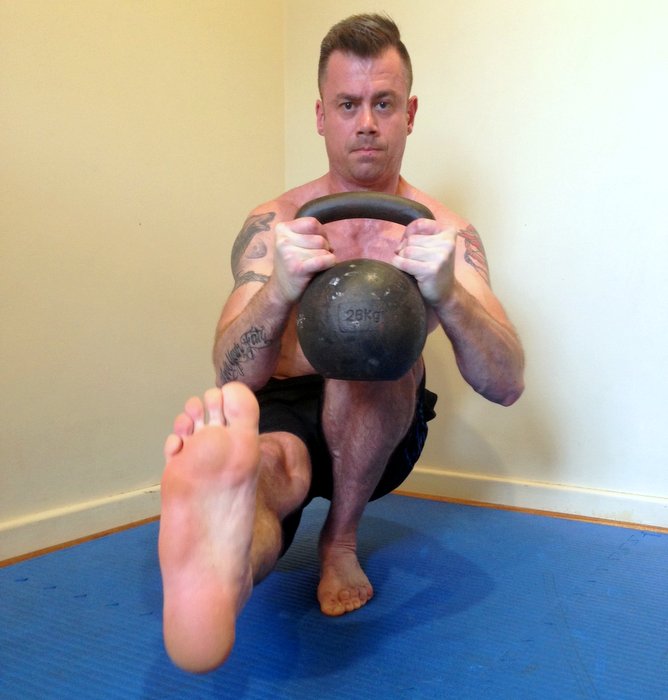
3: “Lungs of Hell”
The name of this workout is a tribute to the classic Megadeth song which I think also sounds great played loud along with this workout…
Set a timer for five minutes, and perform the following sequence safely for time:
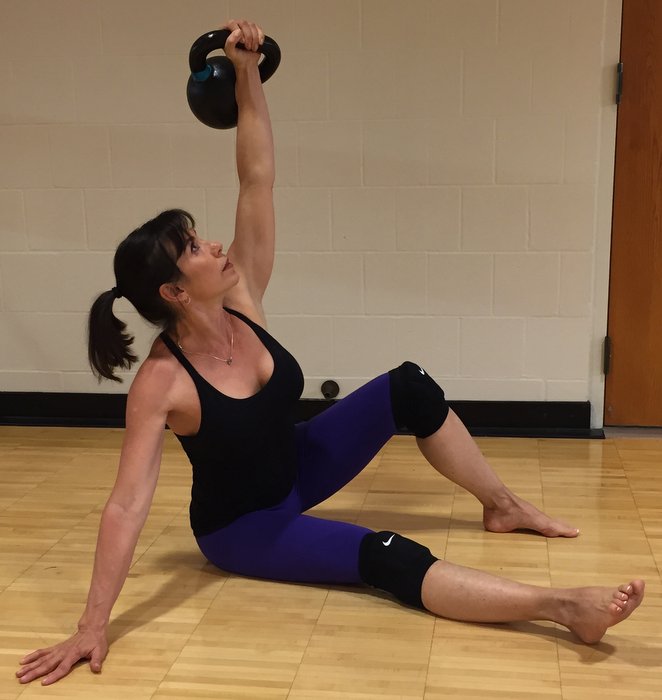
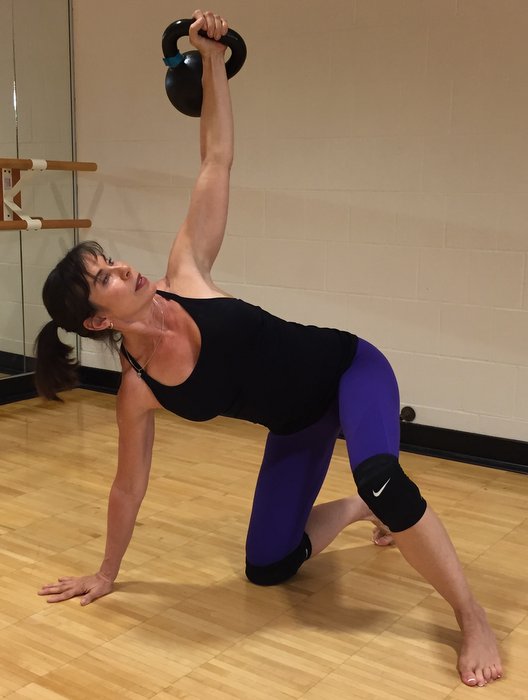
Perform a get-up to standing, do 5 overhead lunges, 5 push presses, 5 squats, then 5 snatches. Keeping the kettlebell overhead finish the get-up and return to the floor. Switch sides, resting as needed.
Modifications:
Option one, reduce your reps to three. Option two, reduce the size of the kettlebell you’re using. Option three, reduce your reps to one.
4: “Speak To Me/Breathe”
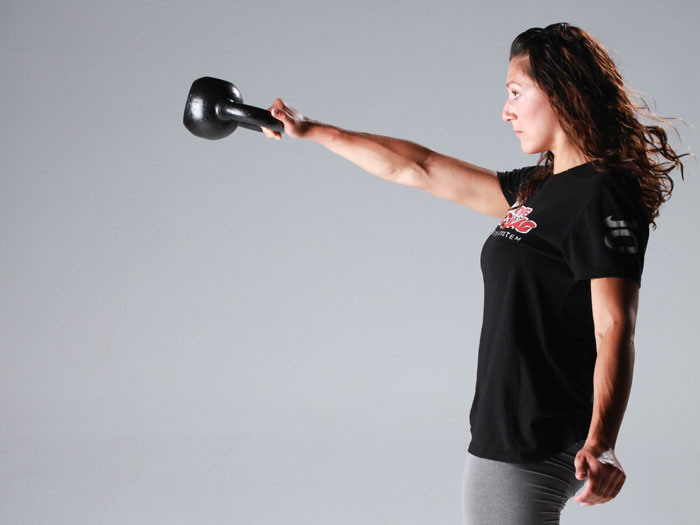
Pink Floyd begins their infamous albums, Dark Side of the Moon with “Speak To Me” which leads right into “Breathe.” I think this is funny because this could also describe the breathing techniques we teach and use in the RKC community. There’s the classic hiss during the swing and goblet squat “hoooop” grunt. You’ll need to focus on your vocalizing your breaths to keep up with these reps. The end result is amazing lung capacity, strong legs, bullet-proof abs, and grip strength that won’t quit!
Set a timer for 8 minutes with the goal of completing 4 rounds of the following:
- 10 goblet squats
- 25 swings
- rest
- 5 goblet squats
- 25 swings
- rest
Use a HEAVY kettlebell.
Modifications
Option one: use a lighter kettlebell. Option two: reduce overall reps. Option three: perform bodyweight squats and vertical jumps instead of goblet squats and swings.
5: “Look Alive”
Coordination and attention to detail make this last workout effective and nourishing. It’s challenging and fun at the same time because you must focus on every rep for the entire five minutes.
Set a timer for five minutes. Repeat the following sequence for a total of five sets. If you finish early, take a short active-rest break and, a swig of water and continue until the end of five minutes.
- 5 push-ups
- 5 partial jumps (please refer to video for the technique)
- 5 swings
These five simple but scalable workouts produce results even when time is limited. I invite you to share your experience after trying one or all of the Five-5s. Feel free to have fun and modify them to fit your needs.
Enjoy and until next time, have a most excellent day!
Nick Lynch, RKC Team Leader
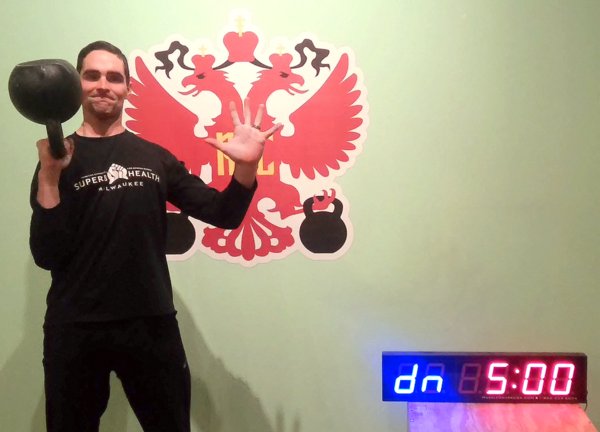
***
RKC Team Leader Nick Lynch is a Strength and Conditioning Coach at Milwaukee School of Engineering University (MSOE). He owns Superb Health Milwaukee, a kettlebell studio in Milwaukee, WI. He has 13 years of full-time training and coaching experience and a lifetime of wellness education. Nick lives in Milwaukee, WI with his wife Natalie and son Weston.