When the kettlebell swing was first introduced, the idea of ballistically moving weight was a novelty. Other than Olympic Lifting, heavy weights were not lifted explosively. And the ability of moving the load behind the hips was unthinkable.
We take this for granted now after 20 years or more of kettlebell training. We all know the advantages of this type of ballistic training and the unique way it trains our posterior chain, a godsend for all athletes.
Teaching the Swing for Optimal Performance
Because it was so new and unique, we ran into problems with how to teach and perform the swing for optimal performance and effect. With many people quad dominant, it naturally turned into more of a squat style swing.
We worked hard to change that pattern and bring the swing into the hip-hinge dominant pattern it is today. There was lots of experimentation and drills used to find the right movement pattern. And I think for the most part we have succeeded. Today nearly everyone walking into an HKC or RKC Workshop knows the swing is a deadlift/hinge style pattern. Please note that I am not talking about the American (CrossFit) swing, which is meant to be an anterior and quad dominate movement pattern. That swing was developed to specifically mimic the Olympic lifting movement of a barbell snatch.
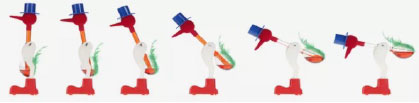
The “Drinking Bird” Kettlebell Swing Problem
The problem with something being “too good to be true”, is also that “too much of a good thing is no longer so good.” The swing has swung (pun intended) from a too squatty swing to a straight-legged swing, or as I call it the “Drinking Bird Swing”.
It seems that in every video I see, in every workshop I teach, my clients, even myself, people have been overcompensating for the squatty swing, by swinging with nearly straight legs. You could say we have taken the easy road to loading. Let’s face it, it’s more work to sit back deeper, I call it the “lazy butt syndrome”. And if you have flexible hamstrings like some of us, it is way easier.
Swinging with nearly straight legs puts all the power and loading into the hamstrings. It takes away from the quads, but it also takes away from deep glute engagement at the backswing, right where we need the most power. In other words, a “drinking bird” swing will have much less power.
If the hamstrings are on stretch at the backswing, the glutes are not back and down enough to fully engage, so the power in the upswing is diminished.
Imagine doing a lot of snatches only using your hamstrings? No wonder, the arms and back are doing so much of the work, they must make up for loss of power from the hips.
Troubleshooting the Kettlebell Backswing
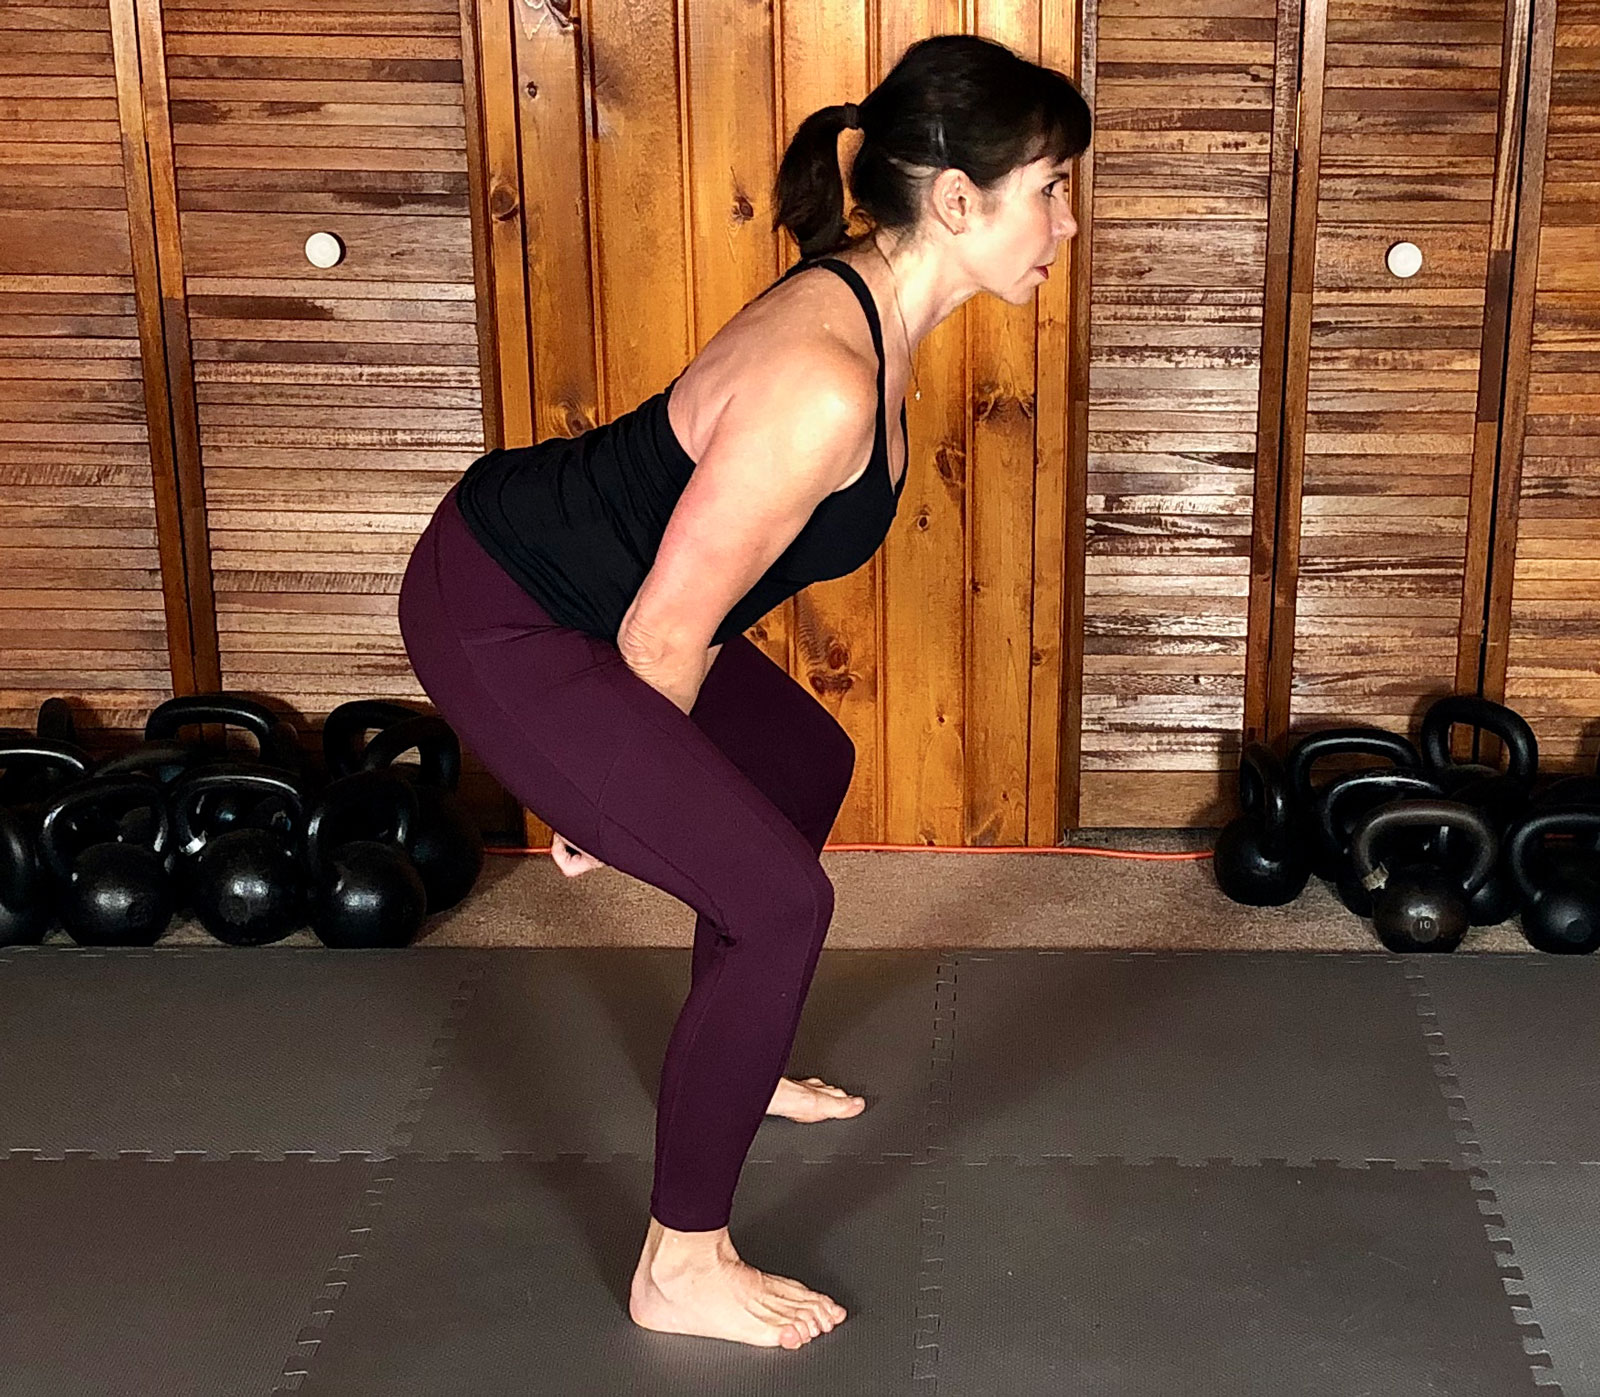
Look at the photos below, in which position do I look the most loaded? I call this the “Goldilocks” of the backswing position.
1) My knees are very bent, and my hips and knees are nearly level.
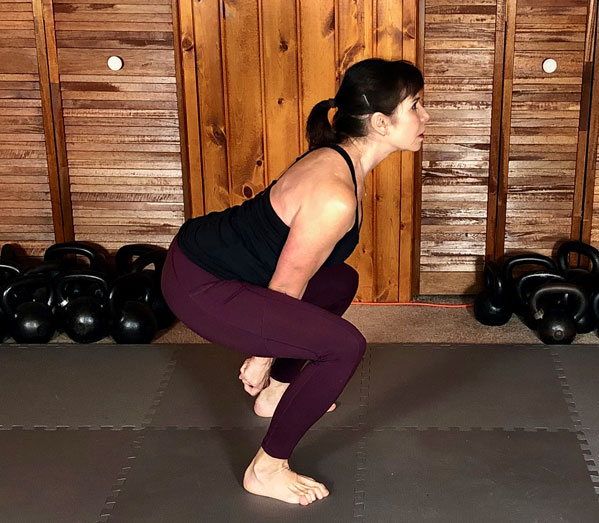
2) My knees are nearly straight, my chest down, my hips and shoulders are level.

3) My knees are bent, my hips back and down, my chest and shoulders lifted slightly.
Stand up and try each of these positions:
1) Stand feet shoulder distance, both arms in a back swing position, knees very bent, and hips in line with knees. What does it feel like? Where do you feel the most loading?
2) Same stance, this time hinge and keep the knees nearly straight, push the hips back, let the chest/head/shoulders face the ground- shoulders and hips level. What does it feel like? Where do you feel the most loading?
3) Same stance, this time sit back with hips, let the knees bend like you’re sitting back on a medium height chair, keep the chest/shoulders lifted. What does it feel like? Where do you feel the most loading?
My guess is that when you followed #1 you felt the most in your quads; #2 most of the loading is in the hamstrings; #3 you felt a little in the quads, a lot in the hips/glutes and some hamstrings. Picture #3 is the classic back swing position we teach at the RKC: Shoulders above hips and hips above knees.
How to Produce the Most Strength and Power with Your Kettlebell Swings
One of the key principles of Hardstyle kettlebell training is full body tension when we want to produce strength and power. If you don’t engage your glutes and quads and rely primarily on the hamstrings, are you not breaking that Hardstyle principle and losing power?
Yes indeed.
That’s Goldilocks for you. She lets us find the best position to get the most power. Try sitting back deeper into your backswing, I guarantee you’ll have more power, the kettlebell will fly, and you’ll feel your glutes more than you have in a long time.
***
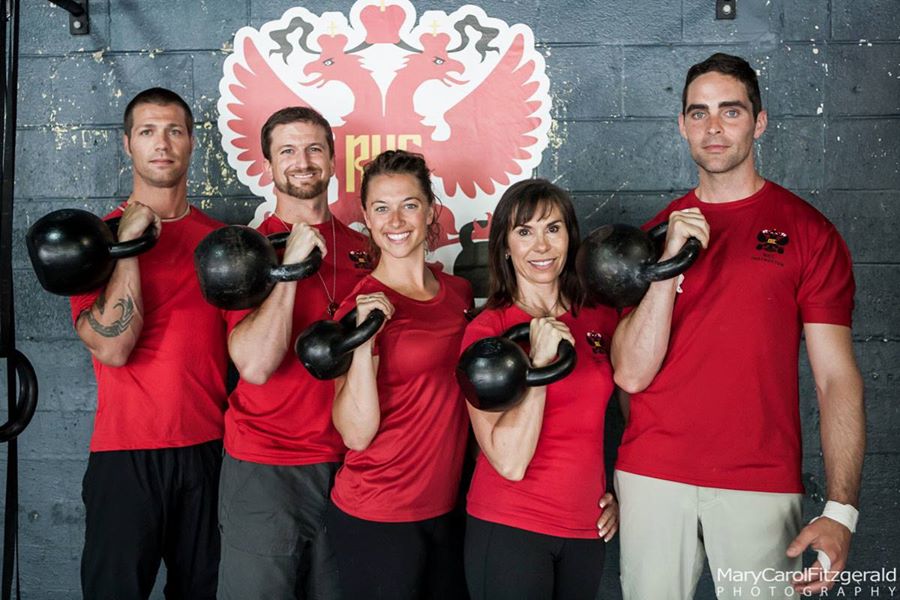
Andrea Du Cane is a Master RKC Kettlebell Instructor, CK-FMS, CICS, and RIST, ZHealth certified, she has a BA in Psychology from the University of Minnesota and is also a Pilates instructor. She is the author of several books and dvds including The Ageless Body, The Kettlebell Boomer, and The Kettlebell Goddess Workout. She has over twenty years of aerobics, weight training and fitness experience, with an additional background in… Read more here.