• Skip to main content
  • Skip to primary sidebar
  • Home
  • Contributors
    • Matt Beecroft, Master RKC
    • Martijn Bos, Master RKC
    • Andrea Du Cane, Master RKC
    • Angelo Gala, Master RKC
    • Chris Holder, Master RKC
    • Steve Holiner, Master RKC
    • Dan John, Master RKC
    • Mike Krivka, Master RKC
    • Thomas Phillips, Master RKC
    • Robert Rimoczi, Master RKC
    • Phil Ross, Master RKC
    • Max Shank, Master RKC
  • Workshops
    • HKC Workshops
    • RKC Workshops
    • RKC-II Workshops
  • Find an RKC Instructor
  • Resources
    • Articles
    • Forums
    • Kettlebells
    • Products
  • Blogs
    • PCC Blog
    • Strong Medicine Blog
  • Archives

RKC School of Strength

Official blog of the RKC

Archives for October 2013

It’s in the Hips: Part 3

October 30, 2013 By Mark Bixby Leave a Comment

Part three of this series on the hips continues the focus on dynamic hip action demonstrated in the second installment by implementing explosive hip drive into the Hanging Leg Raise sequence.  After reading this and watching the companion video, you’ll have more control in your HLR while also running faster and jumping higher.

One of the great aspects of the PCC was the camaraderie developed over the three days.  As we were sharing pull-up and flag stations, as well as spotting each other on handstands and bridging, we got to constantly coach and encourage each other.  This was most evident during the Century Test, where the 55 attendees rotated through four testing stations.  This meant that each of us had a cheering audience to encourage us through the Century.

Beth Andrews, Senior RKC and Iron Maiden (a title gained by doing a press, a pull-up and pistol with a 24 Kg. kettlebell) was the first person to pass the Century and gain her PCC certification. While the three guys next to her blew through their squats and pushups, Beth methodically did her own.   The guys got to the bars to start their 20 hanging leg raises before Beth, but she ended up finishing first.  While the Century isn’t a race, Beth’s hanging leg raises perfectly demonstrated the contrast between “linkage” and “leakage.”   Beth’s leg raises could have been done with walls right in front and behind her, and she wouldn’t have touched them.  She pulled her knees straight up, and pushed them straight down, deftly “linking” her movements into a total-body move.  Meanwhile, the guys started noticeably swinging a bit in the HLR and had to stop their reps and kill their momentum so they didn’t get no-counted.  They were “leaking.”  Determined to mimic Beth’s HLR during my Century, I stepped up to the bar, started the sequence and began rocking a bit by my 5th rep.  I “leaked.”  The question was where.

As I quickly discovered at the GAIN Conference (discussed in part two of this series), I was leaking from the ankles up through the hips.  Gary Winckler, Head Coach of the University of Illinois Women’s Track Team, led practical sessions at GAIN to demonstrate the importance of hip drive and ankle tension in the sprints.  Over the course of his illustrious career at Florida State and Illinois, Mr. Winckler has coached over 300 All-Americans and 13 Olympians in the sprints and hurdles.  He told us that the common coaching cues in the sprints—“stride it out” and “kick your butt”—had transformed sprint mechanics from being powerfully hip-driven to being weakly knee-driven.  Striding as far as possible, we extend our knees, driving our posture forward.  Then, to look pretty, we weakly flex our knees to kick our butts.  As Coach Winckler demonstrated, the point is to create power by pushing through the ground with powerful hip extension on one leg, while spring-loading the other leg in hip flexion and prepping it to drive down.  The up/down motion generated by the hips allows the runner to maintain the upright posture most effective for generating force into the ground.

While I made improvements on my stride working on the track, the lesson of hip drive didn’t really hit home until the next day’s session in the weight-room with Coach Jim Radcliffe of the University of Oregon (See part two of this series for more on Coach Radcliffe.).  As a powerful hip hinge is a huge part of running faster and jumping higher, Coach Radcliffe tries to teach it in as many contexts as he can.  He uses the hanging leg raise sequence to demonstrate how linking the hips/ankles into the movement can produce a more explosive leg raise without compromising posture.  For me, Coach Winckler’s advice on the track hit home on the bar.  A dynamic combination of hip flexion/extension and active ankles in the hanging leg raise cured me of my swaying motion.  He was right: I had been weakly flopping through the knees and not driving up and down through the hips.  After doing these dynamic hanging leg raises, I went back to the track, found the hip and ankle link, and produced the most powerful sprints I’ve ever run.

Please watch the accompanying video to learn this “plyometric” HLR progression.  You’ll better understand linkage in your HLR sequence and benefit in your sprints and jumps.

***

Mark Bixby is a Dragon Door RKC Team Leader, PCC Instructor and MovNat Instructor.  He discovered kettlebells in 2002 and found that they are the quickest, most effective way to train.  A combination of past injuries and persistent low physical self-image had caused Mark to have severe posture issues and chronic back pain. Kettlebells taught Mark how to use his hips so that he didn’t tuck his pelvis and slump with his posture. He grew taller, stronger and more confident. More than six years later, Mark has accomplished huge gains in strength, flexibility and stability and he finds that kettlebells still present significant physical and technical challenges. Because the skill set can always be refined, kettlebells continue to push Mark towards higher levels of body awareness and fitness. Mark can be reached through: http://www.dkbfitness.com/.
Filed Under: Uncategorized Tagged With: dragon door, exercises, GAIN, hips, joints, Mark Bixby, part 3, posture, stiff, stretches

Top 3 Strength Exercises That Carry Over Into Other Training Areas

October 23, 2013 By Shannon Scullin Leave a Comment

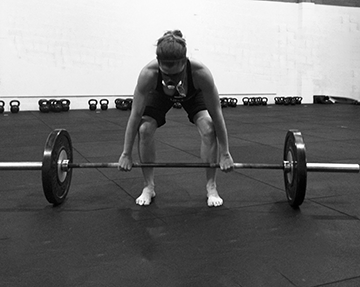
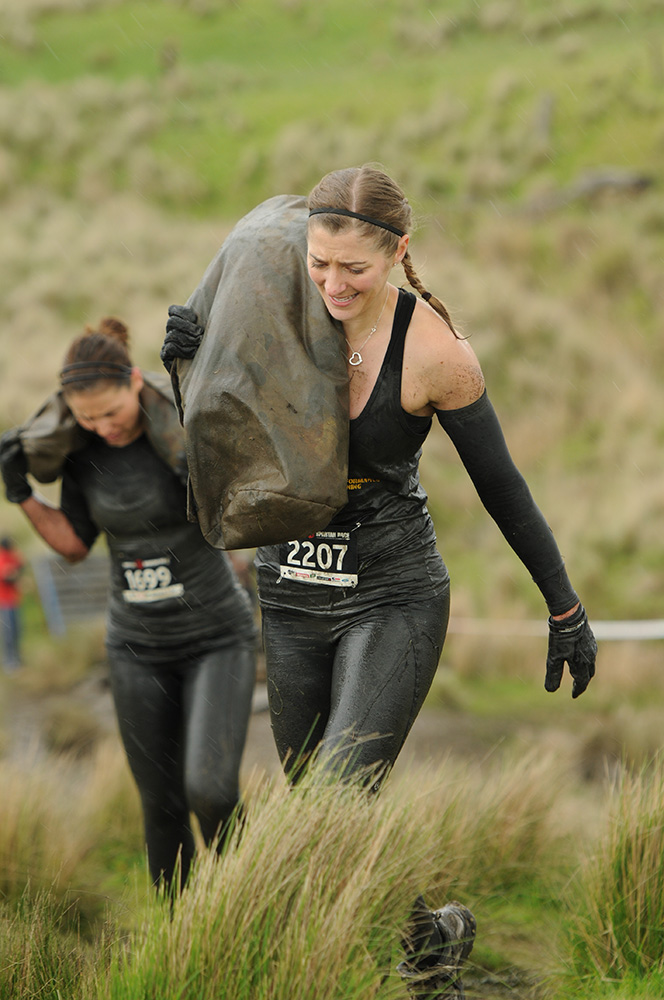
sandbag carryThroughout my life I have trained for a variety of different reasons, competing in events such as team sports and endurance racing, to further my knowledge as a trainer by attending certifications such as the RKC and PCC as well as training simply to improve my own personal strength, mobility and coordination.

Quite often I like to I bite off more than I can chew, booking into and training for multiple events at the same time. As a result it is important that I follow a smart strength training program that carries over into all other areas of my training, including not only strength training but also rehab and mobility work too.

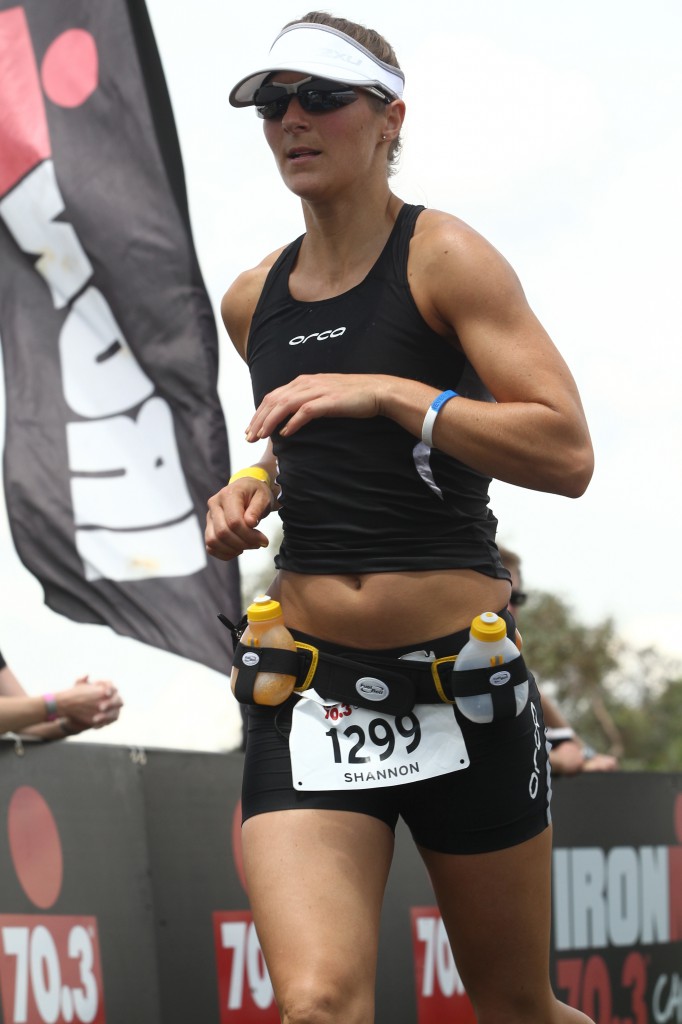
finish lineAs I look back through my years of training diaries there are three staple strength building exercises that I have always reverted to, not only for my own training but for my clients too.

The trifecta of training, as I like to call them, not only builds strength but they compliment and carry over into all other areas of training. They can be regressed or progressed, depending on your level of skill, slightly varied or coupled with other drills to ensure that I get the strength, mobility and rehab work required for me to continue training efficiently, yet are basic enough that it does not take up hours of my day to train them or severely fatigue me neurally. The trifecta are:

  • Deadlift
  • Press
  • Pull Up

Whether you are male or female, beginner or advanced, the deadlift, press and pull up, combine to form a well-rounded training template.

PastedGraphicpngA basic guideline for programming works the following – push/pull movements, legs and abdominals. The beauty of the deadlift, press and pull up is that it not only meets these guidelines but they are exercises in which the entire body is required to synchronise and utilise multiple muscle groups in order to perform these movements. This synchronisation is referred to as intermuscular coordination.

Intermuscular coordination is what we should be aiming for in training. The more synchronised your muscles are the more strength you can recruit to lift heavier weights, in order to get stronger, faster, and more explosive.

The press, pull up, and deadlift are commonly referred to as “grind” movements. This means that they are performed slowly, like a truck grinding its way up a hill in a low gear. The slow “grind” allows you time to focus on keeping your form throughout the movement while creating as much tension as possible, linking your upper and lower body together via the core, teaching it to synchronise and function efficiently as one unit.

So how do you program these exercises to get the most out of your training?

I structure my workouts in 2 different ways:

1) Warm up – mobility/stability drills; these drills should be exercises that work the mobility/stability
required for the exercises in the main set of your workout:

Armbar x 5/5

Hard rolls x 5/5

Towel toe touch x 10

TGU x 1/1

**repeat x 3

Main workout
– strength building or sport specific skills; this is where I train the deadlift OR press and pull up:

Deadlift x 5-3-2 (increase weight each time)

** repeat x 2-3 – at the start of each new round add 5kg to the starting weight. If you are using kettlebells and you started with

the 24kg start the next round with the 28kg.

Finisher – core/ballistics:

Because once your core is fatigued your session is finished.

Push press x 1-2-3-4-5

Pull up x 5-4-3-2-1

** repeat x 2-4. Complex – no rest until each ladder is complete. If you cannot do pull ups then do chin ups. If you have not yet progressed to chins then do hanging leg raises. If you cannot do hanging leg raises do knee raises….

The other method of programming I use is:

2) Mobility/stability + strength exercise – With this method I couple 2 x mobility/stability exercises with one strength exercise. This allows me to focus a little more on rehabbing specific areas of concern. It also allows me to actually feel the effect the corrective drills have on each exercise.

Armbar x 5/5

Bretzel x 5/5

Half kneeling press x 5/5

** repeat x 3

Towel toe touch x 10

Single leg deadlift x 5/5

Deadlift x 5

Hard rolls x 5/5

Hollow body hold x 30 sec (squash towel under lumbar spine to ensure hollow position is achieved)

Pull up x 3-5

Which program I use is dependent on the amount of time I have as well as the way my body is feeling at the time. If I am feeling good I go to work on structure #1. If I am lacking in time and/or am feeling a little fatigued structure #2 is my go to program.

For those of you who love to participate in a variety of sports and fitness events, get your variety from your events not your training. A solid training plan transfers to a variety of events. Remember, smart training provides a general physical foundation for all things, not just for one thing.

Happy training 🙂

Pull Ups***

Shannon Scullin is an RKC Team Leader and PCC Instructor based out of Dragon Door Australia.  As Australia’s first, and highest ranked female RKC Shannon brings a keen eye for technique to training and is renowned for being very focused on form ensuring that clients with previous injuries are able to train safely. As the head of Personal Training at Read Performance Training she uses the CK FMS to test and evaluate all clients before training, ensuring that not only will they look better from training, but they will also move better too. With a background in triathlon, adventure racing, rock climbing, cycling, hockey and running Shannon fell in love with kettlebells and the FMS system when she saw the immediate result that improving mobility, stability and strength has on sporting performance. She can be reached through: www.readpt.com

Filed Under: Uncategorized, Workout of the Week Tagged With: athletes, australia, extreme, instructors, kettlebells, pcc, recommended, RKC, strength areas, top 3, trainers, women

Why the Get Up?

October 9, 2013 By Beth Andrews 13 Comments

Beth_andrews

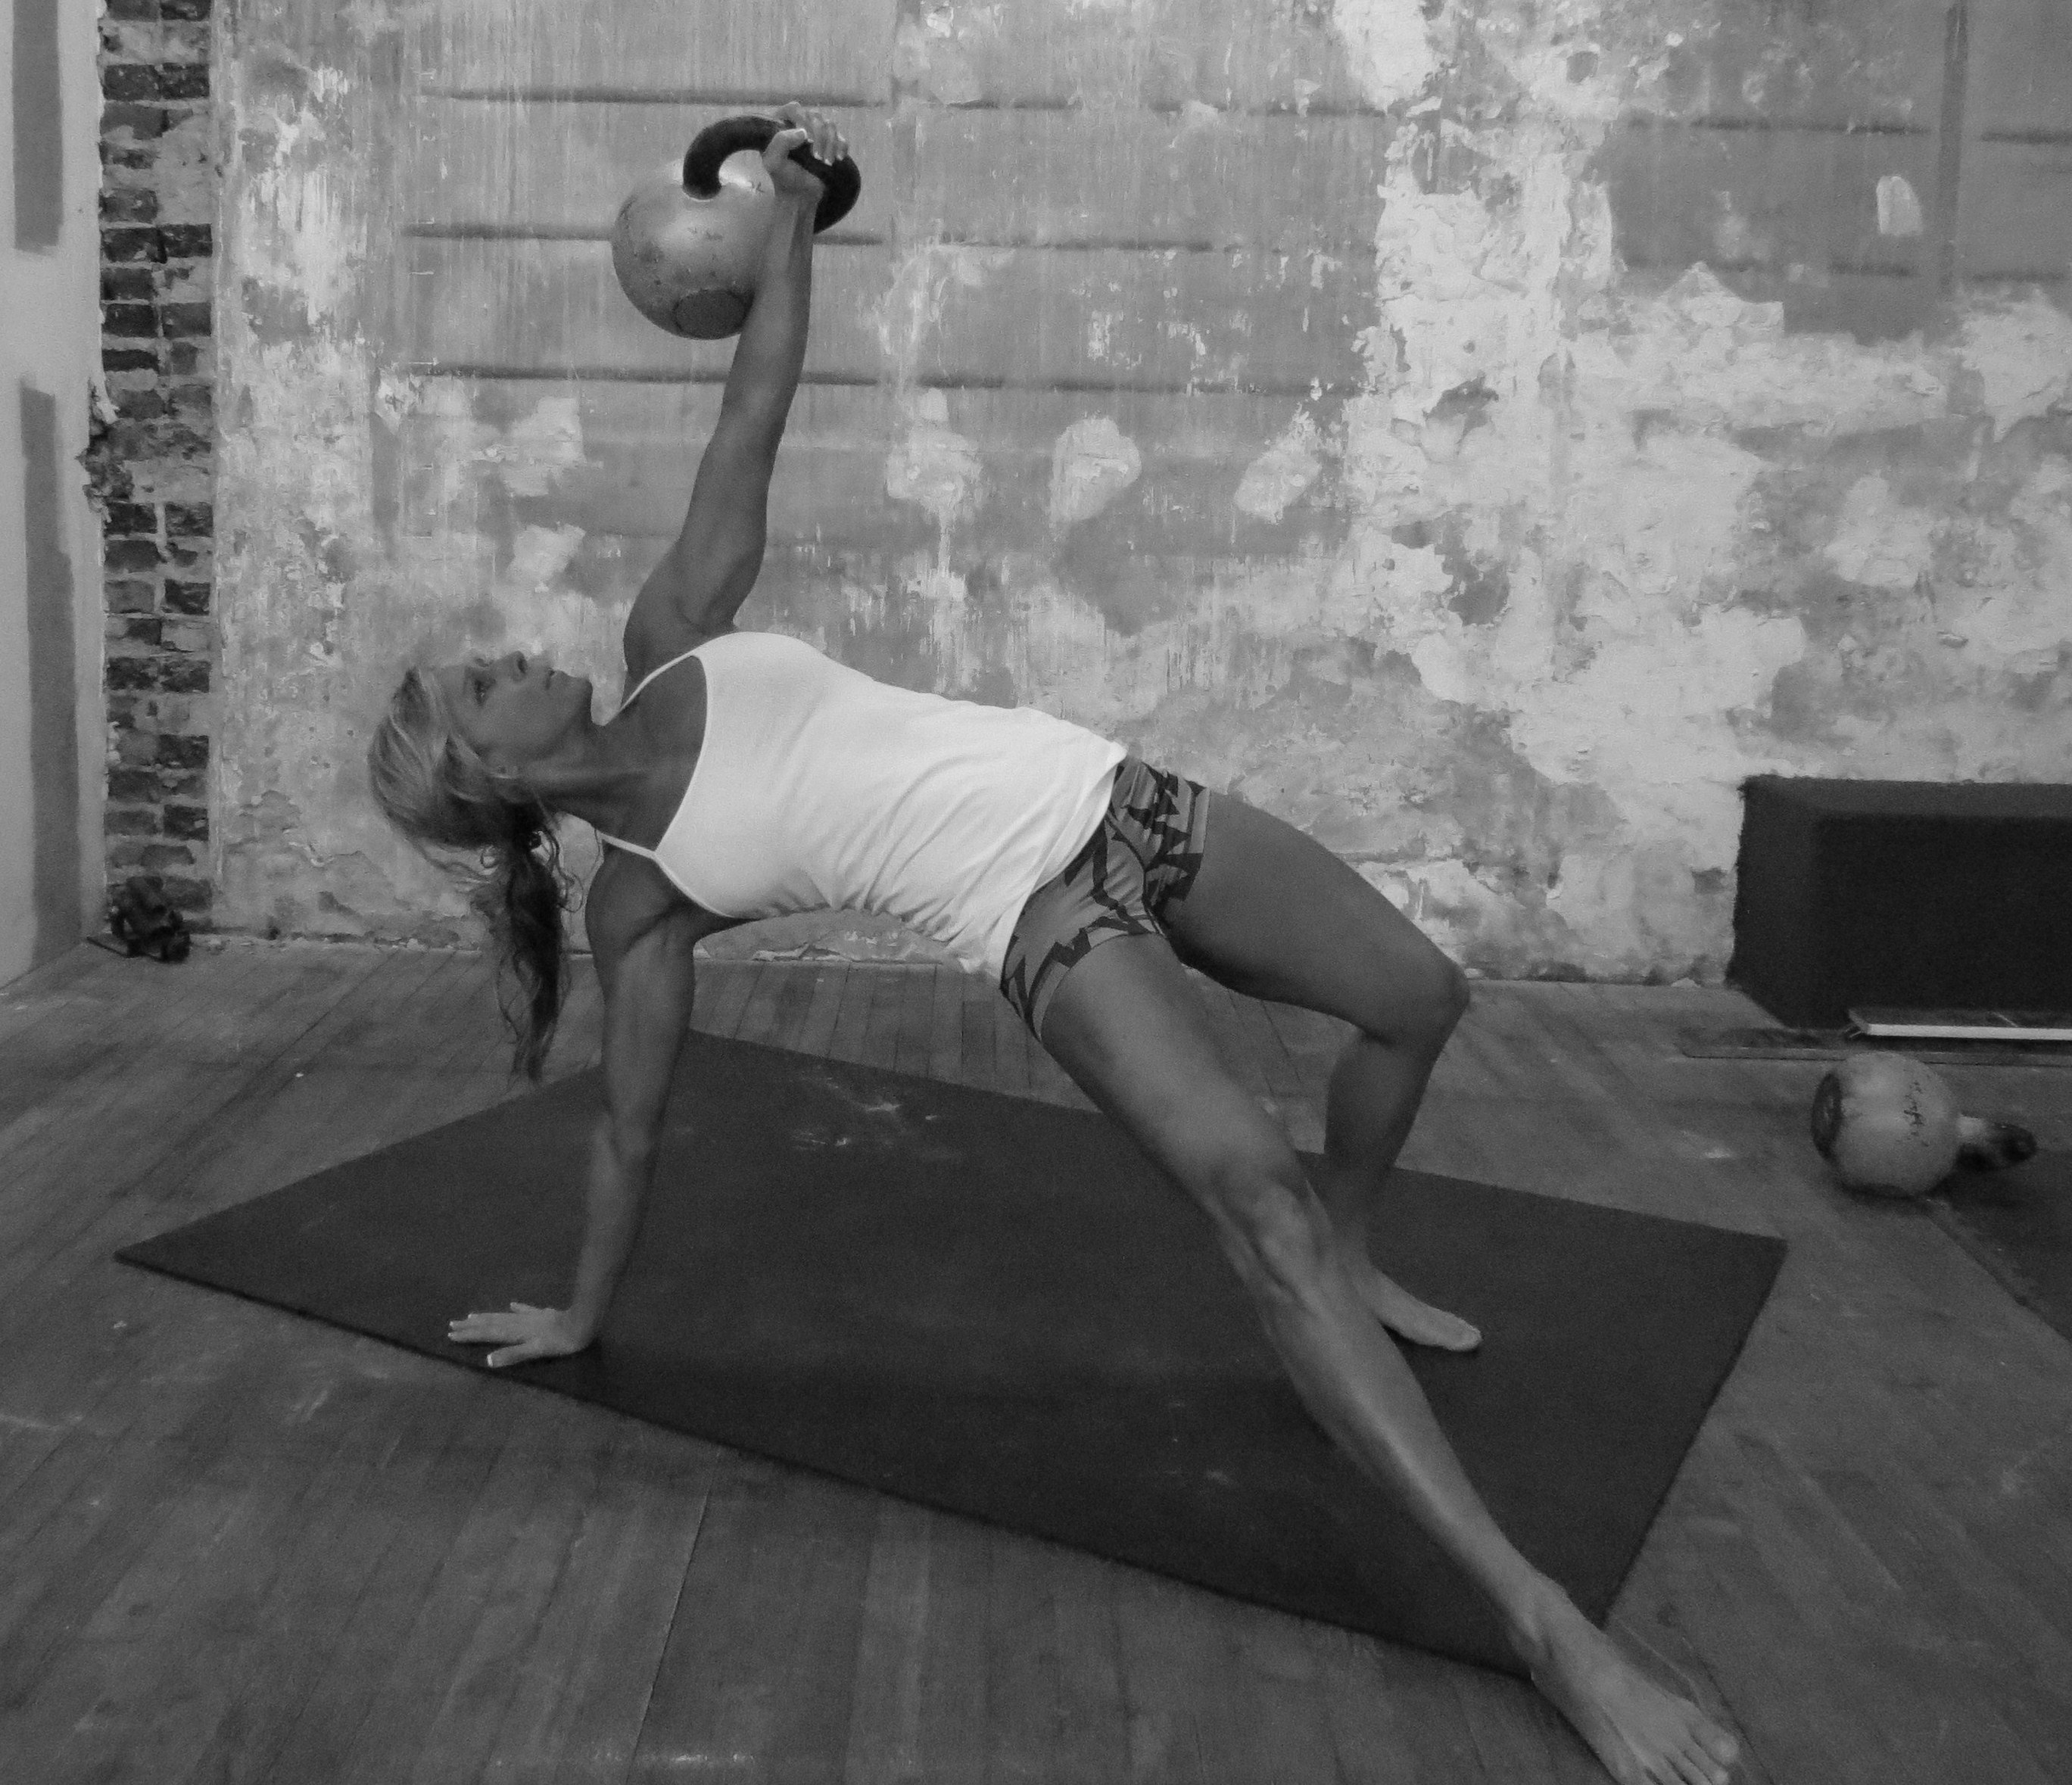
I love the Get Up, it’s one of my favorite exercises. I think it’s the ultimate show of strength to lie on your back holding a weight at arms length toward the ceiling and then  methodically move through various movements to a standing position, still holding the weight at arms length above your head. And then reverse the maneuver.

The GU builds tremendous shoulder strength, stability, and mobility. The isometric contraction from packing the Humerus into the socket will build strength that will carry over into other lifts. Plus, this exercise is possibly the best choice in developing pure athleticism, due to the movement transitions from one position to the next under load and tension. Because this exercise engages the entire body, it builds flexible strength. It is crucial that all Athletes that play sports possess this type strength. Athletes that can move in and out of quick explosive unpredictable positions during a play with flexible strength can possibly reduce the chances of injury. Not an Athlete? The same benefits will carry over to the general public that must handle the activities of daily life.

The GU builds linkage strength and works the stabilizers to correct many asymmetries to improve movement patterns. To quote Gray Cook, “The Get Up is the perfect example of training primitive movement patterns, rolling, kneeling, standing, and reaching.” Studies have shown heavy Get Ups activates all four of the “core” muscles. The Get Up builds resiliency and also embraces “Kalos-Sthenos”, beautiful strength.

Here are some of my favorite GU combinations. I practice these combos for 5-10 minutes straight through without putting the bell down.

  • The first is a GU to standing, then a windmill, then back down and switch sides.
  • The second one starts with a Snatch, then reverse the GU down, then back up, then switch to the other side with a snatch and repeat.
  • The last one is a GU to standing, then lower the bell to a front squat and press, then reverse the GU and repeat on the other side.

You can do any one of these three combos as a warm up, used with a medium sized bell to work on movement patterns, or go for heavy singles.

Here’s a few workout burner’s I play around with.

50 Swings- 5/5 GU.
40 Swings- 4/4 GU.
30 Swings- 3/3 GU.
20 Swings- 2/2 GU.
10 Swings- 1/1 GU.

Start with a light bell and increase to a heavier bell each set. Or you can keep the same bell all the way through. Next time, try the reverse sets from 10- 1/1 up to the 50- 5/5. Then lastly, mix it up, start with 20-2/2, then 40-4/4, 10-1/1, 50-5/5, 30-3/3.

Did I mention the goal is to NOT put the bell down all the way through except to switch sides? Try it once/week for 6 weeks and test your GU weight at the end.

Here’s a tip that I used to get a 36kg GU-Windmill combo.

Heavy overhead holds 1x/week. I increased the time until I got the 36kg for 1 minute.

1 min- 28kg R/L
45sec- 32kg R/L
30sec- 36kg R/L

Some say, “What can you bench?” I say, “What’s your heaviest get up?” Give these a try and let me know what you think.

***

Beth is the owner of Maximum Body Training. She became an RKC Sr. Instructor in Feb 2013 and the 5th Iron Maiden in June 2013. You can visit her website at www.maximumbodytraining.com

Filed Under: Uncategorized Tagged With: beth andrews, get up, kettlebells, trainers, training, women

Perfecting Squat Mechanics with the Prying Goblet Squat

October 2, 2013 By Angelo Gala 1 Comment

angelo_gala_squat

If you have been exposed to the strength training systems of the RKC, then one could assume that you are no stranger to the benefits of squatting. The exercise enthusiast may look at the squat as an important movement utilized on a daily basis, but more commonly as an exercise made famous by its ability to cultivate copious levels of strength for the practitioner willing to put in the grueling work.

What happens when we no longer are able to access the full range of motion of such a fundamental pattern? It’s easy to give up on the lift—excusing age, bad knees or tight hips—and prioritize more of our time training the deadlift, but it has been noted by both Ido Portal and Gray Cook that the bottom position of the squat was formerly considered a position of rest and stability.

Shouldn’t we all make the effort to restore and maintain a movement that is so basic and primitive? The good news is that a little twist on a familiar drill can re-open the door to possibility and help take back the promised lands!

One of the most fundamental movements taught under the curriculum of the HKC is the Goblet Squat. To me this exercise is highly overlooked and its effects are easily understated. Though this is not a lift that will build slabs of flesh that hang off of your knee caps, it is a requisite lift that will teach your body how to properly balance, engage and stabilize throughout the start and completion of the movement creating greater potential for awesomeness down the road.

As is the case with many things that are good for us, there is a way to add to the Goblet Squat making it just that much more amazing!

First let’s look at the HKC standard for the Goblet Squat:

1. The back must remain neutral through the entire rep.
2. Your knees track your toes.
3. Your heels and toes should be planted.
4. Make sure to inhale down and exhale on the way up.
5. Your hips and shoulders must ascend at the same time.
6. Your hips and knees should extend fully at the top of the exercise.

Now let’s put this into application and teach you how to “feel” the movement.

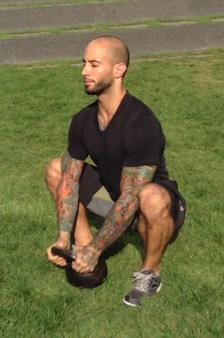
Position yourself slightly behind a light kettlebell with heels shoulder width apart and toes slightly turned out. To find your start position, pull yourself down into the bottom position of a squat where the top surface of your upper thigh by the hip crease is lower than the top of the knee. If mobility is a known issue then sit low enough where the hips begin to slightly tuck under, but not low enough to lose a natural lumbar curve. Focus on keeping a neutral spine with an emphasis on lumbar lengthening. You should be able to feel your hamstrings and outer hips fire and begin to heat up. Avoid collapsing at the hips and resting on our heels with a rounded back at all costs.

Now that we have established the proper start position, reach your hands forward to grab the horns (outside handles), of the kettlebell pinning your elbows to the insides of your knees. Be sure that the boney part of your elbow touches the soft part of your knee, not to be confused with the softer inner thigh muscles. Still emphasizing your long spine, perform a double bicep curl bringing the center of the KB handle to your collarbone while simultaneously using your elbows to drive your knees apart. This “prying” effect will help loosen up tight adductor (groin) muscles that inhibit the outer hips from activating.

Now to teach your legs how to stabilize the squat by actively driving your knees away from your elbows, to create roughly 1-2 inches of separation between elbows and knees. Pause here to feel your deep outer hips activate, and then finally stand up to a complete lockout, raising your hips and shoulders together.

In order to finish the lift, actively tighten your hip flexors and hamstrings to pull your hips back to the bottom position of the squat. Just like the ascent, be sure to drive your knees apart while you reach the top of your hamstrings to the back of your heels.

Once you return to the bottom of the squat, place your elbows back against the soft part of your inner knee and re-extend your arms reaching the kettlebell down to a hover off of the floor. This will pry your knees apart again and set you up for the next rep. Be sure to keep the hips active and counter any forward lean by lifting your chest.

This drill is extremely beneficial when practiced before a squat session to help dial in the movement pattern and engage the posterior chain. Utilizing a small rep range of 1-2 sets of 6-8 reps will be enough to warm up the outer hips and legs in preparation to tackle a more rewarding set of double kettlebell front squats or high bar back squats.

Give this drill a go and keep me posted on how it affects your deep squat mobility and stability under heavier loads.

 ***

About Angelo Gala, RKC and PCC Team Leader: Angelo Gala has been a fitness professional in the Boston area for greater than 11 years. He is a Certified Strength and Conditioning Specialist through the NCSA, has studied the Pranavayu system of yoga under David Magone and he is a Dharma friend at the Sakya Center of Buddhist Studies in Cambridge, MA where he completed a 1 year intensive study of Mangalam Yantra Yoga Under the guidance of Lama Migmar Tseten.  He can be reached through email.
 
 He considers himself an all-around fitness nerd and endurance junkie who refuses to fall under the category of a one-trick pony.  Gala continually works to better himself and inspire others by leading a lifestyle conducive to physical, emotional, and spiritual development. He believes that no one should focus too much time and energy on a single dimension of fitness. The body craves all different types of movement that is not limited to just running, jumping, swimming, biking or lifting things up and putting them down again and again. He teaches clients to train with intention progressively, intelligently and with as many different modalities as the heart desires. Do this and the body and mind will be forever grateful.

Filed Under: Uncategorized Tagged With: Angelo Gala, goblet squat, hkc, leg strength, Perfecting Squat Mechanics with the Prying Goblet Squat, prying goblet squat, RKC, squat mechanics

Primary Sidebar

Featured Products

previous arrow
BOOK-RKCBookofSnC
HardStyleKettlebellChallegeDanJohn700
BookCoverMasterTheKettlebell1
RKCiconKettlebell512
KettlebellGoddessdv040
next arrow

Recent Posts

  • RKC Big Six Workout
  • The Kettlebell Swing & Low Back Pain
  • Key Kettlebell Exercises To Help You Create Better Balance
  • How to Most Effectively Use Kettlebells to Meet Your New Year Goals
  • 1 Exercise That Checks All The Boxes
FOLLOW US ON TWITTER!

Archives

Copyright © 2025

Dragon Door Publications / The author(s) and publisher of this material are not responsible in any manner whatsoever for any injury that may occur through following the instructions or opinions contained in this material. The activities, physical and otherwise, described herein for informational purposes only, may be too strenuous or dangerous for some people, and the reader(s) should consult a physician before engaging in them.