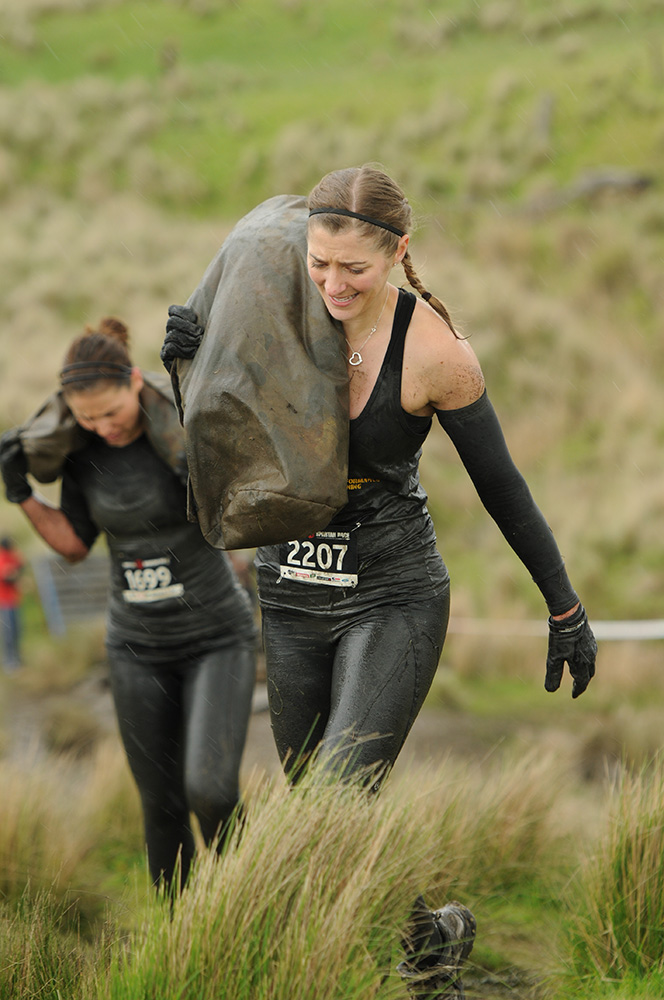
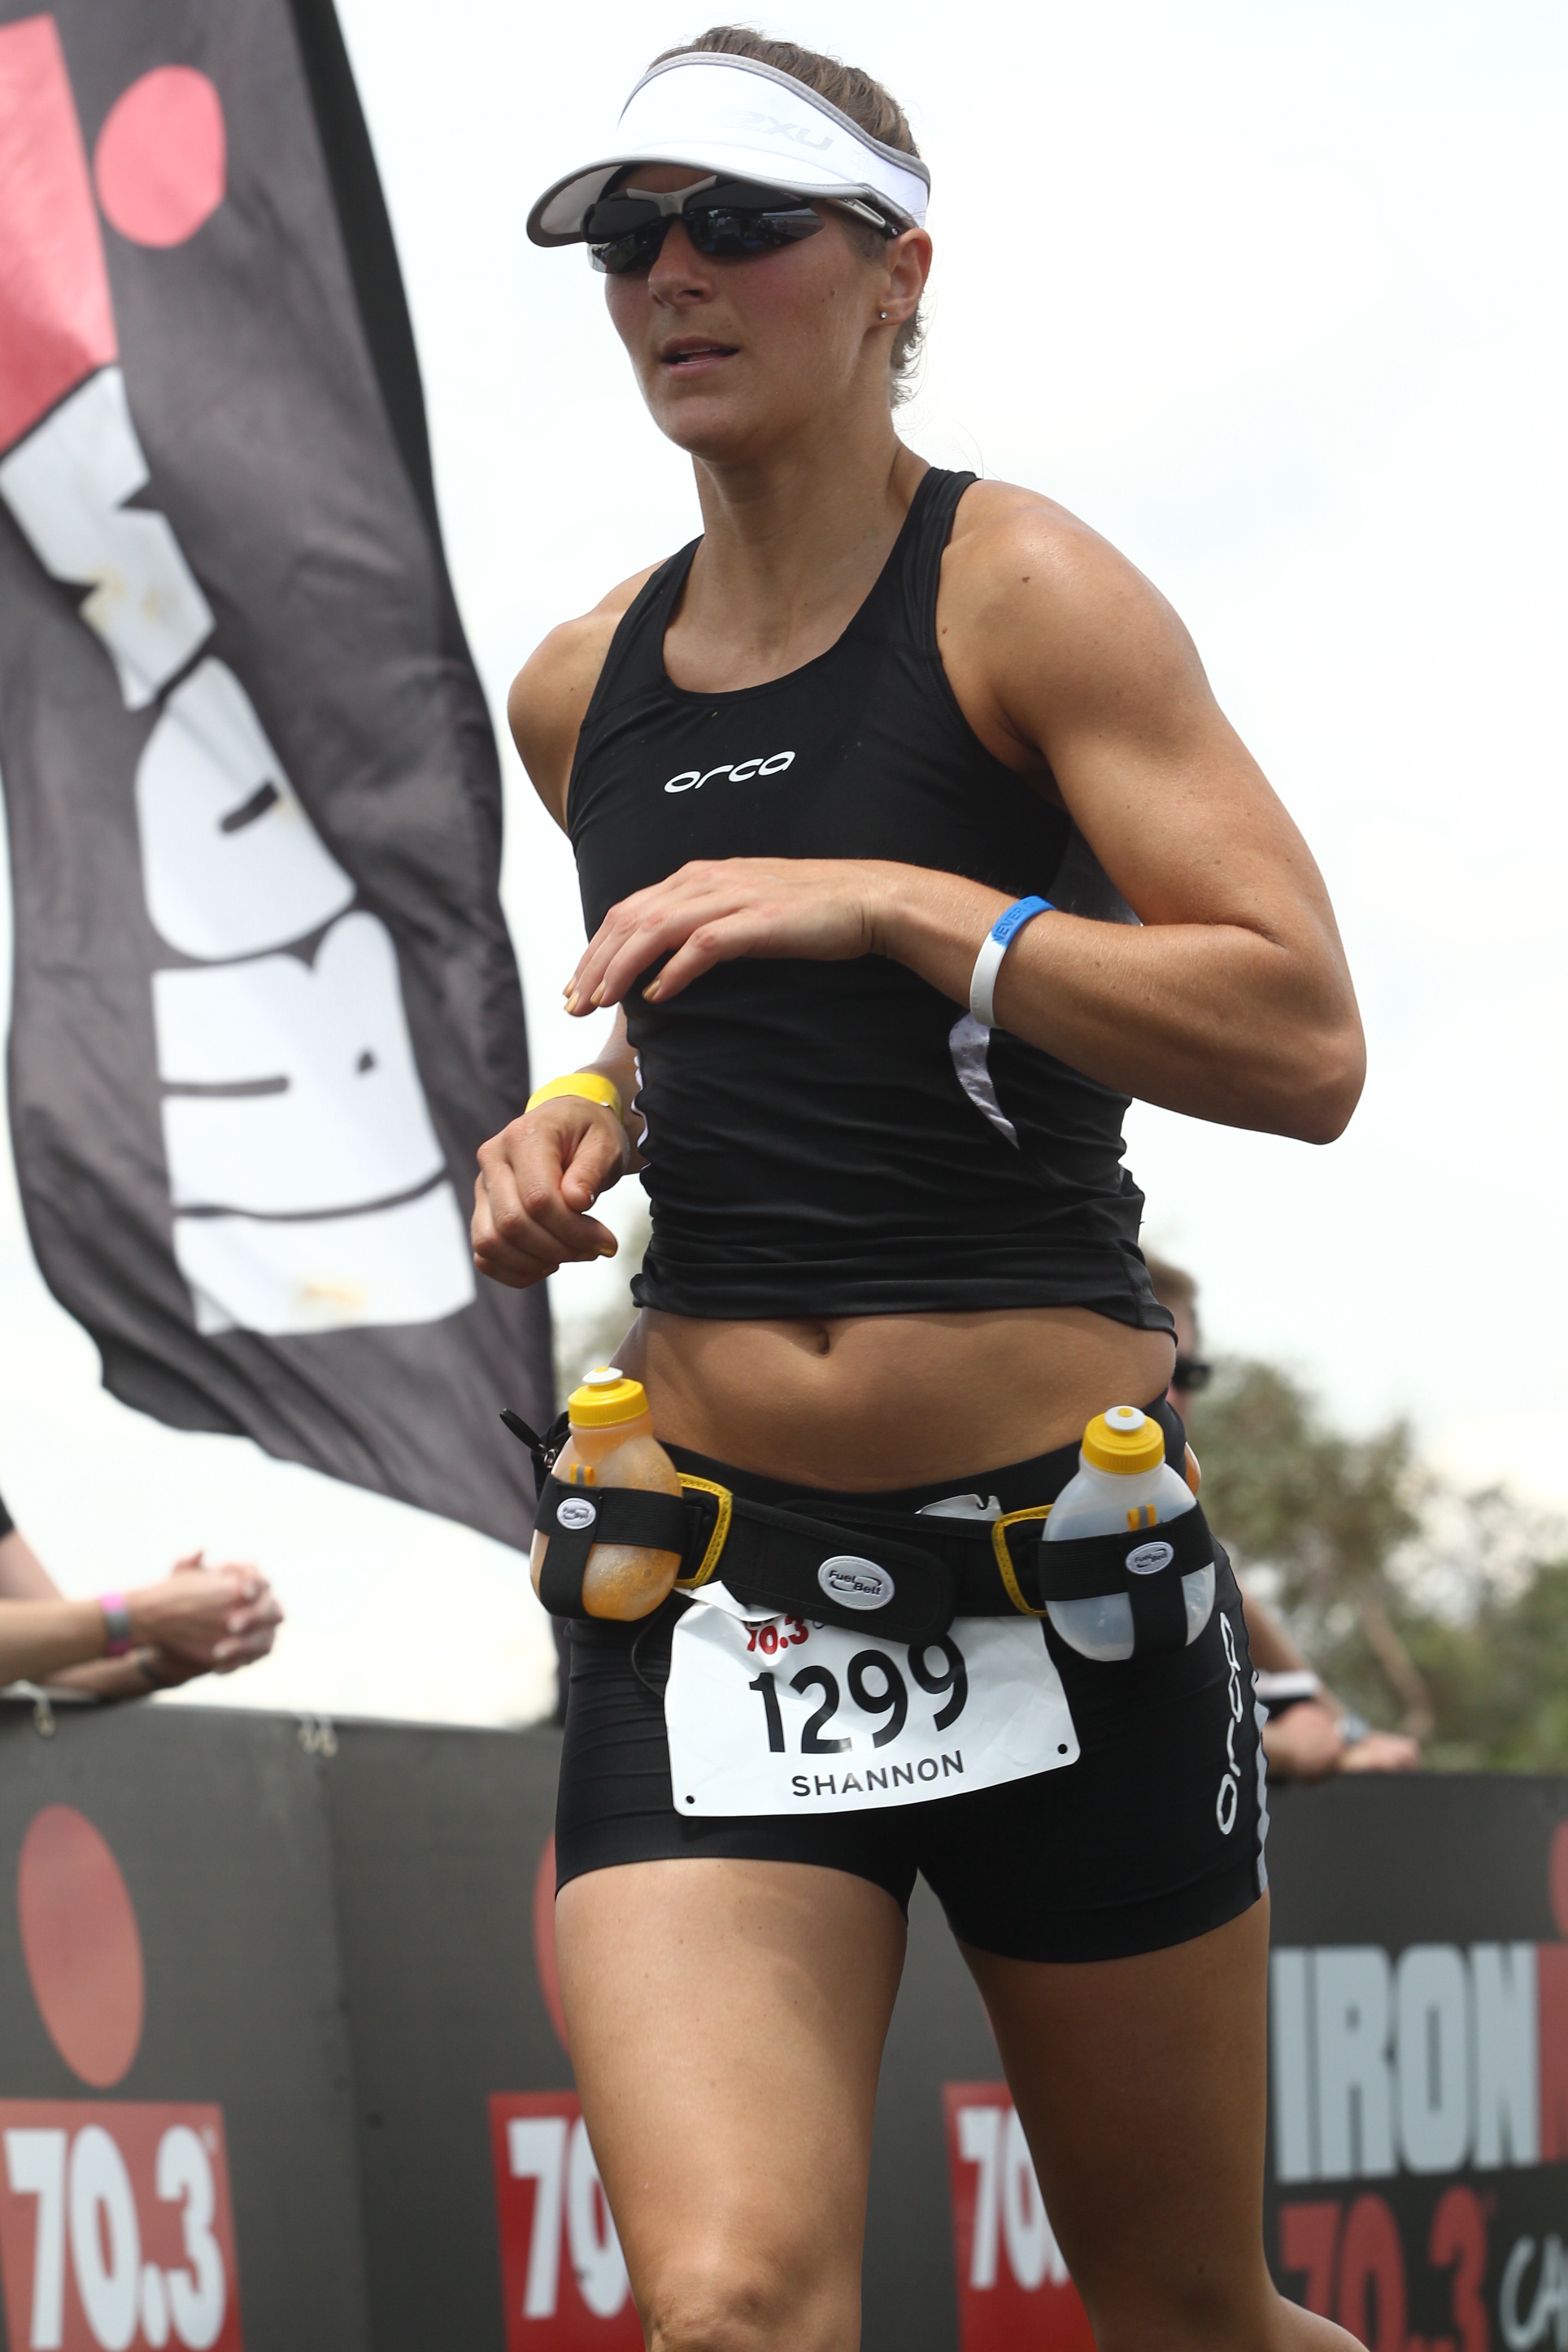
 Throughout my life I have trained for a variety of different reasons, competing in events such as team sports and endurance racing, to further my knowledge as a trainer by attending certifications such as the RKC and PCC as well as training simply to improve my own personal strength, mobility and coordination.
Quite often I like to I bite off more than I can chew, booking into and training for multiple events at the same time. As a result it is important that I follow a smart strength training program that carries over into all other areas of my training, including not only strength training but also rehab and mobility work too.
 As I look back through my years of training diaries there are three staple strength building exercises that I have always reverted to, not only for my own training but for my clients too.
The trifecta of training, as I like to call them, not only builds strength but they compliment and carry over into all other areas of training. They can be regressed or progressed, depending on your level of skill, slightly varied or coupled with other drills to ensure that I get the strength, mobility and rehab work required for me to continue training efficiently, yet are basic enough that it does not take up hours of my day to train them or severely fatigue me neurally. The trifecta are:
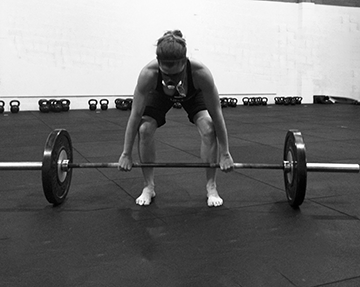
- Deadlift
- Press
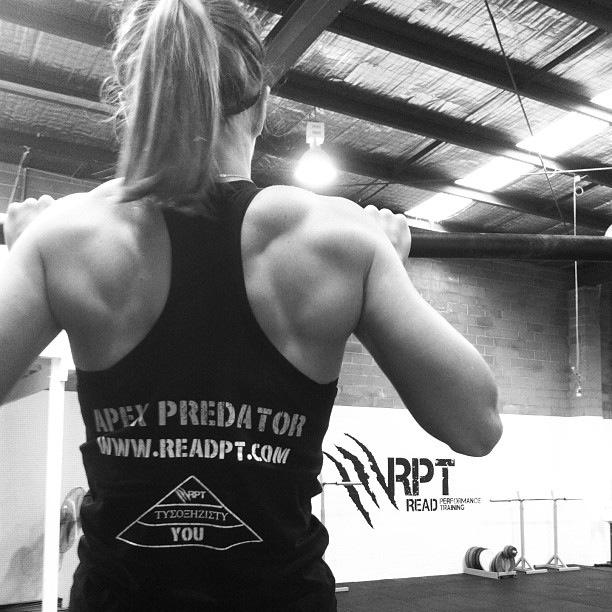
- Pull Up
Whether you are male or female, beginner or advanced, the deadlift, press and pull up, combine to form a well-rounded training template.
 A basic guideline for programming works the following – push/pull movements, legs and abdominals. The beauty of the deadlift, press and pull up is that it not only meets these guidelines but they are exercises in which the entire body is required to synchronise and utilise multiple muscle groups in order to perform these movements. This synchronisation is referred to as intermuscular coordination.
Intermuscular coordination is what we should be aiming for in training. The more synchronised your muscles are the more strength you can recruit to lift heavier weights, in order to get stronger, faster, and more explosive.
The press, pull up, and deadlift are commonly referred to as “grind” movements. This means that they are performed slowly, like a truck grinding its way up a hill in a low gear. The slow “grind” allows you time to focus on keeping your form throughout the movement while creating as much tension as possible, linking your upper and lower body together via the core, teaching it to synchronise and function efficiently as one unit.
So how do you program these exercises to get the most out of your training?
I structure my workouts in 2 different ways:
1) Warm up – mobility/stability drills; these drills should be exercises that work the mobility/stability
required for the exercises in the main set of your workout:
Armbar x 5/5
Hard rolls x 5/5
Towel toe touch x 10
TGU x 1/1
**repeat x 3
Main workout
– strength building or sport specific skills; this is where I train the deadlift OR press and pull up:
Deadlift x 5-3-2 (increase weight each time)
** repeat x 2-3 – at the start of each new round add 5kg to the starting weight. If you are using kettlebells and you started with
the 24kg start the next round with the 28kg.
Finisher – core/ballistics:
Because once your core is fatigued your session is finished.
Push press x 1-2-3-4-5
Pull up x 5-4-3-2-1
** repeat x 2-4. Complex – no rest until each ladder is complete. If you cannot do pull ups then do chin ups. If you have not yet progressed to chins then do hanging leg raises. If you cannot do hanging leg raises do knee raises….
The other method of programming I use is:
2) Mobility/stability + strength exercise – With this method I couple 2 x mobility/stability exercises with one strength exercise. This allows me to focus a little more on rehabbing specific areas of concern. It also allows me to actually feel the effect the corrective drills have on each exercise.
Armbar x 5/5
Bretzel x 5/5
Half kneeling press x 5/5
** repeat x 3
Towel toe touch x 10
Single leg deadlift x 5/5
Deadlift x 5
Hard rolls x 5/5
Hollow body hold x 30 sec (squash towel under lumbar spine to ensure hollow position is achieved)
Pull up x 3-5
Which program I use is dependent on the amount of time I have as well as the way my body is feeling at the time. If I am feeling good I go to work on structure #1. If I am lacking in time and/or am feeling a little fatigued structure #2 is my go to program.
For those of you who love to participate in a variety of sports and fitness events, get your variety from your events not your training. A solid training plan transfers to a variety of events. Remember, smart training provides a general physical foundation for all things, not just for one thing.
Happy training 🙂
 ***
***
Shannon Scullin is an RKC Team Leader and PCC Instructor based out of Dragon Door Australia. As Australia’s first, and highest ranked female RKC Shannon brings a keen eye for technique to training and is renowned for being very focused on form ensuring that clients with previous injuries are able to train safely. As the head of Personal Training at Read Performance Training she uses the CK FMS to test and evaluate all clients before training, ensuring that not only will they look better from training, but they will also move better too. With a background in triathlon, adventure racing, rock climbing, cycling, hockey and running Shannon fell in love with kettlebells and the FMS system when she saw the immediate result that improving mobility, stability and strength has on sporting performance. She can be reached through: www.readpt.com