• Skip to main content
  • Skip to primary sidebar
  • Home
  • Contributors
    • Matt Beecroft, Master RKC
    • Martijn Bos, Master RKC
    • Andrea Du Cane, Master RKC
    • Angelo Gala, Master RKC
    • Chris Holder, Master RKC
    • Steve Holiner, Master RKC
    • Dan John, Master RKC
    • Mike Krivka, Master RKC
    • Thomas Phillips, Master RKC
    • Robert Rimoczi, Master RKC
    • Phil Ross, Master RKC
    • Max Shank, Master RKC
  • Workshops
    • HKC Workshops
    • RKC Workshops
    • RKC-II Workshops
  • Find an RKC Instructor
  • Resources
    • Articles
    • Forums
    • Kettlebells
    • Products
  • Blogs
    • PCC Blog
    • Strong Medicine Blog
  • Archives

RKC School of Strength

Official blog of the RKC

Archives for April 2022

How I Finished Rehabbing My Shoulder Using Kettlebells

April 13, 2022 By Ryan Jankowitz 3 Comments

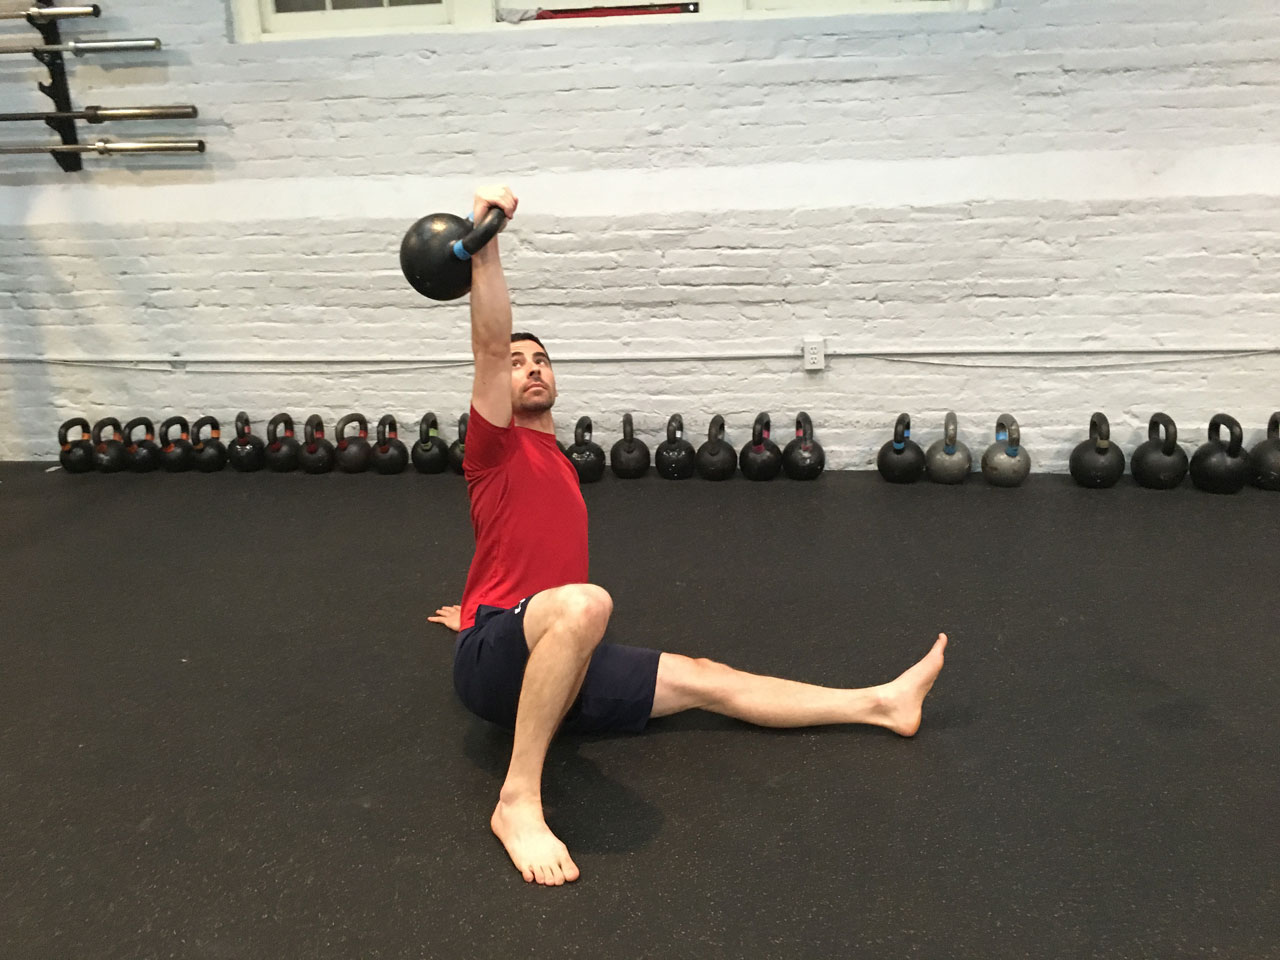
Ryan Jankowitz, RKC-II performs a kettlebell getup

Disclaimer: This is Ryan Jankowitz’s personal shoulder recovery program. What worked for him may not be safe or appropriate for anyone else. If you are experiencing any shoulder pain, see a medical professional for a clear diagnosis and PT program for your injury.

In the Fall of 2021, I started experiencing pain in my left shoulder during presses and Turkish get-ups. I took a month off from practicing those exercises, hoping that rest would be enough to heal my shoulder. But, while the pain decreased, I still couldn’t perform those movements.

Finally, I decided to schedule time with a physical therapist. I was diagnosed with shoulder impingement. The physical therapist scheduled me to come to the office twice a week, plus exercises to do every day at home.

I paid very close attention to the work I was doing with the physical therapist. Soon after, I began to formulate my own program to follow after my course of physical therapy.

Here Are My Five Main Takeaways:

1. Work on Shoulder Blade Retraction

Part of the reason I developed shoulder impingement was because my shoulder blade was not tracking along my ribcage properly. My shoulder blade was “winging”, and I had to strengthen the muscles around my shoulder blade. I could accomplish this by practicing kettlebell rows, farmer’s walks, suitcase carries, and rack carries.

2. Strengthen the Core

I was shocked at how much trouble I had with side planks on my left shoulder. Adding side planks to my training had an immediate positive impact on my shoulder and became a must-have in my program.

3. Improve Shoulder Stability

At physical therapy, we did a lot of shoulder stability work in the tall plank position, and I could tell that this exercise was beneficial. We also practiced lateral moving tall planks and shoulder taps. I decided these side plank variations would be an integral part of my program and would work well in my mobility warm-up.

4. Work on Thoracic Spine Mobility

My physical therapist noted that my ability to rotate from my thoracic spine was quite different on my right side to the left. This may have played a role in how I developed the shoulder impingement. Luckily, the RKC program teaches several exercises and mobility drills which can improve t-spine mobility: Turkish get-ups, windmills, bent presses, and the RKC arm bar. I felt that single kettlebell overhead squats could also improve my shoulder stability.
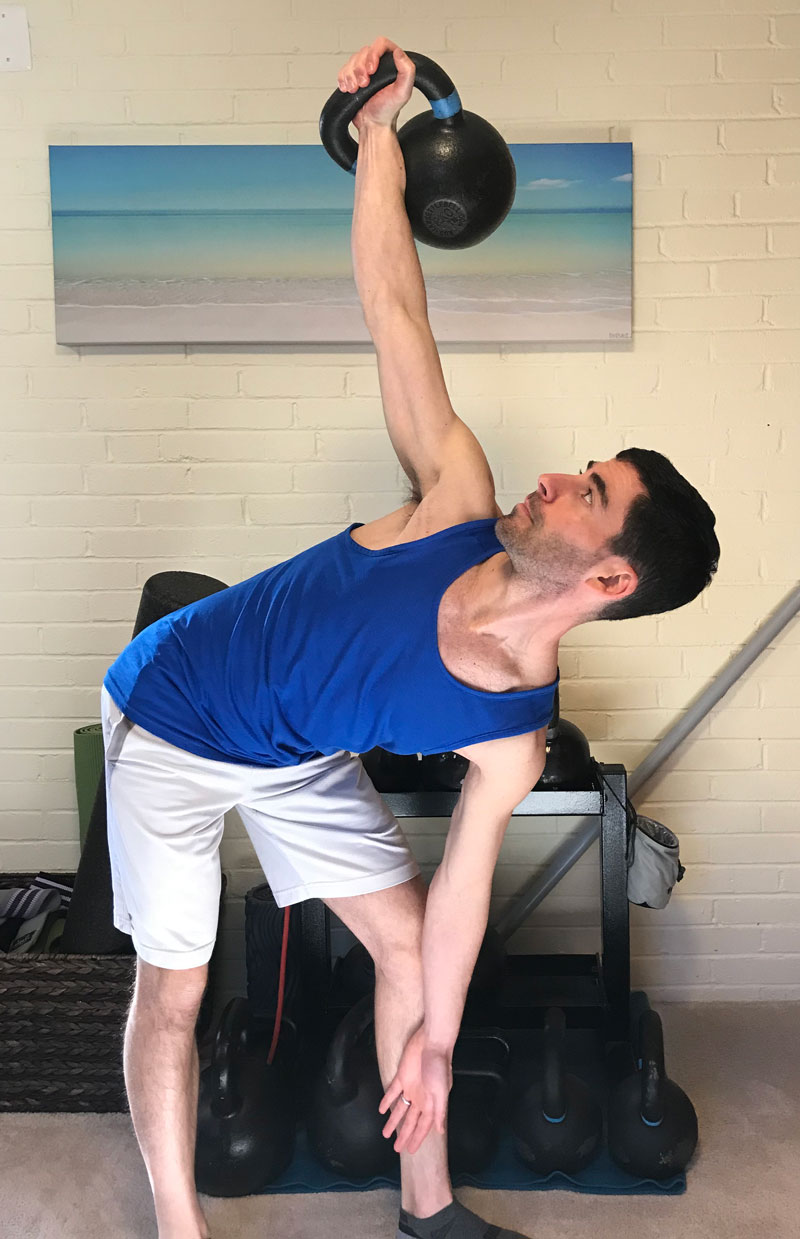
Ryan Jankowitz, RKC-II performing a kettlebell windmill

5. Increase Grip Strength with Bottom-Up Kettlebell Exercises

I remember reading that grip strength and shoulder health were related. I noticed that I had trouble doing even light bottom-up kettlebell exercises on my left arm and was determined to fix this! Oddly enough, even though they were difficult, I could do bottom-up presses without pain. So, I decided to include bottom-up presses along with rack carries in my program.


After six weeks of physical therapy, I was pain free and able to practice presses and get-ups with light kettlebells. I was determined to continue my progress by developing my own post-rehab strength program based on what I did in physical therapy and my RKC knowledge.

Here’s the 8-week strength program I created to address my needs and goals:

Day 1:

Mobility warm-up:
Combination of physical therapy and primal movements to activate my core and shoulder. And to raise my heart rate.

Strength Block 1:
Overhead Squat
Kettlebell Row
Plank variation
x 3 sets

Strength Block 2:
Single Leg Deadlift
Bottom-Up Press
Loaded Carry
x 3 sets

Conditioning:
1 Arm Swings

Day 2:

Mobility warm-up:
Combination of physical therapy and primal movements to activate my core and shoulder and get my heart rate up.

Strength Block 1:
Overhead Lunge
Kettlebell Row
Plank variation
x 3 sets

Strength Block 2:
Suitcase Deadlift
Turkish Getup
Loaded Carry
x 3 sets

Conditioning:
1 Arm Swings

Day 3:

Mobility warm-up:
Combination of physical therapy and primal movements to activate my core and shoulder and get my heart rate up.

Strength Block 1:
Overhead Squat
Kettlebell Row
Plank variation
x 3 sets

Strength Block 2:
Single Leg Deadlift
Bottom-Up Press or Getup
Loaded Carry
x 3 sets

Conditioning:
1 Arm Swings

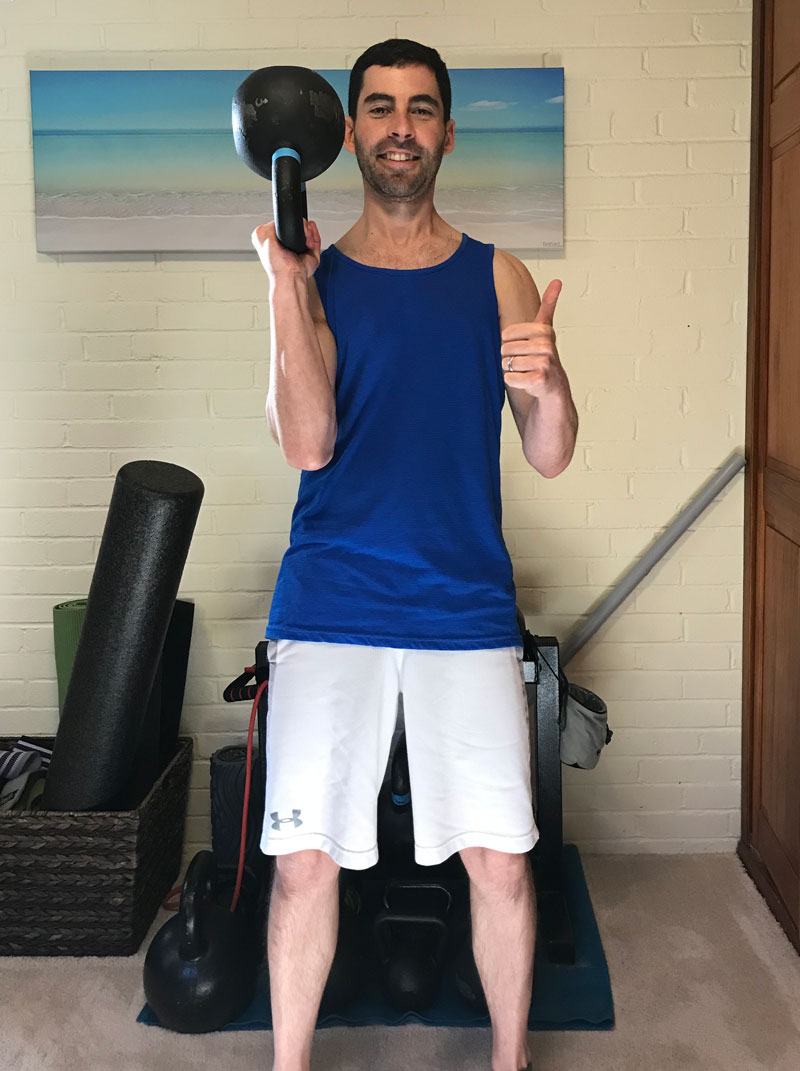
Ryan Jankowitz performing a bottom-up kettlebell press

Goals and Progressions

I also created a few milestone goals for myself, so I could recognize when it was time to move up to the next size kettlebell or movement progression.

Overhead Squat Progression: I started with a dowel and built up to 10 reps before moving to a single kettlebell. Once I could do 5 reps/side, I moved up to next kettlebell. Once I could do 5 reps with a 16kg kettlebell, I switched to practicing windmills.

Kettlebell Row: I worked up to 10 reps/set before moving up to the next kettlebell.

Single Leg Deadlift: I worked up to doing 5 reps/leg with 32kg, once I could do that I started practicing with double kettlebells.

Bottom-Up Press: I started with a 10kg kettlebell and gradually built up to 5 reps.  Once I could do 5 reps, I moved up to next kettlebell.

Turkish Get-up: My first goal was to comfortably complete 3 reps/side starting with a 16kg kettlebell. Once I could do 3 reps per side, I moved up to the next kettlebell.

Overhead Lunges: I started with 16kg and built up to 5 reps/side. Once I could do 5x per side with a 20kg kettlebell, I switched to practicing the Bent Press.

1 Arm Swings: Start with 16kg and build up to 5 sets x 10R, 10L.  Once 100 reps achieved, move up to next bell.


I followed this program for 8 weeks and made substantial progress without experiencing pain. I’ve now moved into a double kettlebell program that I created for myself to bring my skills back to where they need to be for my RKC Level 2 requirements. Ya gotta stay sharp!

This was an interesting learning experience for me. I learned that if I’m in pain, I  need to go see a medical professional sooner rather than later. This experience also reinforced the notion that kettlebell training should be considered to be a practice, not just a workout. A practice requires patience—but this will result in developing greater skills. Sometimes it’s important to slow down to go faster.

Stay Strong.

***

Ryan Jankowitz, RKC II, CK-FMS Owner of RJ Kettlebell. Ryan is on a mission helping busy men and women lose weight and gain more self-confidence using kettlebells.  He enjoys spreading the RKC message and teaching others.  If you’re new to kettlebells or you just need some guidance, download his FREE 5-Day Kettlebell Workout Plan.
Filed Under: Tutorial Tagged With: kettlebell exercises, kettlebell shoulder stability exercises, Ryan Jankowitz, shoulder exercises, shoulder health, shoulder stability

Thoughts on the RKC Kettlebell Snatch Test

April 5, 2022 By Mike Krivka 1 Comment

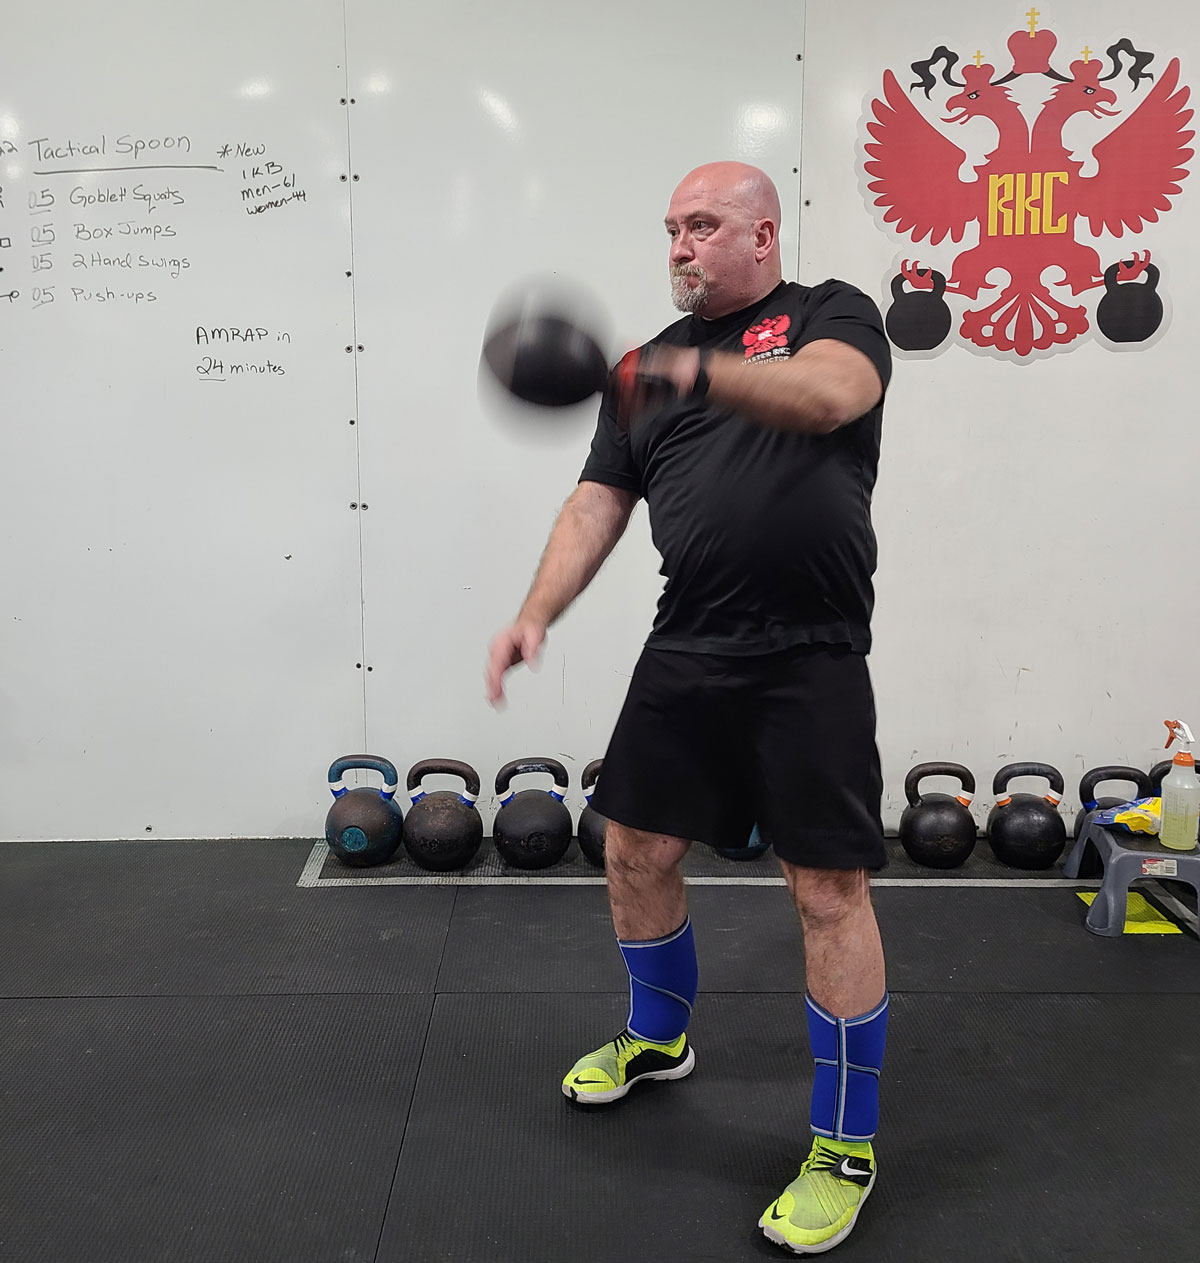
Master RKC Michael Krivka Demonstrating Kettlebell Snatches

The following are my thoughts and observations regarding the RKC Snatch Test. This post is based on over twenty years of experience training with and teaching kettlebells to the public, military, and law enforcement personnel. Some of what you are about to read is contrary to what you find being recommended by other trainers and coaches. That’s fine and should be expected. What you need to do is find the program that works best for you and your clients.

Test ≠ Race

The test is not a race. You have five minutes to complete the Snatch Test and I strongly recommend that you use all of it. Someone who completes the test in 3:50, and someone who completes it in 4:59, will both pass. But I will guarantee you that the person who used as much time as possible had an easier time and exhibited much, much better technique.

You Must Exhibit Positional and Transitional Management

You don’t pass the Snatch Test by just doing 100 kettlebell snatches in 5 minutes. You must demonstrate positional and transitional management coming out of the backswing, overhead, from the drop, and back into the backswing. Loss of control in any of those positions not only makes the Snatch Test more difficult but can also cause or lead to injuries.

Train Grind Strength Before Ballistic Strength

To execute the Snatch Test safely, you will need to develop several skills and attributes. First, you will need strength and stability in the overhead lockout position. This can be done easily by spending a good portion of your time working on the kettlebell press, push press, and/or kettlebell jerk. Strength in this position protects the shoulder itself from the rigors of ballistic snatches, as well helping to maintain mobility in the shoulder and upper quadrant of the torso.

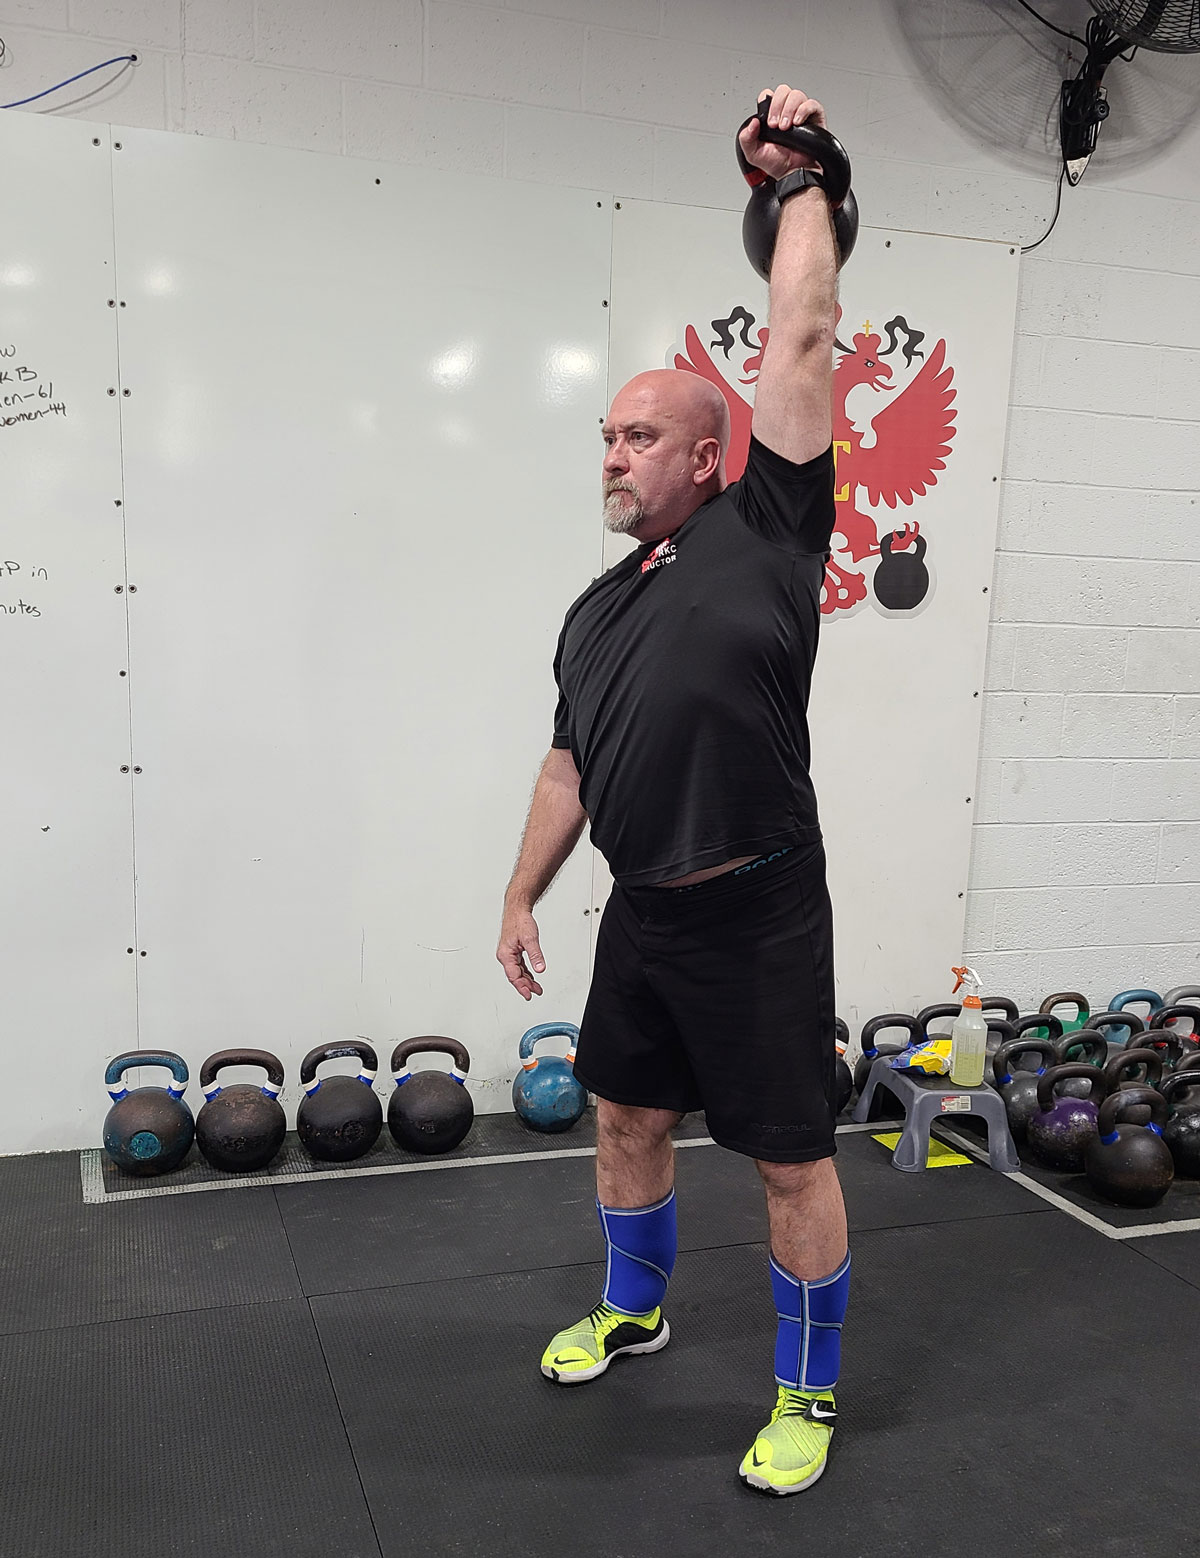
Master RKC Michael Krivka Demonstrates the overhead lockout position of the kettlebell snatch

Second, you will need to develop an efficient and powerful backswing. The backswing is sometimes overlooked or minimized. But the more you work on it, the easier the swing, clean, and snatch will be. You will develop a highly efficient system for transferring energy from the ground, through the hips, and into the overhead position. Ignore this aspect of training to your own detriment.

Finally, train to develop a smooth and soft overhead lockout. When you watch most people snatch the kettlebell, it looks like a big swing with the kettlebell going over the top of their hand on the way up before slamming onto the forearm. This is very inefficient and does not demonstrate a viable understanding of how to translate and transition energy from the body into the kettlebell. The kettlebell should explode from the backswing and then float to the overhead position, where the hand is gently punched through the handle while all the joints, bottom to top, lock softly.

Before Attempting the Snatch Test

As you start preparing for the Snatch Test, here’s a key piece of information that will make the test easier–as well as save wear and tear on your shoulders. Before you start doing high rep snatch practice sessions, you should be able to press your Snatch Test weight kettlebell ten times right and left. Work on grinding out of the rack and into a solid lockout overhead, then a slow and strict transition back to the rack. Once this becomes easy (and it will after a while) you are reasonably safe to start practicing high rep snatches.

Let me put it this way: until you have the strength to strictly press 20% of what you are going to snatch during the test, you have no business practicing for 100% of the ballistics you will be doing.

Build grinding strength before ballistic intensity and numbers.

Training for the Snatch Test

Training for the Snatch Test should consist of two very different types of training sessions: Grinds and Ballistics.

Your grind sessions should be oriented so that you can get to the 10×10 strict press on both sides with your Snatch Test weight kettlebell. These sessions can be done at lower weights to practice getting the reps. They can also be done heavier to build extra strength and stability for transitioning from the rack to lockout and from lockout back into the rack.

Your Ballistics sessions should be comprised of:

  • 40% Swings; with both snatch weight and heavier
  • 40% Cleans; with both snatch weight and heavier
  • 20% Snatches; with lighter than snatch weight, snatch weight, and heavier

Training sessions should be relatively brief and slowly progress in load and volume to Snatch Test numbers. Properly planned and executed, you can go from 10×10 snatches right and left to 50×50 snatches right and left in 8-10 weeks of moderate training.

When to Take the Snatch Test

The only time you should take the Snatch Test is when you are both physically, mentally, and technically dialed in. The RKC experience will make major changes to the technique you have been using to prepare for the Snatch Test. If you feel that you need more time to prepare for the Snatch Test, you have 90 days after your RKC Workshop to submit a video. I would strongly recommend this option for most people attending the RKC. Once you have your technique dialed in at the RKC, you can go home and work in a more efficient and safe manner. If you just jumping into the Snatch Test after learning how to execute the snatch safely and effectively, you will likely just revert to old habits and accommodations while under the stress of the test. It takes time to develop a new foundation for your snatch technique and you can easily do that within the 90-day window.

If you are interested in seeing what I think the “perfect” Snatch Test looks like, watch the video below:


I hope this helps you prepare for the RKC Snatch Test. Please reach out to me if you have any additional questions or concerns.

***

Master RKC Michael A. Krivka, Sr. is a Washington, DC native who has been involved in Kettlebell training for over a decade and is currently a Master RKC and member of the RKC Board of Advisors under Dragon Door (where he has been listed as one of the top reviewed RKC’s in the world for the last five years). Mike has traveled extensively throughout the United States teaching Kettlebells to military (USMC, USN, USA and USAF) and law enforcement personnel (FBI, DEA, USSS and CIA) as well hard-living civilians from Soccer Moms to CEOs. In addition to teaching workshops and clinics he logs several hundred hours a year teaching and training with Kettlebells at his own gym and martial arts studio. He is also a Level I CrossFit Trainer, and Olympic Lifting Coach.

Filed Under: Coaching, Kettlebell Training Tagged With: how to train for the snatch test, kettlebell snatches, RKC snatch test, Snatch Test

Primary Sidebar

Featured Products

previous arrow
BOOK-RKCBookofSnC
HardStyleKettlebellChallegeDanJohn700
BookCoverMasterTheKettlebell1
RKCiconKettlebell512
KettlebellGoddessdv040
next arrow

Recent Posts

  • RKC Big Six Workout
  • The Kettlebell Swing & Low Back Pain
  • Key Kettlebell Exercises To Help You Create Better Balance
  • How to Most Effectively Use Kettlebells to Meet Your New Year Goals
  • 1 Exercise That Checks All The Boxes
FOLLOW US ON TWITTER!

Archives

Copyright © 2025

Dragon Door Publications / The author(s) and publisher of this material are not responsible in any manner whatsoever for any injury that may occur through following the instructions or opinions contained in this material. The activities, physical and otherwise, described herein for informational purposes only, may be too strenuous or dangerous for some people, and the reader(s) should consult a physician before engaging in them.