I started my boot camp business in 2005 on a little patch of grass in front of a gymnastics gym. I didn’t have much money and spent what little I had on a few bands. Our workouts were mostly bodyweight with a few exercises done on the picnic table in front of the gym.
I had to be creative and think outside of the box. Before the TRX came out, I was already doing many of the exercises with beach towels wrapped around trees. I also bought PVC pipes and filled them with sand to use for presses, squats and deadlifts.
As my business grew, I spent almost all of my money on purchasing more equipment. I bought some kettlebells, I picked up logs on the street, and used whatever else I could find as exercise equipment.
Slowly as I earned more money, I bought more equipment. Once we moved from the patch of grass into an 800sqft space, I bought a few more kettlebells, some medicine balls, and I had a friend build a pull up bar.
After a year, we outgrew that space and I moved to a 2,100sqft building—then we moved up to my current 5,000sqft location. Now, I was able to buy a lot of equipment and I spent a fortune on stocking my gym. Every cent I made went back into the gym as I bought more equipment.
As a fitness professional and gym owner, I constantly receive tons of catalogs in the mail full of equipment to buy. I started looking at how I could use what I had to replicate new exercises but at a fraction of the cost. Soon, I became a regular at Home Depot and Lowes!
I found that I could replace everything from sleds to the popular earthquake bars dirt cheap.
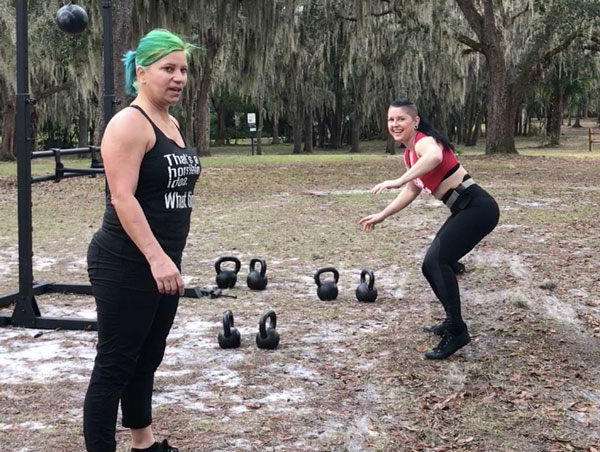
A couple of months ago, I went to Orlando and met up with Adrienne Harvey. I packed my car with name brand portable sleds, my earthquake bar, kettlebells and my homemade equipment.
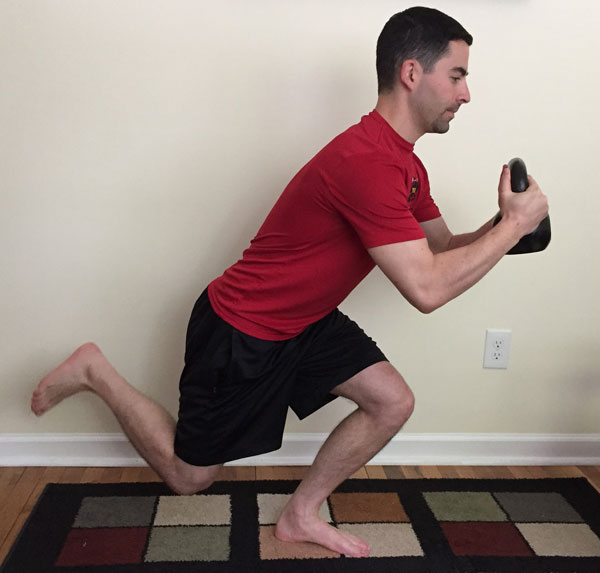
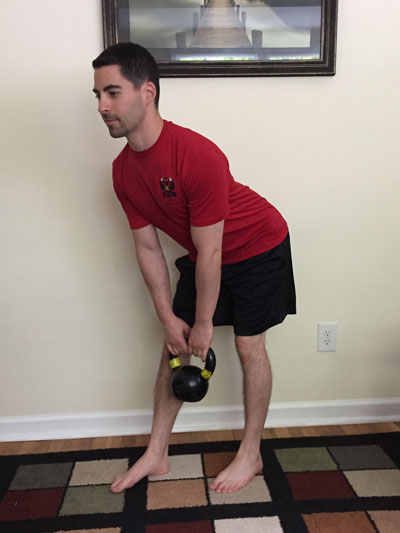
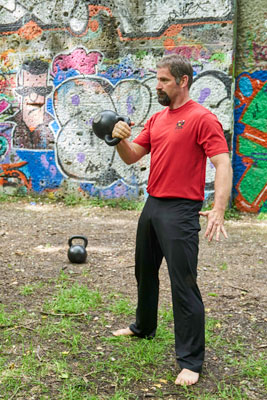
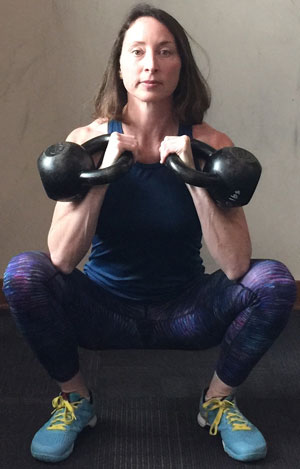
Adrienne and I filmed exercises using my expensive equipment and then filmed the same exercises with better options using my homemade equipment and kettlebells.
I wanted to show gym owners and exercise enthusiasts how they can get creative on the cheap by using kettlebells and a few items from a hardware store.
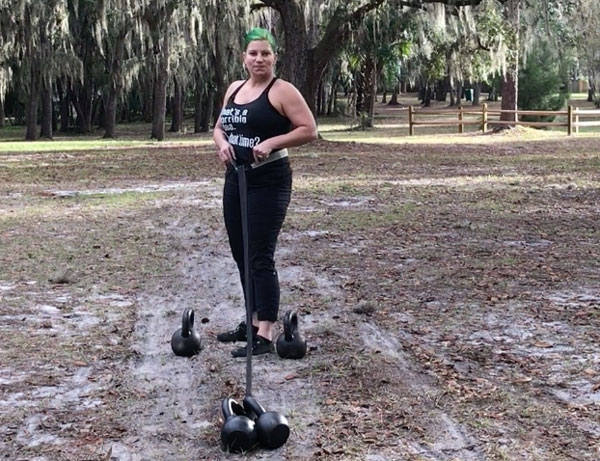
Here is what I used to make the equipment I used for part 1 of this series.
For sleds:
Lowes SmartStraps 2-in x 20-ft Tie Down ($19.98)
Watch the video, go to the hardware store, grab some kettlebells and get creative.
I’d love to hear how you’ve improvised, created new exercises and workouts with your kettlebells.
Stay tuned for part 2. I will show you how to make your own earthquake bars at 1/8th of the cost.
****
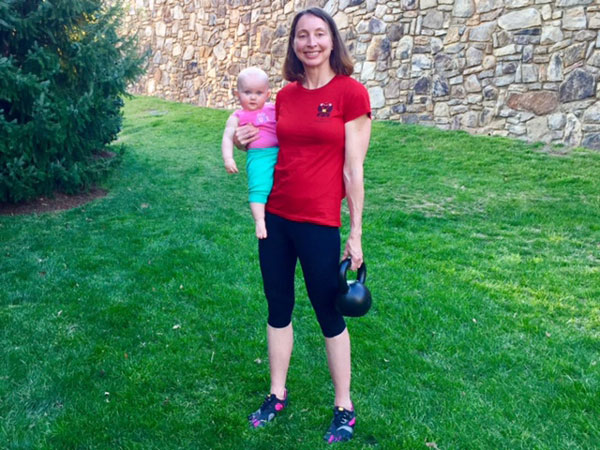
Senior RKC, Laurel Blackburn owns Boot Camp Fitness and Training and Tallahassee Kettlebells. Look for Laurel at www.bootcampstogo.com or www.tallahasseekettlebells.com.
In her early fifties, Laurel is out to prove that age is just a number. Her goal is to motivate and inspire people everywhere, both young and old that strength, flexibility and mobility can get better with age. Follow her adventures on her blog: www.SuperStrongNana.com.
 In my opinion, it is wiser to train in a way that gradually builds you up over time. Work for your health while prepare yourself for whatever might come.
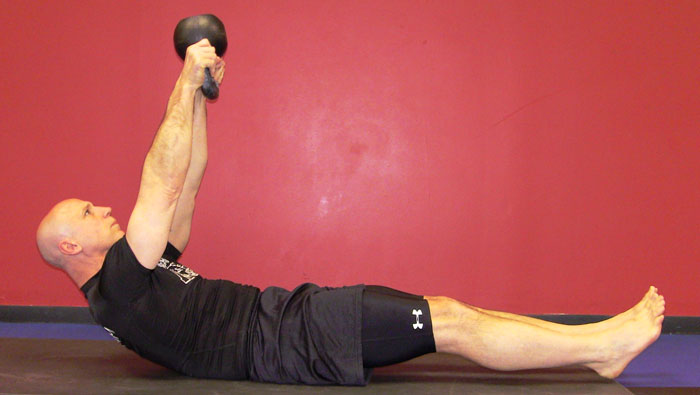
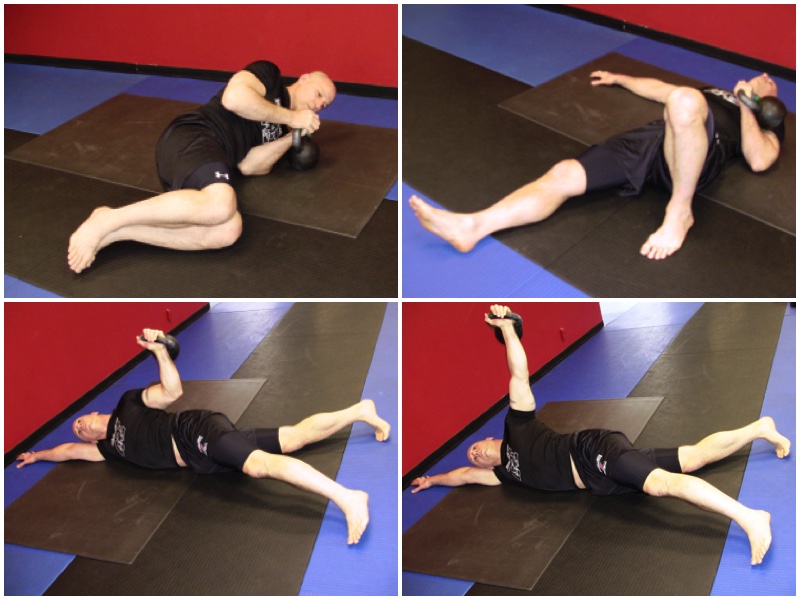
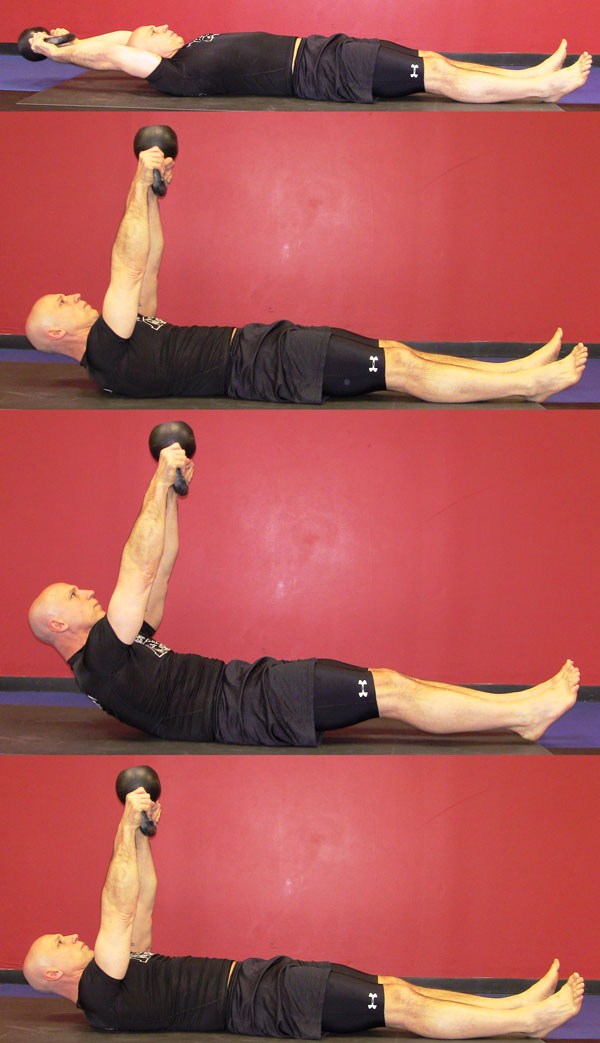
 Beginning in the second trimester, it is also important to avoid exercises that require your client to lie flat on her back. This precaution can prevent the weight of the uterus from compressing the vena cava—a major blood vessel—potentially disrupting blood flow to the baby and leaving mom dizzy and short of breath. An easy way to work around this issue is to instruct your client to do these prone exercises, such as floor presses, on an incline instead.
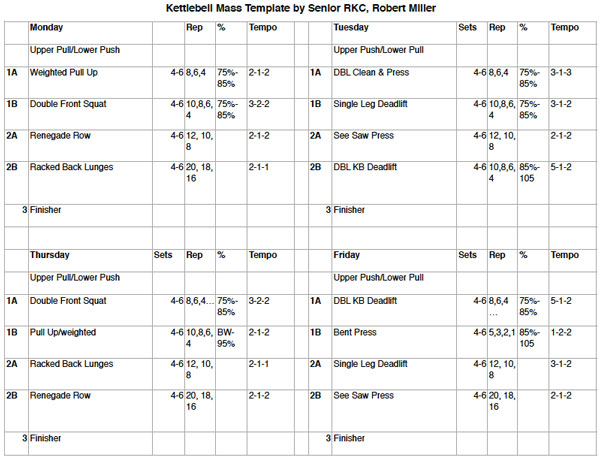
 On some level, we all try to make ourselves more presentable. We’ve bought designer jeans from boutique stores and tried designer workouts at twice the price for half the results. If you haven’t reached this conclusion yet, let me help enlighten you: it’s not the clothes on your body that matter, it’s the body in your clothes. So, let’s tune up our bodies and spend our time wisely. Male or female it is important to maintain our muscle mass as we age and the kettlebell gets results. That’s why we train with kettlebells for massive shoulders, thick arms, solid legs, ripped abs and athletic skills for any task.
 With strength on the rise, it’s time to volumize. So, double up every workout. Sets of double military presses will make your upper body, shoulders and arms more massive than single kettlebell work of the same volume. The same will hold true for all of your kettlebell skills and progressions. Two kettlebells are greater than one. Studies have shown that bi-lateral exercises are best for stimulating the most muscle hypertrophy. The beauty of training with kettlebells is that asymmetries are attacked since each weight must be unilaterally stabilized. Using a barbell can hide some of these asymmetries which can become imbalances over time. Using double kettlebells balances both sides of the body. With that said, I would still recommend barbell training at other points throughout the year. After all, we still want to follow the principles of